Page 14
Annual Maintenance
*Order filters by calling 1-800-752-5582 or buy online at www.premierH2o.com
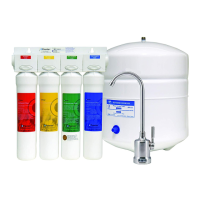
• Stage 1 - Sediment Filter (part #: 104017)
• Stage 2 & 3 - Carbon Block Filter (part #: 101009-White end caps)
• Stage 5 - 10” Final Polishing/Inline Filter (part # 100014)
• 1/4 Cup of common household bleach.
NOTICE: Sanitizing of unit is recommended.
Step 1: Perform steps 1 through 5 in the Six Month System Maintenance (Page 13).
Step 2: For more leverage you may leave the RO module attached to wall of cabinet. If you are
unable to access the module while it hangs, remove it prior to changing lters. Starting with
the closest housing (Stage 1), remove it by turning it clockwise, empty water, then discard
lter. Continue on to the 2
nd
(Stage 2) and 3
rd
(Stage 3) housings.
NOTICE: If not sanitizing the system, skip to step 9
Step 3: Remove the RO membrane from its housing and rest in a clean sanitary place. (Refer to
“Membrane Replacement” section on page 15 for directions on removing the membrane).
Replace empty membrane housing onto unit.
Step 4: Leaving the filters out, replace stage 2 and 3 empty filter housings (hand tight) onto
unit. Measure & pour 1/4 cup of of common household bleach into the 1st filter housing
(Stage 1) and hand tighten onto unit.
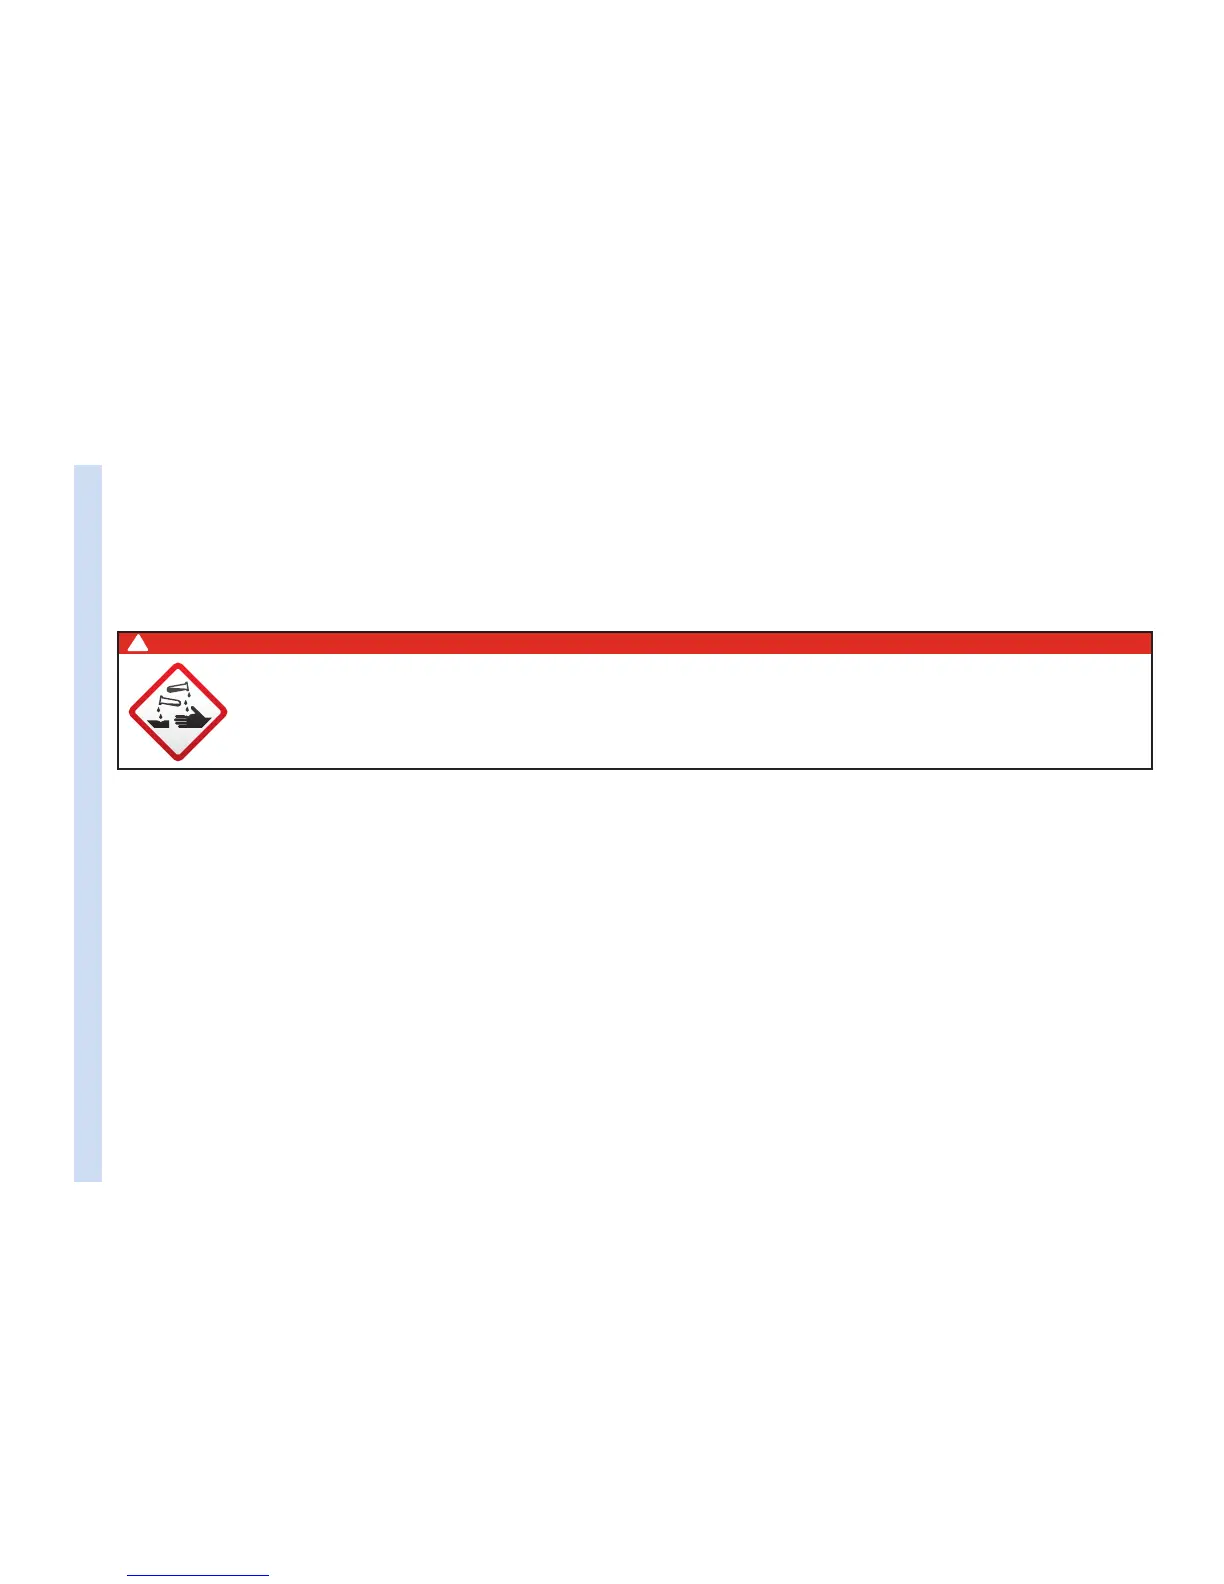
DANGER
!
IF BLEACH GETS IN EYES: Hold eye open and rinse slowly and gently with water
for 15 - 20 minutes. Remove contact lenses if present, after the first 5 minutes, then
continue rinsing eye. Call a poison control center or doctor for treatment advice.
Step 4: With the RO faucet in the closed position turn on the incoming water supply to the
system by turning the adapt-a-valve counter clockwise. Let the unit fill with water
(approximately 8 minutes) allowing the bleach to dilute.
Step 5: Let the system sit idle for 1 minute
Step 6: Drain the system completely
Step 7: Let the system fill again (approximately 8 minutes) and sit idle for 10 minutes before
draining the system again.
Step 8: Turn off the incoming water at the adapt-a-valve and open the faucet to make sure all
the water has been drained
Step 7: Open the membrane vessel and insert the RO membrane back into the manifold while
making sure not to kink the O-rings. Tighten the membrane housing back on the RO unit
(Refer to “Membrane Replacement” on Page 15 for details).
Step 8: Remove filter housings Stage 1, 2 and 3 and empty of water.
NOTICE: Before re-installing the lter bowls back on to the system , check O-rings to make sure
they are still in place and lubricate with water soluble lubricant.
Step 9: Insert the new sediment filter (cloth like appearance) into the 1st filter housing which is the one
closest to the side with tubing connections and re-install housing.
Step 10: Insert the new Carbon Block filter (White End Caps) into the 2nd and 3rd housing and
re-install housing.
Step 11: The final inline filter (Stage 5) is located on the blue tube between the RO Module and the
RO Faucet. Remove it by loosening the compression fittings on both ends. Remove the 3/8”
SANITATION STEPS