Fig. S
Air vent/cover lock
Fig. T
Gasket
Gasket
Fig. U
Sensor
28
CLEANING
After every use
1. After the
canner has cooled completely, remove the regulator from the cover. Detach the sealing ring frame from the cover
(Fig. E,
page 3) and then the sealing ring from the frame. Do not remove the center grommet on the sealing ring frame. Thoroughly dry
the sealing ring, sealing frame, and the inside of the cover.
If the vent lter appears dirty or contains debris, remove it from the underside of the cover, following the instructions on page 3.
Wash it in warm, soapy water.
If necessary, wipe the outside of the canner cover with a damp cloth and then dry completely. Do NOT immerse the canner
cover in water or wash it or its parts in the dishwasher.
2. To be sure the vent pipe is clear, hold the cover up to the light and look through the vent pipe.
Clean it with a small brush or pipe cleaner if it is blocked or partially blocked. If necessary, clean
the vent lter with a small brush to remove any food particles from the slots and holes. Rinse and
dry all parts thoroughly and reassemble.
3. Wash the canning rack in warm, soapy water. Do NOT wash in the dishwasher.
4. Wash the removable pot in the dishwasher or in warm water and a mild detergent. Rinse and dry
thoroughly.
CAUTION! To prevent electrical shock and damage to the canner, never pour water into the
canner body or immerse it or the power cord in water. Always be sure the pot is completely dry
before placing it back in the canner body.
As Needed
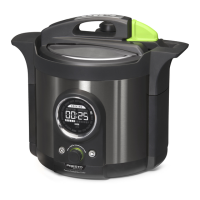
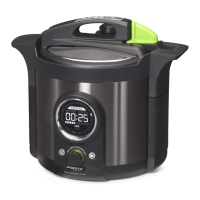
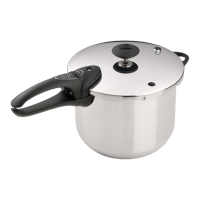
1. Remove the air vent/cover lock for cleaning. Place your nger over the top of the air vent/cover
lock on the cover (Fig. S) and remove the gasket from the underside of the cover (Fig. T). Push
the air vent/cover lock through the top of the cover. Wash it and the gasket in warm, soapy water.
The metal shaft may be cleaned with a nylon mesh pad. Clean the cover hole with a small brush.
After cleaning, reinsert the metal shaft from the top side of the cover down through the cover
hole. Place a nger over the top of the air vent/cover lock and push the gasket onto the end of the
metal shaft, tting it into the groove.
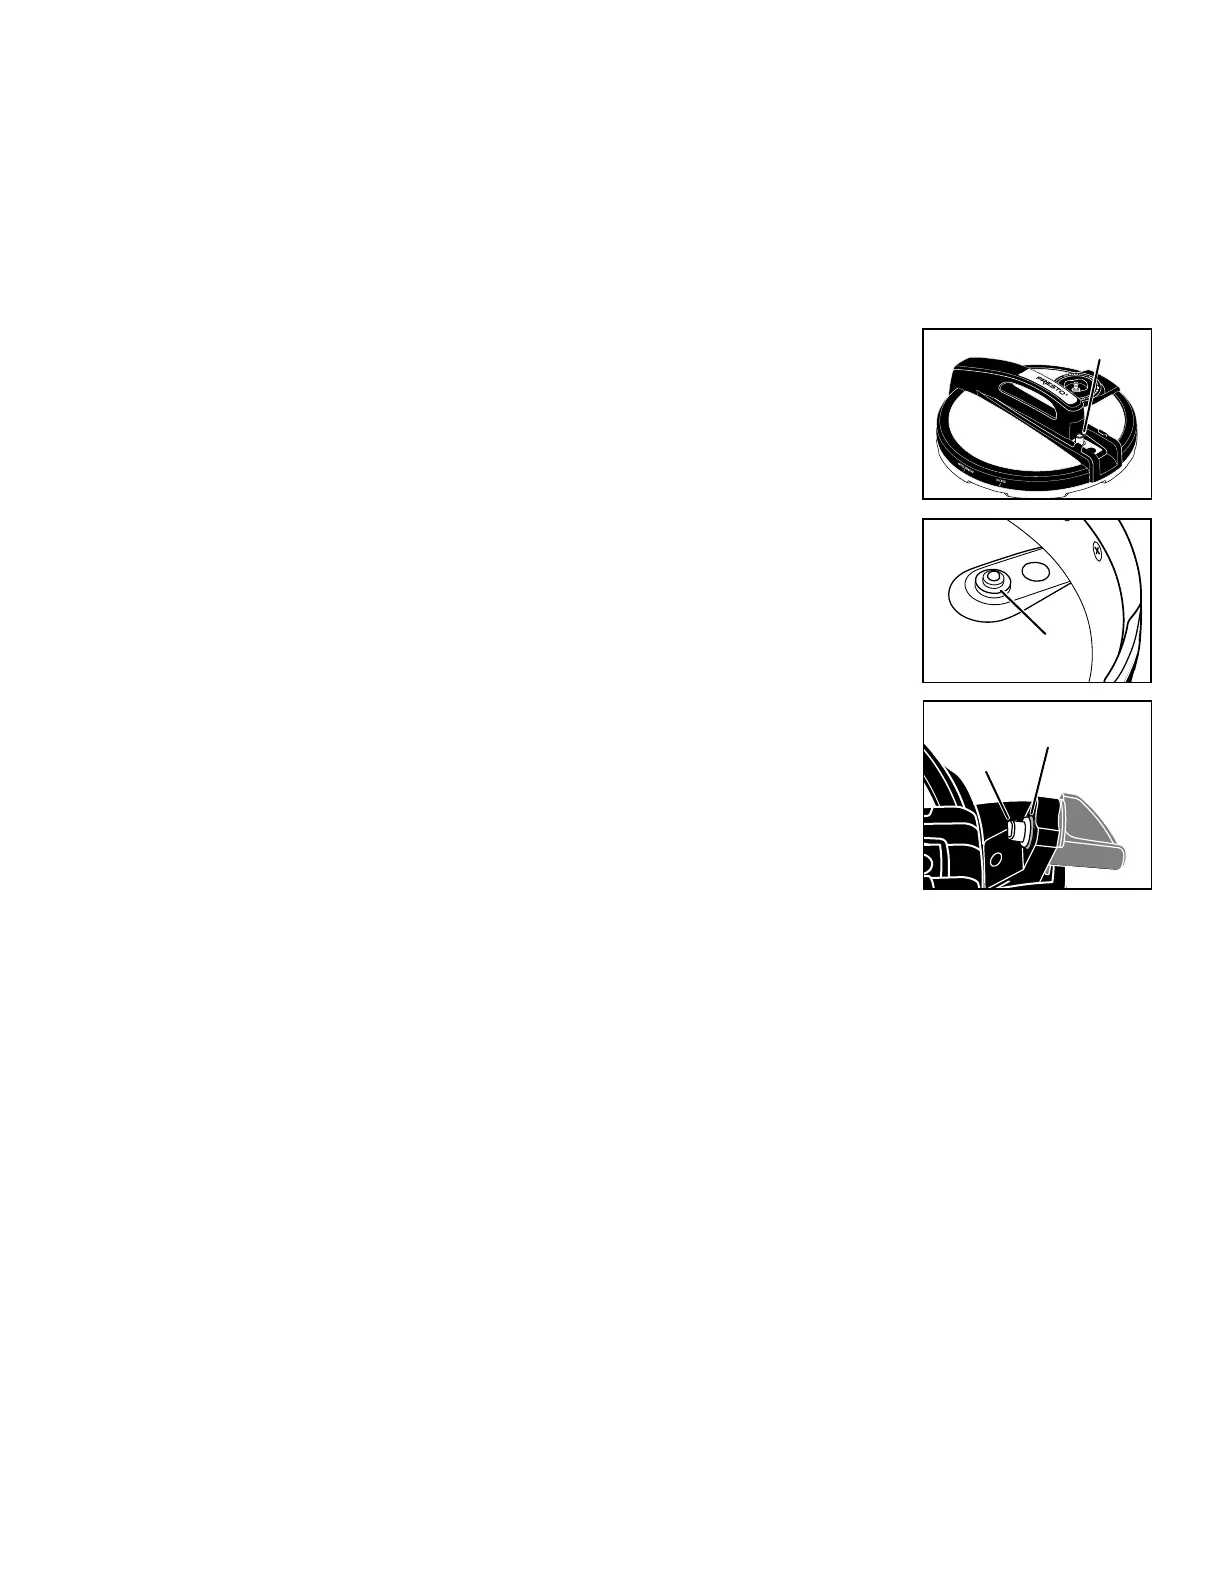
2. Gently clean the sensor, sensor arm, and plastic rim of the canner body with a damp cloth. Avoid
getting water inside the canner body.
Carefully remove the gasket on the sensor (Fig. U) and
wash it in warm, soapy water. Clean the sensor with a damp cloth and place the gasket back on
the sensor.
3. Wipe the outside of the canner body with a damp cloth.
CARE AND MAINTENANCE
● When not in use, store your electric canner in a dry place. To prevent unpleasant odors from lingering, store the unit with the
cover inverted on the canner body.
● Do not use metal utensils as they may scratch the nonstick surface.
● Do not strike the rim of the pot with any utensil. This could damage the rim which may allow steam to escape and prevent the
canner from sealing.
● The sealing ring and gasket for the air vent/cover lock may shrink, become hard, deformed, cracked, or torn with normal use.
When this happens, replace the sealing ring and/or the air vent/cover lock gasket. This is routine replacement and not covered
under the warranty.
● Leakage between the cover and canner body is usually caused by deterioration of the sealing ring after prolonged use.
● Periodically check the vent pipe nut for looseness. If necessary, retighten with a ½ʺ wrench.
● If for any reason the canner cannot be opened, contact the Consumer Service Department in Eau Claire, WI at 1-800-877-0441
for assistance.
● Any maintenance required for this product, other than normal household care and cleaning, should be performed by the Presto
Factory Service Department (see page 30).