Legend XL www.pridemobility.com24
Follow these easy steps to change your batteries
safely:
1. Position your scooter close to a standard electrical
outlet.
2. Remove the key from the key switch.
3. Make certain that the manual freewheel lever is in
the drive position.
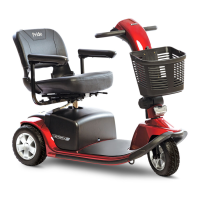
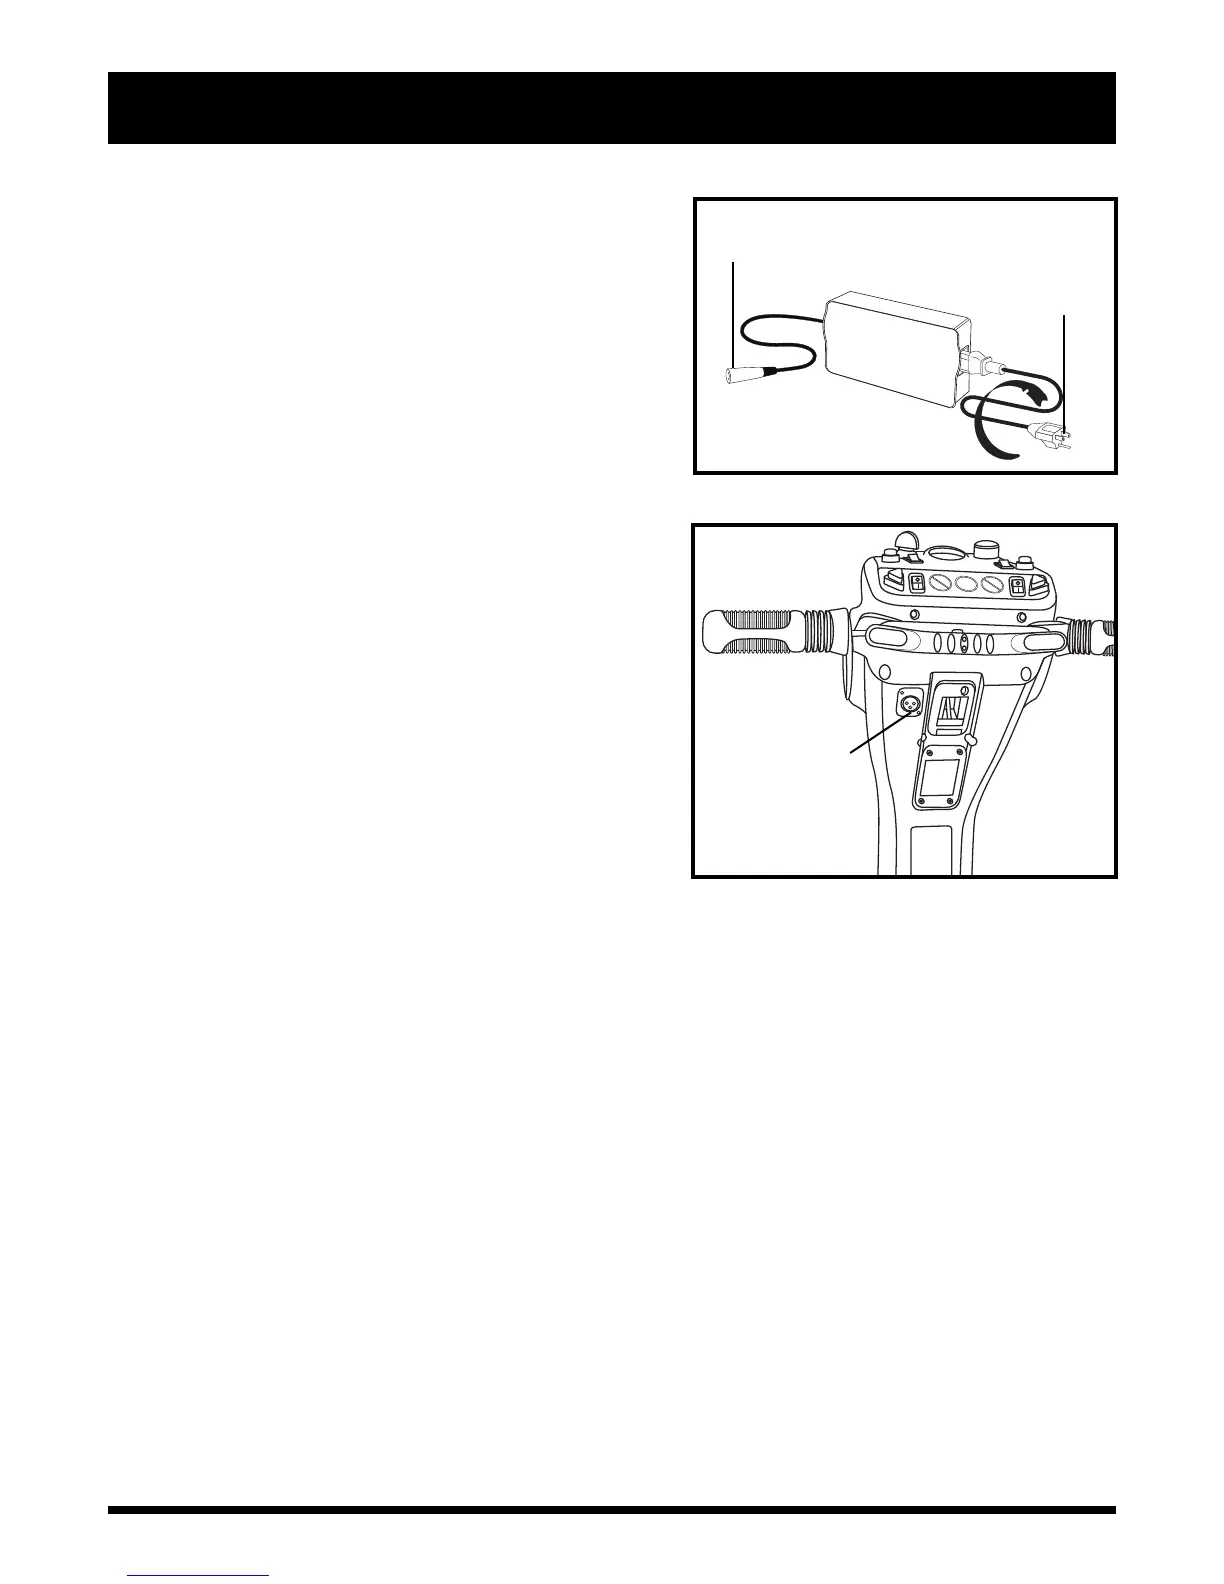
4. Plug the 3-pin charger power cord into the off-
board charger port. See figures 8 and 9.
5. Extend the charger power cord and plug it into the
electrical outlet. We recommend that you charge
the batteries for 8 to 14 hours.
6. When the batteries are fully charged, unplug the
charger power cord from the electrical outlet and
then from the off-board charger port.
NOTE: The LED lights on the charger indicate dif-
ferent charger conditions at various times: charger
power on, charging in progress, and charging com-
plete. Refer to the manual supplied with the charger
for a complete explanation of these indicators.
NOTE: There is a charger inhibit function on your
scooter. The scooter will not run and the battery con-
dition meter will not operate while the batteries are
charging.
Figure 8. Off-Board Charger
PLUGS INTO THE OFF-BOARD
CHARGER PORT
Figure 9. Off-Board Charger Port
IV. BATTERIES AND CHARGING
PLUGS INTO
ELECTRICAL
OUTLET
FREQUENTLY ASKED QUESTIONS (FAQS)
How does the charger work?
When your scooter’s battery voltage is low, the charger works harder, sending more electrical current to
the batteries to bring up their charge. As the batteries approach a full charge, the charger sends less and
less electrical current. When the batteries are fully charged, the current sent from the charger is at nearly
zero amperage. Therefore, when the charger is plugged in, it maintains the charge on your scooter’s
batteries, but does not overcharge them. Refer to the manual supplied with the battery charger for charging
instructions.
What if my scooter’s batteries won’t charge?
Ensure the red (+) and black (-) battery cables are connected properly to the battery terminals.
Ensure both battery harnesses that extend from the batteries are plugged into their mating harness
leading to the charger.
Ensure both ends of the charger power cord are inserted fully.
 Loading...