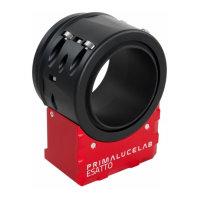
Controlling ESATTO with EAGLE or computer with Windows OS
ESATTO can be controlled with the EAGLE or any external computer running Windows operating system (64 bit,
version 7 minimum). In the ESATTO package you will find a 12V power cable with cigarette plug style connector,
and a USB cable for connection to a PC. If you have a PC with a USB 3.0 port that supplies at least 1A of current
(please refer to your PC specifications) you can control and power ESATTO only with the supplied USB-C cable,
otherwise you must use the 12V power cable with cigarette plug (or an optional 12V AC adapter with Ø5.5 ø2.5mm
jack capable of at least 1A).
Connect the USB-C cable to the USB port of your EAGLE or
personal computer. You will see the PWR LED on (this
means ESATTO is powered) and, after a few seconds the
Wi-Fi LED will also be become lit - This means that the
ESATTO is online and the WiFi connection is ready to be
used.
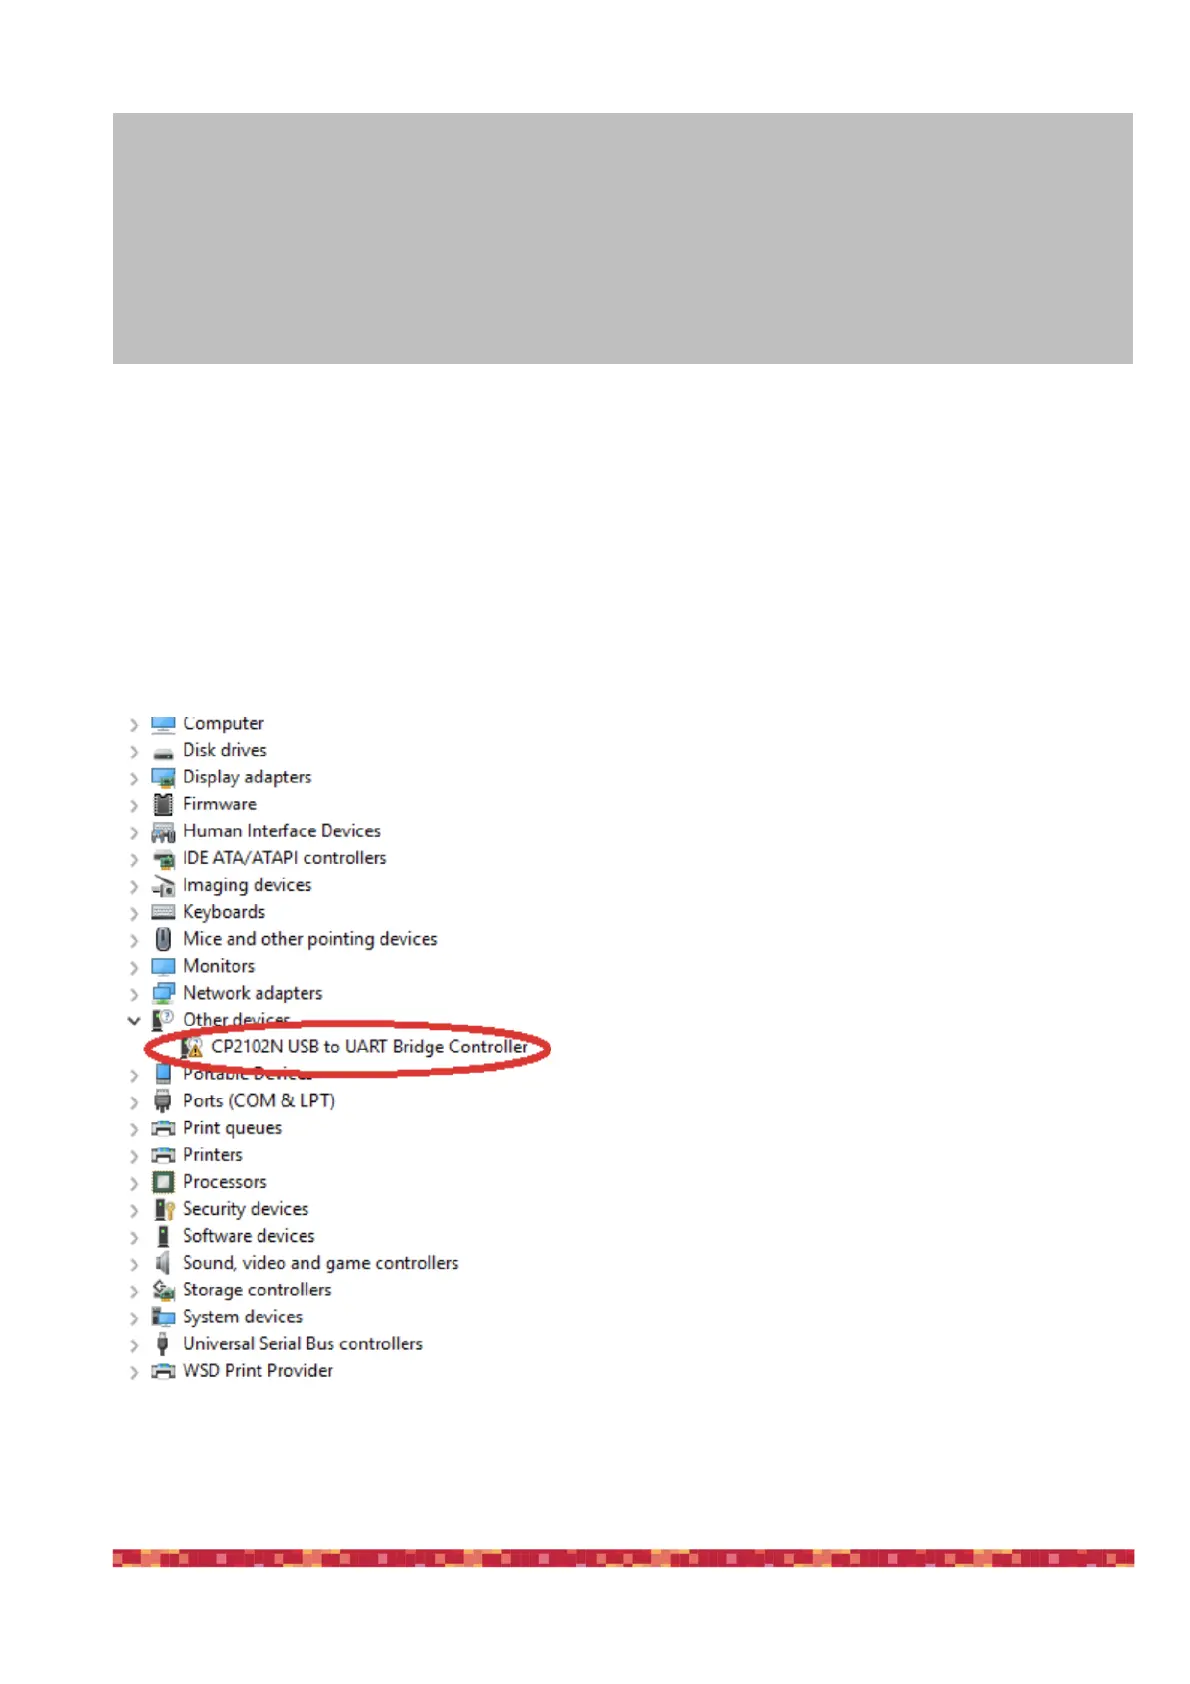
Once connected the ESATTO should be automatically de-
tected and Windows should automatically install the new
driver. To verify this this, please go to Control Panel and
then choose Device Manager. You should see the ESATTO
listed under “Ports (COM & LPT)” and described as “Silicon
Labs CP210x” (in order to check, you can disconnect and
then reconnect the ESATTO USB cable and see how Win-
dows lists it).
If you can’t find it, Windows is not able to automatically in-
stall the ESATTO driver. In order to do this, please follow
this procedure:
1)go to "Device Manager”
2)locate "CP2102N USB to UART Bridge Controller" under
"Other devices"
CAUTION
In order to correctly use ESATTO, you have to connect it to your telescope. First you need to connect the optional
telescope adapter, and then install ESATTO to the adapter, locking it by using the supplied Allen screw (ESATTO
2 "only) or the three thumb screws (ESATTO 3” only). The installation procedure changes based on the telesco-
pe model and adapter you have so please refer to the following information. To test connectivity from Windows or
your mobile device, you can proceed with the ESATTO first use without the focuser being installed on the tele-
scope, following the steps outlined in this user manual.