14
are low. The batteries should be changed to ensure continued
operation.
• During a video recording, the Operating Status indicator LED will
glow a steady green. DO NOT switch o the camera while this is on,
or the video le may become damaged and unplayable.
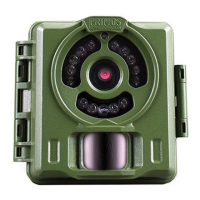
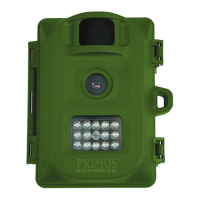
To capture photos/videos of activity in the area you choose to locate your
Primos BULLET PROOF 2 Game Camera, follow the steps listed next in
“SET UP”:
SET UP
1. Mount the Camera
It is recommended that you mount the camera about 3 or 4 feet (0.9~1.2
meters) o the ground. It’s best to avoid mounting the camera facing east
or west as the rising and setting of the sun could produce false triggers
and overexposed images. Clear branches and other debris away from the
front of the camera so as not to block the camera lens or PIR sensor.
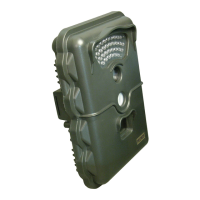
To mount the camera in place, insert the strap through the strap slots on
the rear housing. Wrap the strap around the mounting surface. Secure
the strap and tighten the buckle in order to secure the camera.
Make sure that the camera’s latch is securely locked in place, to ensure
proper weather resistance.
2. Power On the Camera
If both SD card and batteries are good, the camera will begin taking
photos or videos 10 seconds after you move the switch to PIC or MOV,
whenever it is triggered by the PIR sensor’s heat/motion detection. Each
time the PIR sensor is triggered, the camera will take a new photo or video
following a 10 second delay. For the rst three minutes of operation, the
PIR indicator LED will light for about 3 seconds when it senses animal or
human activity within the PIR coverage area. See “Test the Coverage Area”
below.
Primos 63063 BulletProof2 Cam_1LIM_rev5.indd 14 1/20/16 2:14 PM