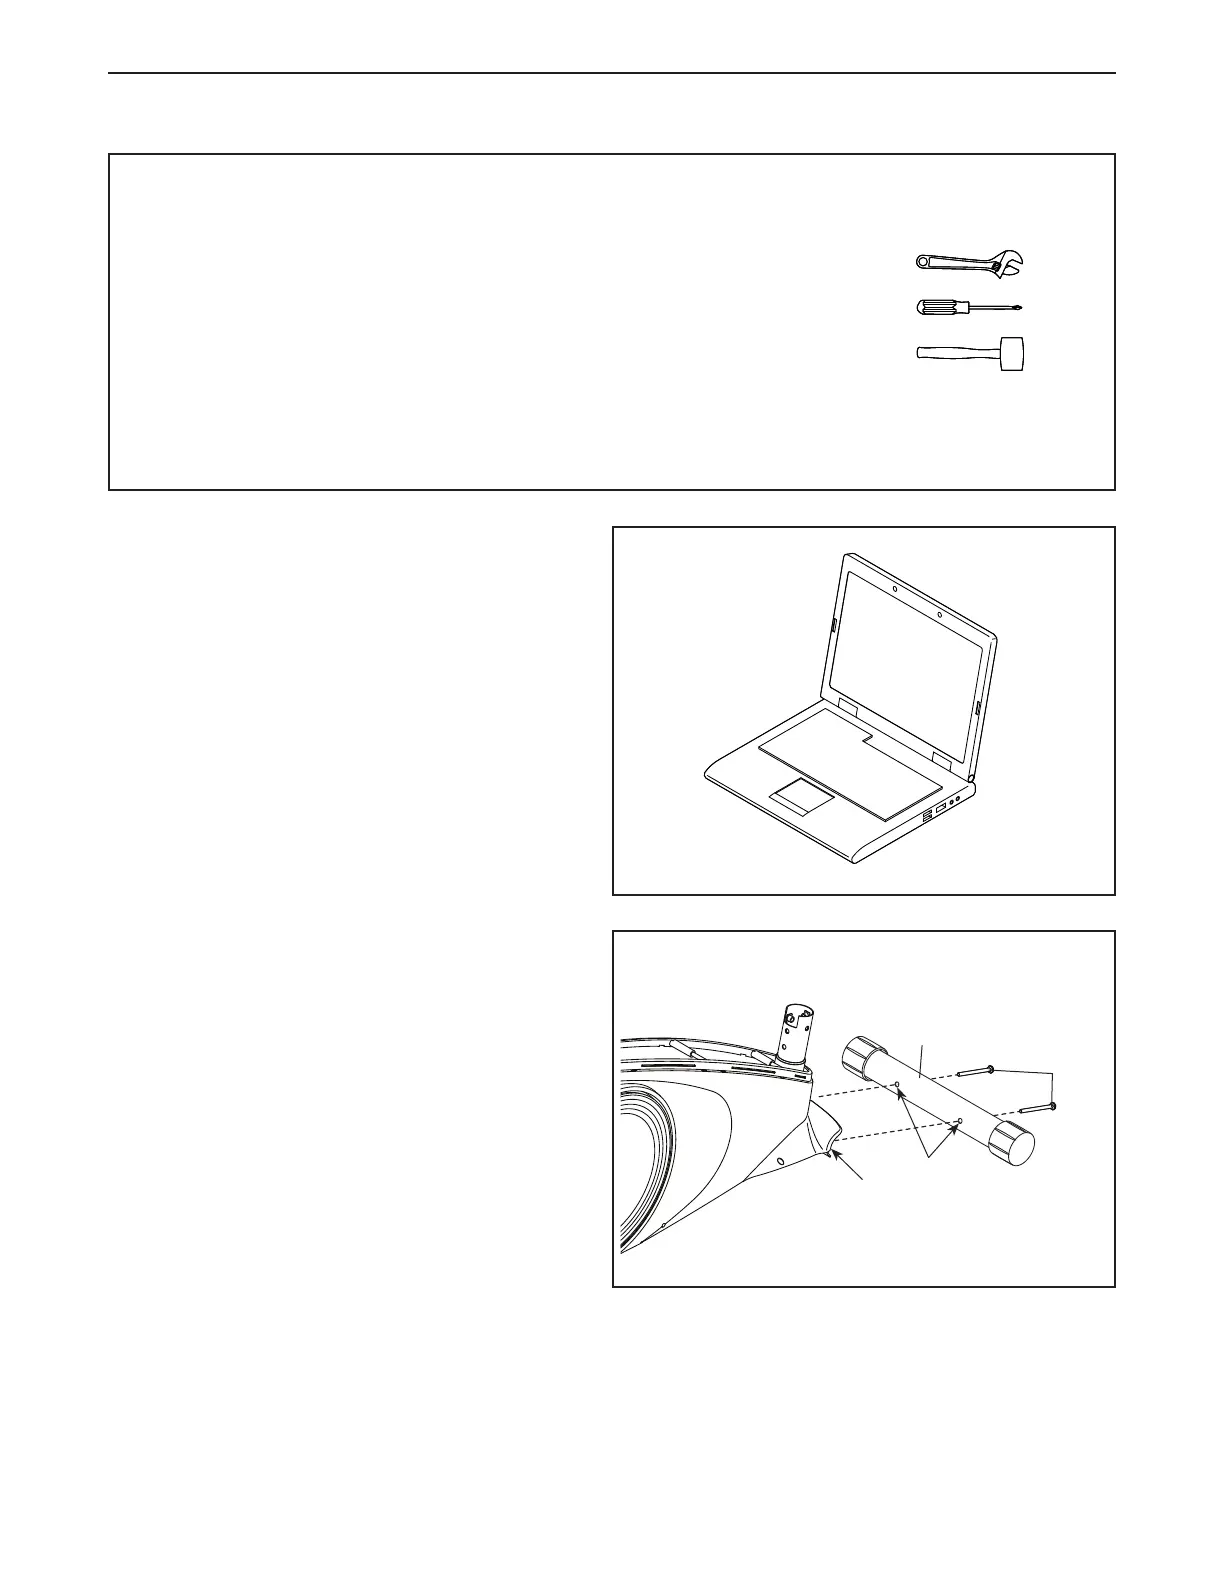
6
• Assembly requires two persons.
• Place all parts in a cleared area and remove the
packing materials. Do not dispose of the packing
materials until you nish all assembly steps.
• Left and right parts are marked “L” or “Left” and
“R” or “Right.”
• To identify small parts, see page 5.
• In addition to the included tool(s), assembly
requires the following tools:
one adjustable wrench
one Phillips screwdriver
one rubber mallet
Assembly may be easier if you have a set of
wrenches. To avoid damaging parts, do not use
power tools.
ASSEMBLY
2. Identify the Front Stabilizer (63), and orient it
as indicated by the sticker. Make sure that the
large holes (A) in the Front Stabilizer are fac-
ing the Frame (1).
While a second person lifts the front of the
Frame (1), attach the Front Stabilizer (63) to the
Frame with two M10 x 68mm Screws (34).
63
34
A
1
2
1
1. To register your product and activate your
warranty in the UK, go to iconsupport.eu. If
you do not have internet access, call Customer
Service (see the front cover of this manual).
To register your product and activate your
warranty in Australia, email or post the
following information to the email address or
postal address on the front cover of this manual.
• your receipt (make sure to keep a copy)
• your name, address, and telephone number
• the model number, serial number, and name
of your product (see the front cover of this
manual)
 Loading...