43
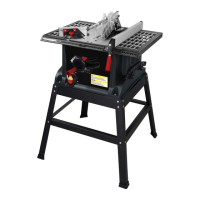
2. Turn the saw blade up as far as possible using the height adjust-
ment wheel (T). The saw blade (Q) is secured by the saw table
ÀDQJH (2) and the hexagonal nut (1) on the motor shaft (Fig. 2).
3. Undo the hexagonal screw (1) while holding the saw blade ÀDQJH
(2). Use two hexagonal wrenches for this purpose (Fig. 3).
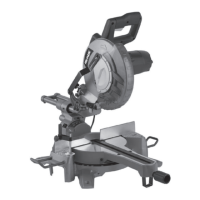
!
WARNING
The hexagonal nut has a left-handed thread. To undo: turn anti-
clockwise. To tighten: turn clockwise.
4. Pull the saw blade (Q) off the motor shaft and remove it down-
wards (Fig. 4).
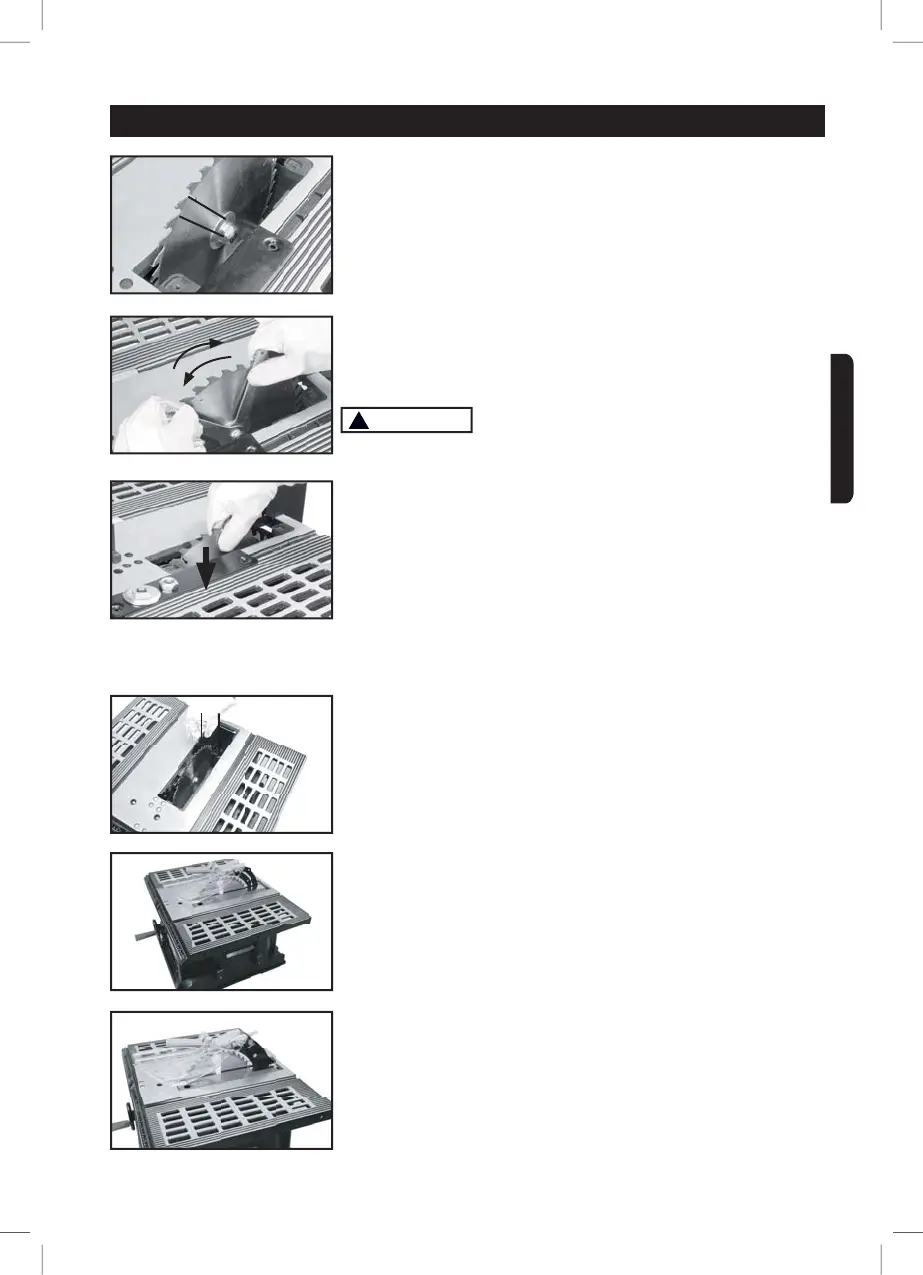
INSTALL AND ADJUST THE SAW BLADE GUARD
Loose the fix screw (1), Raise the riving knife (2), and tighten the
fix screw (1). (Fig. 1)
The height of the riving knife can be adjusted. The gap should be
3-5 mm parallel to the saw blade at the topmost position.
Fit the table insert. (Fig. 2)
Fit the splitter and saw blade guard. (Fig. 3)
After completing the alignment, test the function of the saw blade
guard. It must be possible to raise it slightly.
The saw blade guard is fitted with a workpiece recoil guard. This
prevents workpiece recoil if inadequate pushing pressure is
applied to it.
¿J2
2
1
¿J
u
n
d
o
t
i
g
h
t
e
n
¿J
¿J
¿J
1
2
¿J
ASSEMBLY AND ADJUSTMENTSASSEMBLY AND ADJUSTMENTS
ENGLISH
 Loading...