14
2 REMOTE TURN-ON JACK
A
1
⁄8" “mini” jack above the AC mains receptacle on the rear panel allows
remote-controlled turn-on (that is, toggling between operate and
standby) of the Proceed AMP. This remote “trigger” will be operated by a
3–12 volts DC positive-polarity pulse, of at least 100 milliseconds dura-
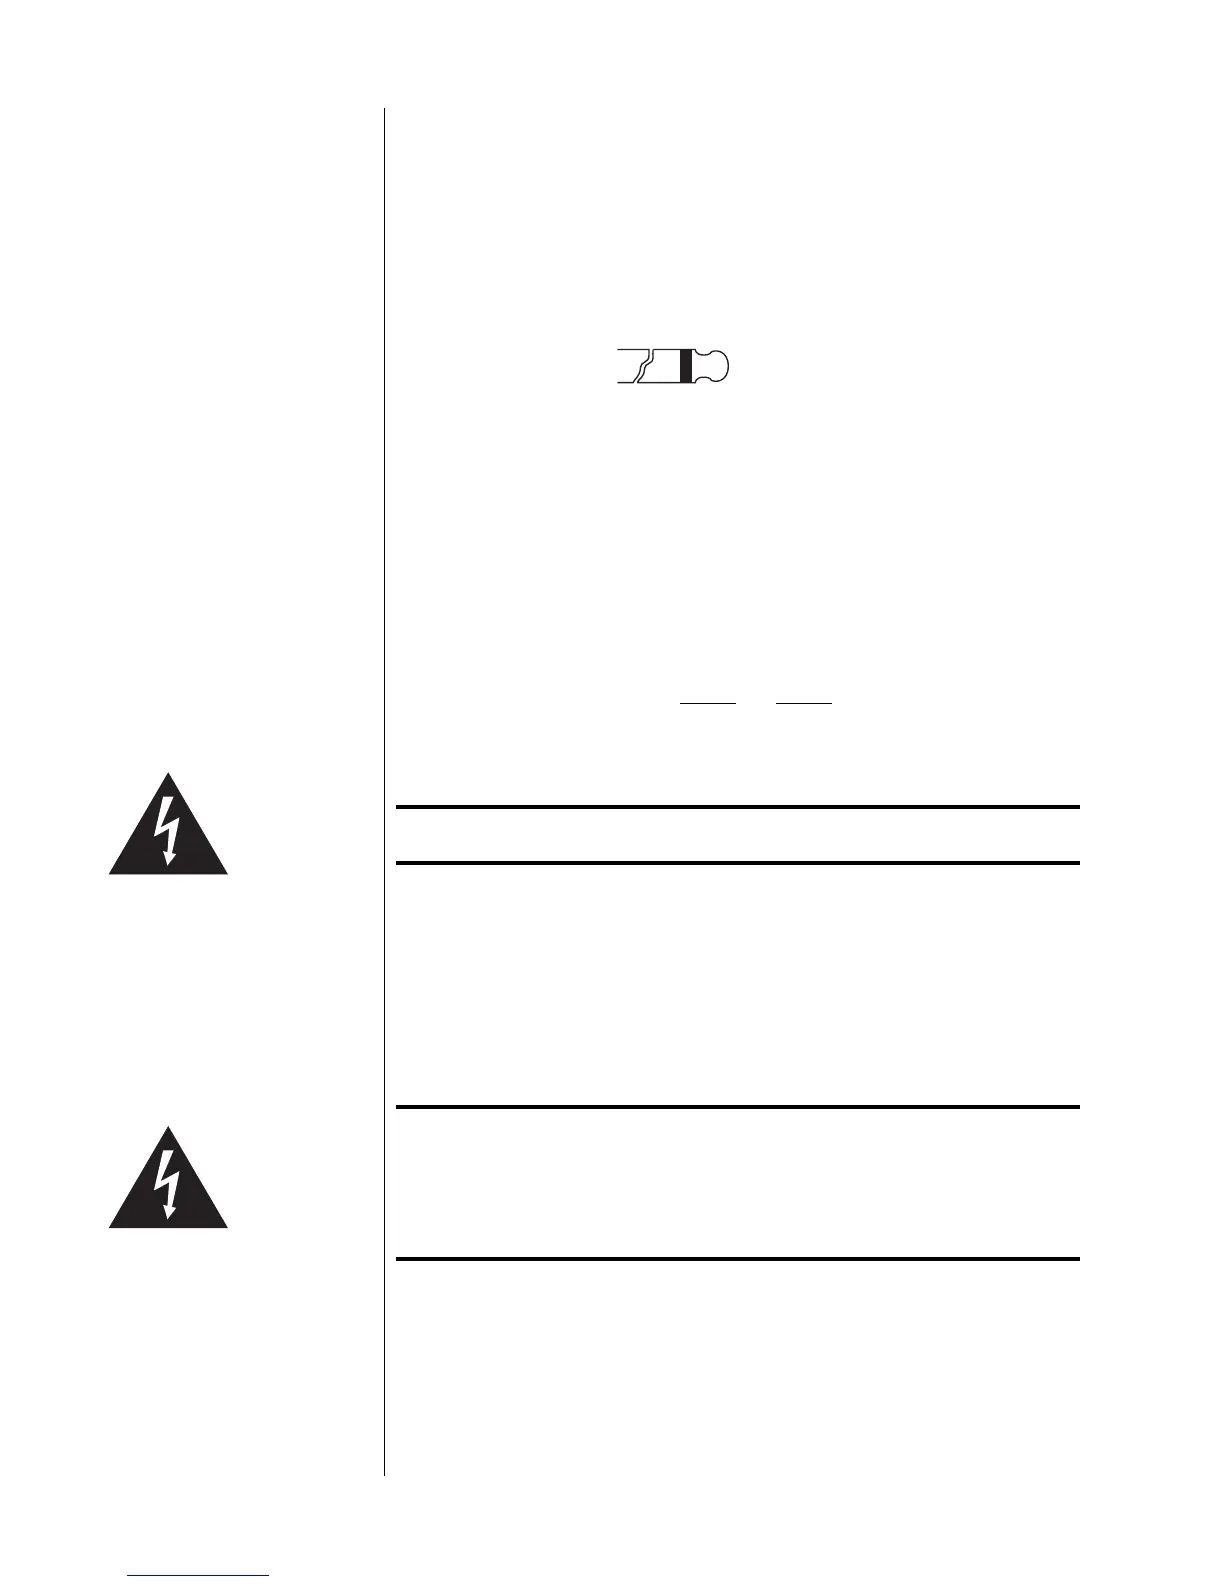
tion, with tip polarity as shown below:
Remote turn-on
tip polarity
+–
3-12 volts for at
least 100 mS
Your Proceed dealer can help you take advantage of these design features
to maximize your system’s versatility.
3 AC MAINS FUSE
One fast-blow fuse is located on the rear panel of the AMP. If it should be-
come necessary, replace the fuse with the same type only. Refer to the fol-
lowing table for replacement values.
AMP 2 AMP 3
100V to 120VAC 8 amp 12 amp
200V to 240VAC 4 amp 6 amp
Caution! ALWAYS remove the AC cord before removing the fuse!
4 SPEAKER BINDING POSTS
The Proceed AMP is equipped with gold-plated, high-current binding
posts for output termination to a loudspeaker system. To take full advantage
of the AMP’s sonic quality, we recommend using high-quality speaker cable;
see your Proceed dealer.
Caution! NEVER connect the Proceed AMP output terminals to any
device other than a loudspeaker.
NEVER short-circuit the amplifier's output terminals.
NEVER connect the left-channel output terminals to the right-
channel output terminals.
There are two recommended methods for connecting speaker cables to the
Proceed AMP. A high-quality spade lug or hook lug, soldered to the cable
(or crimped with extremely high pressure), is best.