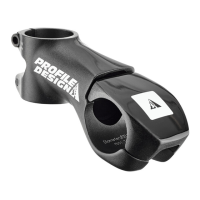
Tri Stem
8
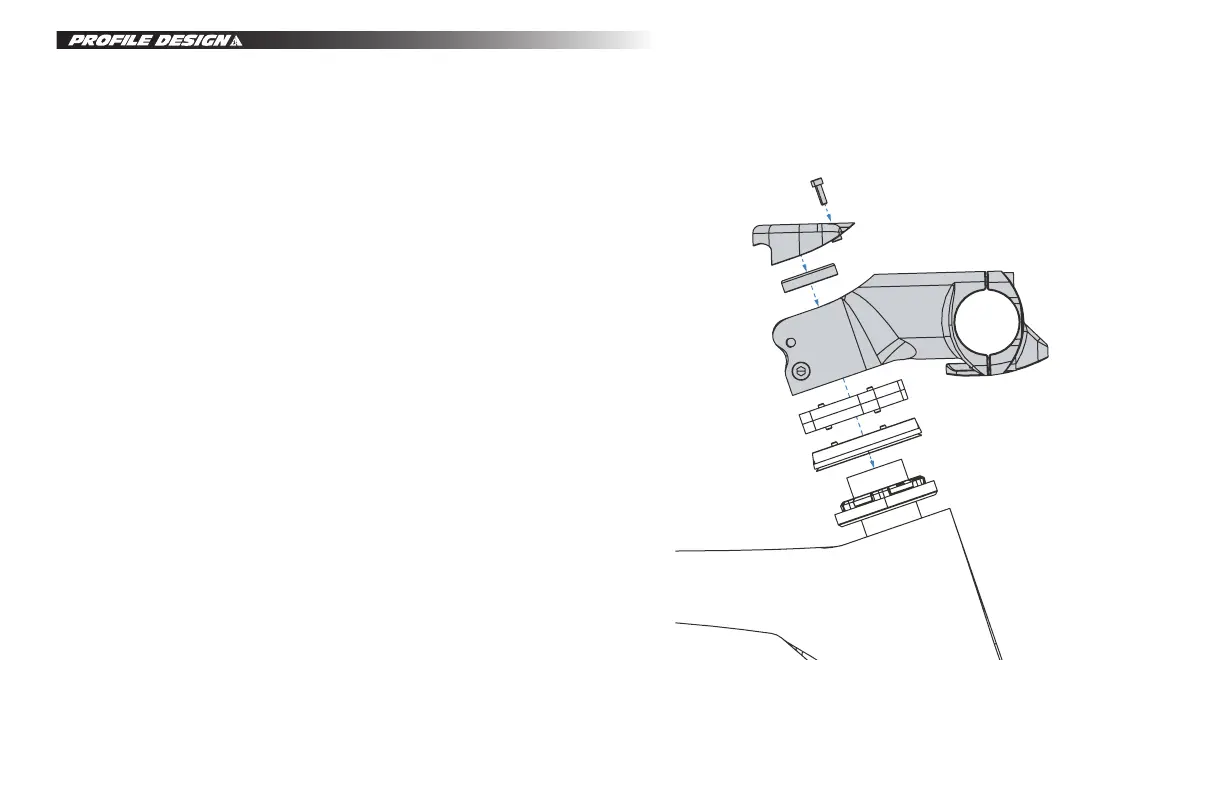
Internally routed headset
1. Route the brake and gear cables through the frame and out of the headset cap.
2. Install the stem on the fork steerer.
• As you install the stem guide the cables through the two slots in the stem and
out through the bar clamp area.
• Ensure the top of the steerer tube is level with or up to 2mm above the top of the
stem clamp.
• Fit the included compression cap.
• Tighten the steerer clamp bolts enough that the stem won’t shift during the
assembly process. Note that this is not the final tightening of these bolts.
3. Apply assembly paste to the bar clamp of the stem.
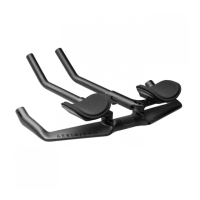
4. Install the bar, carefully guiding the cables into the basebar and out to their
appropriate locations.
5. Attach the faceplate and tighten the bolts to be snug.
6. Complete the rest of the aerobar installation then brake and shifter
cable setup according to the manufacturer instructions.
7. Remove the bike from the workstand for final adjustments.
• Tighten the headset according to the headset manufacturers instructions.
• Tighten the steerer clamp bolts on the stem to a maximum of 6Nm.
• Adjust the angle of the basebar.
• Tighten the faceplate bolts to a maximum of 6Nm.
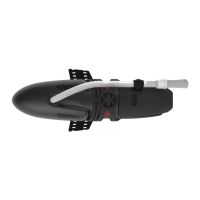
8. Once headset and cable installation is complete, fit the plastic cover over the
steerer and torque the bolts to a maximum of 2Nm.
INSTALLATION INSTRUCTIONS