In setup state, use keypad to input [24], then input the defense zone
number you want to delete [01~99], and then input [#] to confirm. The
main unit emits a long beep and the defense zone indicator flickers
once. You will hear a voice prompt “delete completed”.
Operating method: [24] ð [XX] ð [#]
XX indicates: 01 ~99 defense zones number
9.Change Password
1) Change Operation Password
Operation password is the password used to disarm or remote
control.(Default: 1234)
In setup status, use keypad to input [30], then input the 4-digit new
password, and then press [#] to confirm. The main unit will make a
long beep and you will hear a voice prompt “setting completed”.
Operating method: [30] [XXXX] [#]
XXXX indicates: the new 4-digit password
For example: change the system password to 1012
Operating method: [30] [1012] [#]
LCD display:
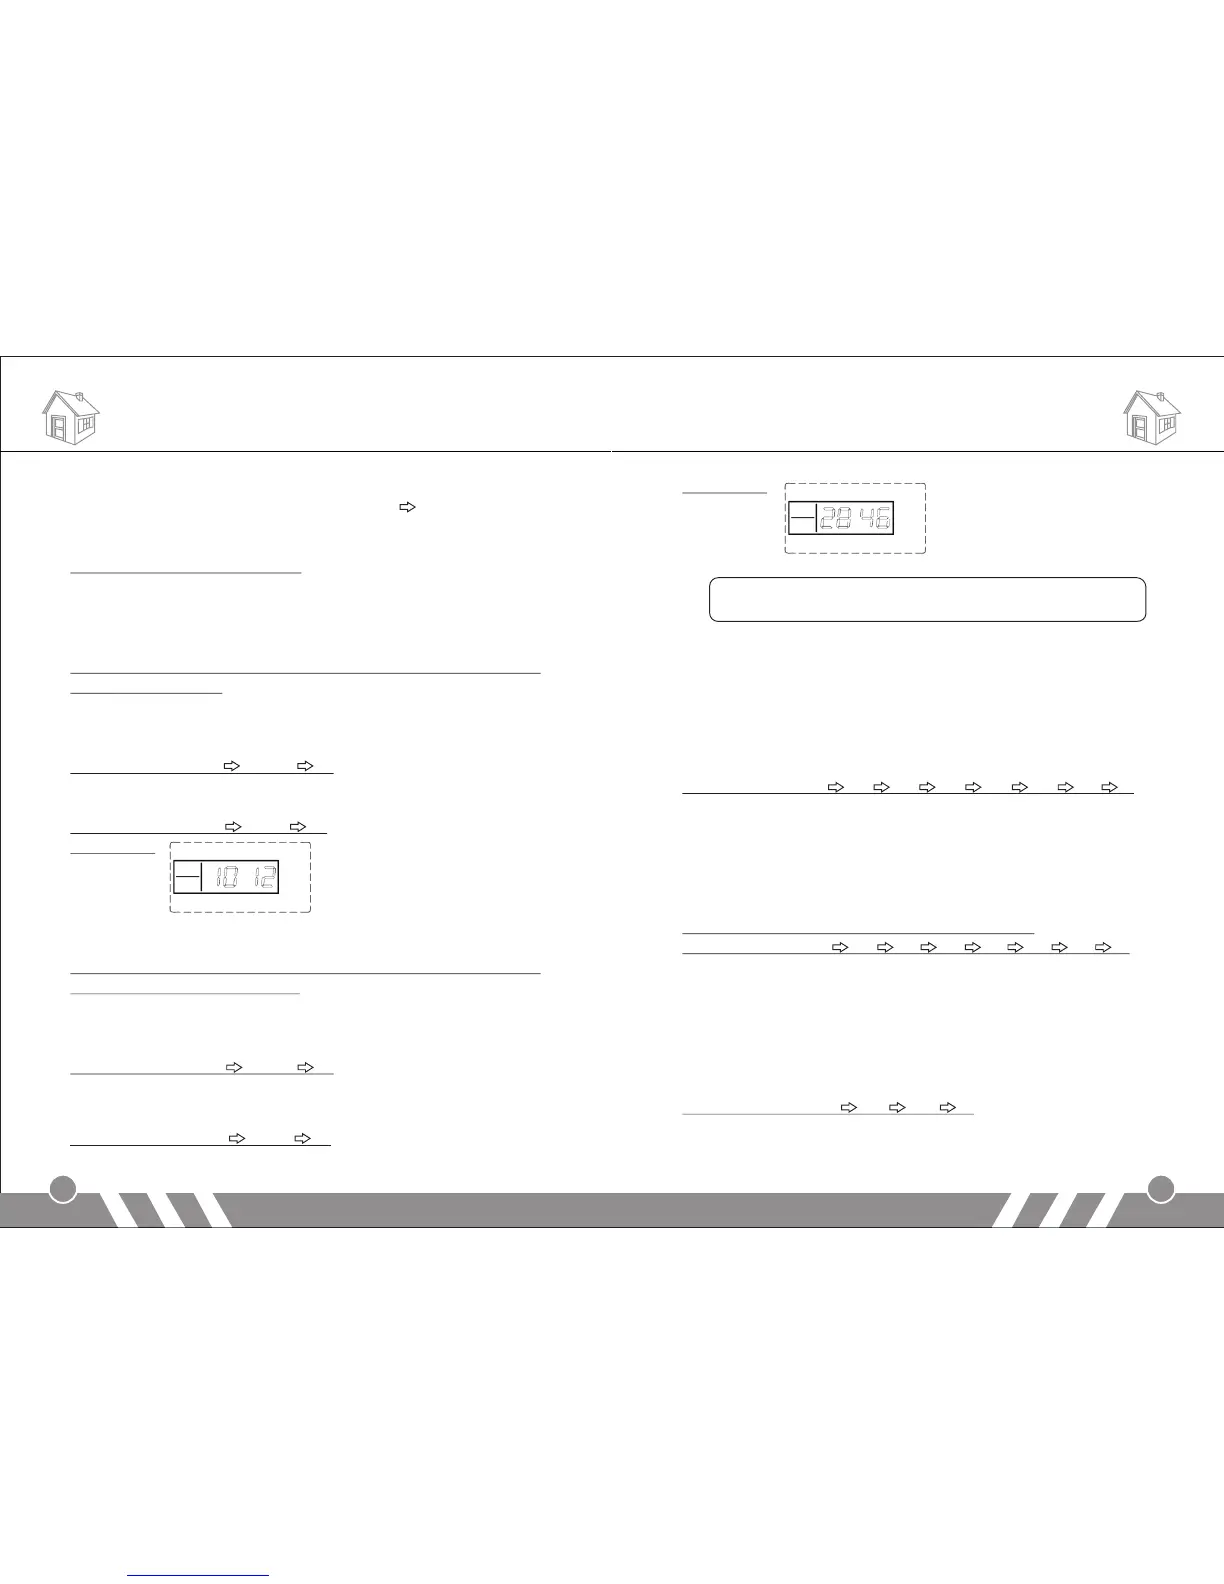
2) Change Program Password
Program password is the password you should input in order to
setup the system.(Default: 8888)
In setup status, use keypad to input [31], then input the 4-digit new
password, and then press [#] to confirm. The main unit will make a
long beep and you will hear a voice prompt “setting completed”.
Operating method: [31] [XXXX] [#]
XXXX indicates: the new 4-digit password
For example: change the system password to 2846
Operating method: [31] [2846] [#]
Functions Settings Functions Settings
7
8
LCD display:
Note:
the operation password and the programming password can
not be set as the same number.
10.Clock Setting
In setup status, use keypad to input [32], then input the last 2 digits
[AA] of the present year, the two digits [BB] of the month, the two
digits [CC] of the date, the two digits [DD] of the hour (24-hour
system), the two digits [EE] of the minute, the two digits [FF] of the
second, and finally enter [#] to confirm. You will hear a long beep
and a voice prompt “setting completed”.
Operating method: [32] [AA] [BB] [CC] [DD] [EE] [FF] [#]
AA indicates: the last 2 digits of the present year
BB indicates: the 2 digits of the present month
CC indicates: the 2 digits of the present date
DD indicates: the 2 digits of the present hour
EE indicates: the 2 digits of the present minute
FF indicates: the 2 digits of the present second
For example: set the time as 15:35:40, Oct. 1st, 2009
Operating method: [32] [09] [10] [01] [15] [35] [40] [#]
11.Timing Settings
1) Timely Arm
In setup status, use keypad to input [33~35], then input the hour
[AA] and minute [BB] of the time you want to set to arm, and finally
input [#] to confirm. You will hear a long beep and a voice prompt
“setting completed”.
Operating method: [XX] [AA] [BB] [#]
XX indicates: the address code 33, 34, 35 of the timely arming
AA indicates: the hour of the setting time
BB indicates: the minute of the setting time