BB indicates: the minute of the setting time
For example: set the arm time as 10:45pm
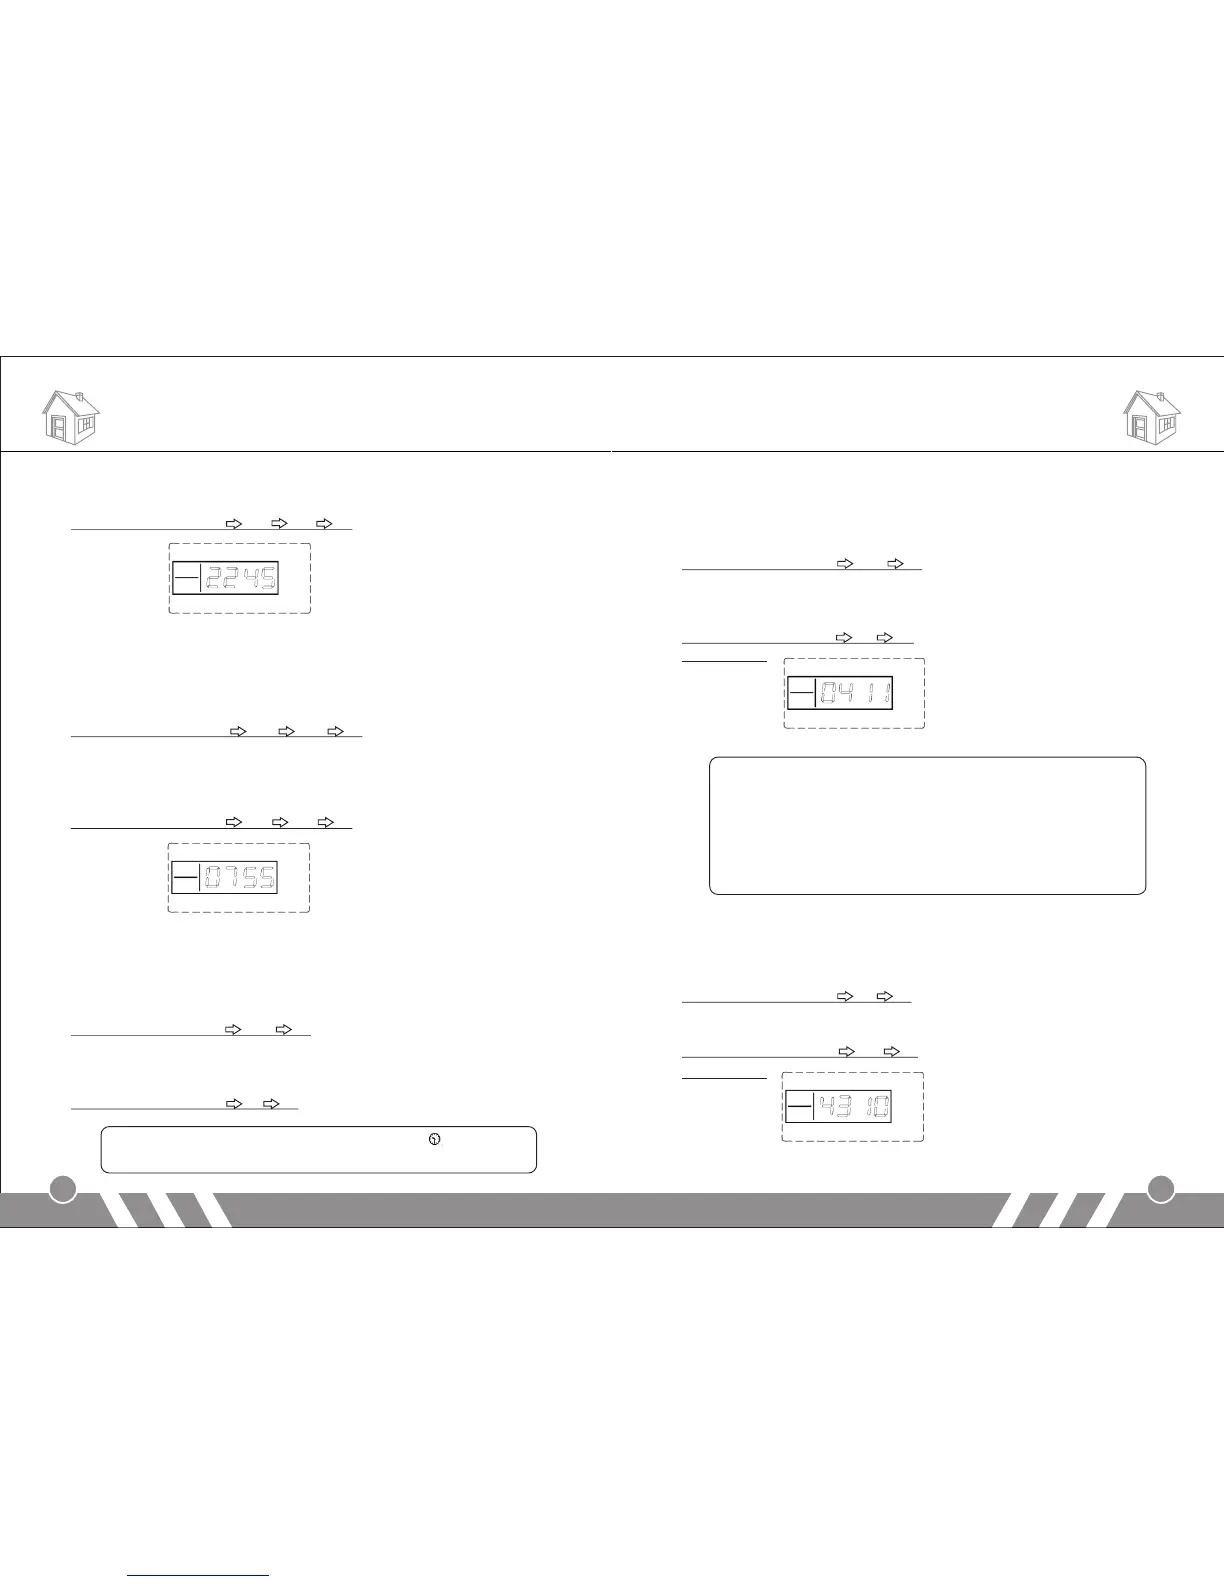
Operating method: [33] [22] [45] [#]
LCD display:
2) Timely Disarm
In setup status, use keypad to input [36~38], then input the hour [AA]
and minute [BB] of the time you want to set to disarm, and finally input
[#] to confirm. You will hear a long beep and a voice prompt “setting
completed”.
Operating method: [XX] [AA] [BB] [#]
XX indicates: the address code 36, 37, 38 of the timely disarming
AA indicates: the hour of the setting time
BB indicates: the minute of the setting time
For example: set the arm time as 7:45am
Operating method: [36] [07] [55] [#]
LCD display:
3) Timing Control
In setup status, use keypad to input [39], then input the number
indicating turning on timely arm/ disarm [1/0], and then input [#] to
confirm. You will hear a long beep and a voice prompt “setting
completed”. The factory default is off.
Operating method: [39] [0/1] [#]
0: turn off the function of timely arm/ disarm
1: turn on the function of timely arm/ disarm
For example: turn on the function of timely arm/ disarm
Operating method: [39] [1] [#]
Note:
If turning on timely arm/disarm function, the icon【 】will display
on the screen. If turn off the function, the icon will not display.
10
12.Wireless Transmission Control
In setup status, use keypad to input [41], then input the number [1/0],
and then input [#] to confirm. You will hear a long beep and a voice
prompt “setting completed”. The factory default is off.
Operating method: [41] [0/1] [#]
[0]: turn off the function of wireless transmission
[1]: turn on the function of wireless transmission
For example: turn on the function of wireless transmission
Operating method: [41] [1] [#]
LCD display:
Note:
after activating this function, do as follows to set the wireless
siren with the main unit.
Input [411#], and then make the siren you want to set into
coding status, finally press [0#] on the panel.
Pressing [0#] means the panel will make coding signal to the
siren, this signal will last for 3 seconds. So please make sure
the siren is in coding status during this 3-second period.
13.Wireless Siren Coding Encryption
In setup status, use keypad to input [43], then input the number [0001]
~ [9999], and then input [#] to confirm. You will hear a long beep and a
voice prompt “setting completed”.
Operating method: [43] [A] [#]
A indicates: the code number 01~99
For example: set the wireless coding number as 10
Operating method: [43] [10] [#]
LCD display:
Functions Settings Functions Settings
9