7
STEP 5 – SET BATTERY TYPE
The AC040 & AC080 come with winter mode so when the temperature of the battery is
close to 0°C degrees (<5°C) winter mode should be set.
Toggle through the Mode button to do this.
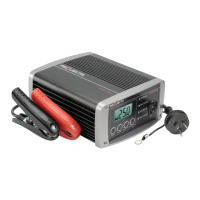
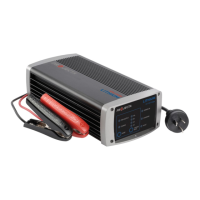
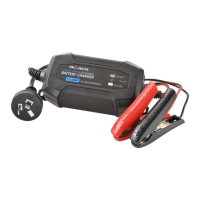
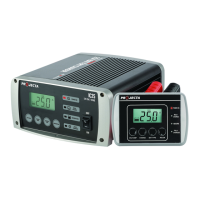
STEP 6 – CHARGING
Whilst Charging the LCD screen will show the battery voltage and a battery gauge at the
bottom will show the status of Charge. When fully Charged the battery gauge will be fully
highlighted and the word “FULL” will be displayed.
If the RECON symbol is shown on the display then the charger is trying to repair the battery.
Which will take longer to charge.
If there are any faults during charging refer to the “Fault & Errors” explanation at the
bottom of this page.
STEP 7 – DISCONNECTION
Ensure the 240V mains switch is turned off and the charger is disconnected from the 240V
mains power.
Battery out of vehicle
Remove the BLACK lead (battery clip) from the battery.
Remove the RED lead (battery clip) from battery.
Battery in vehicle
Remove the chassis connection.
Remove the battery terminal connection.
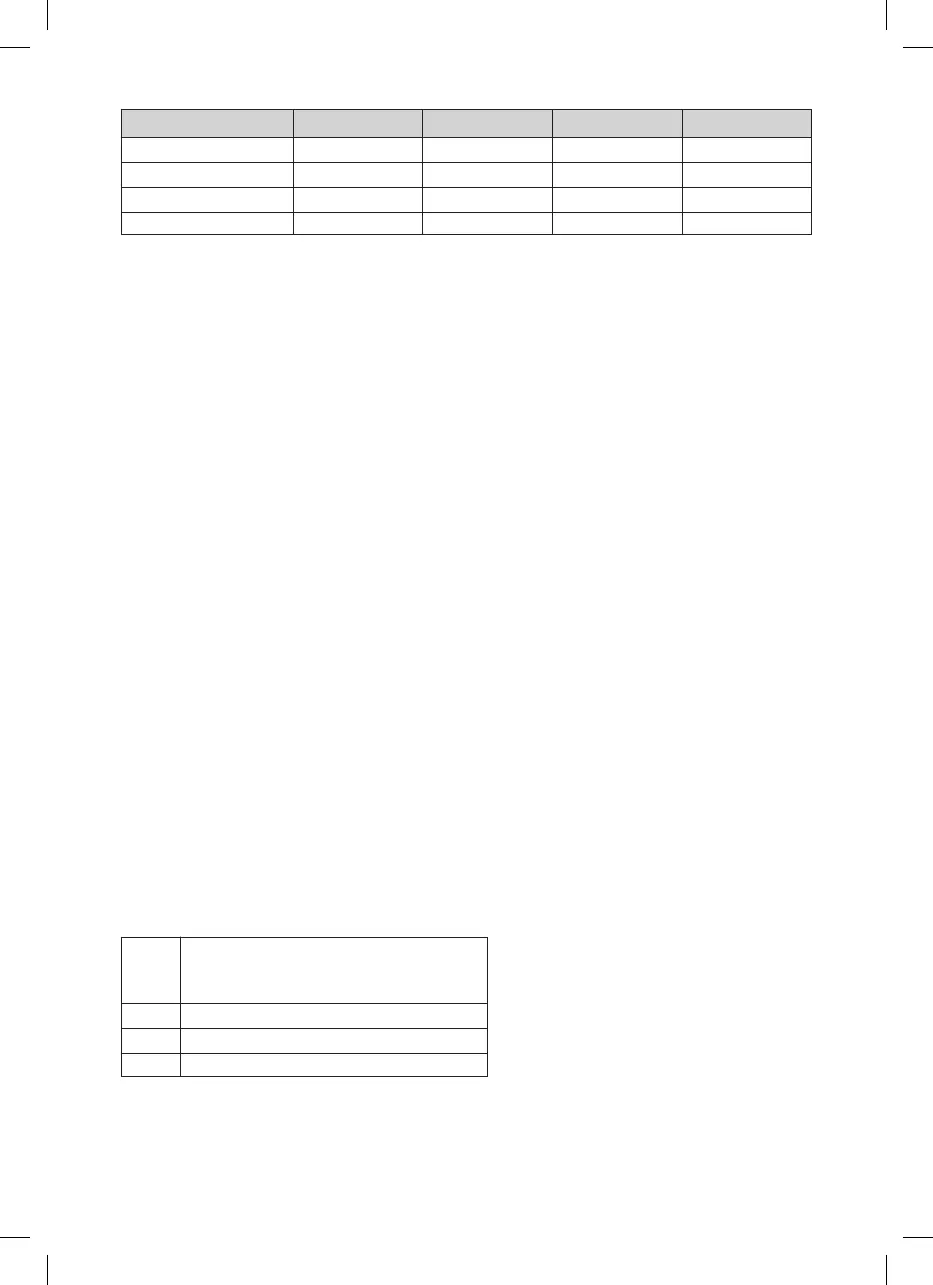
FAULTS & ERRORS
There are 4 possible error signals that may be displayed. These are explained in the
following table:
Amps Deep Cycle (Ah) Automotive (CCA) Marine (MCA) Time (Hrs)
1 Amp (AC040 Slow) 7–24 40–140 55–200 7–26
2 Amp (AC080 Slow) 14–50 80–300 110–400 7–26
4 Amp (AC040 Fast) 24–80 140–480 200–650 6–24
8 Amp (AC080 Fast) 50–160 300–1000 400–1300 6–24
F1 1. No clamps connected.
2. Short circuit
3. Reverse polarity connection
F2 Loose clamps during charging
F3 Battery voltage is too high
F4 Bad battery