USER MANUAL | 11
step 4
step 5
step 6
island hood installation
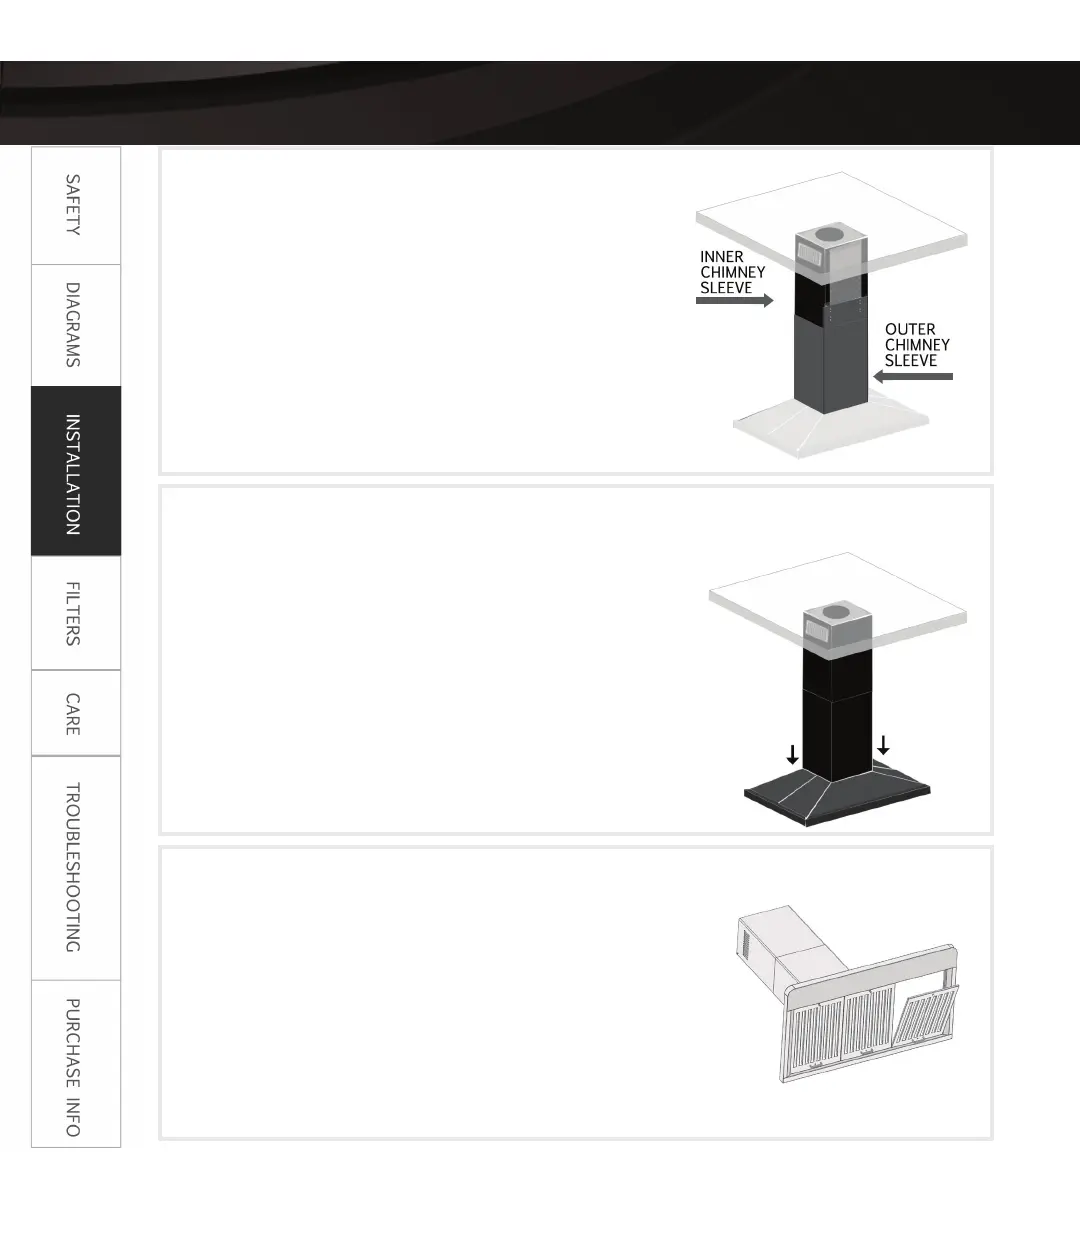
Install Chimney
♦ slide inner chimney sleeve over support brackets,
covering the ceiling bracket
♦ screw into place at the top of ceiling bracket
♦ slide outer chimney sleeve to the bottom portion
of the chimney
♦ adjust until the bottom chimney sleeve comes a
few inches from the bottom of the support brack-
ets
♦ you may want to use painters tape to help hold
the chimney in place while you proceed to step 5
Attach Hood
♦ if your hood comes with a transition ducting piece,
secure it to the base of your hood before mount-
ing
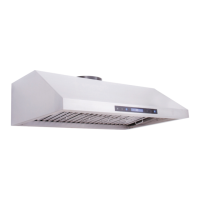
♦ place the base of the hood directly under the
chimney
♦ screw hood to the support brackets on all 4 cor-
ners
♦ feed electrical and ducting work through chimney
♦ slide outer chimney sleeve down into place, meet-
ing the top of the hood
*first make sure your ductwork and electrical work are pulled through the ceiling and ready to go
(see preparation work and step 2 above)
Install Filters
♦ if your hood will be ductless, install the charcoal
filter (see filter information after the Control Panel
diagram above)
♦ peel off any protective tape or film on the metal
filter
♦ pop the spring loaded metal filter into place, di-
rectly under the hood
♦ That’s it! Now you’re ready to enjoy your new
island hood!



 To Next Page