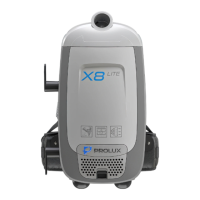
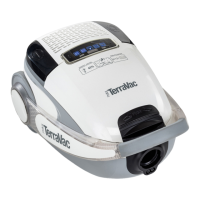
Removing & Replacing HEPA Dust Bag
Important: For best performance DO NOT use the vacuum without all filters, cloth dust
bag, or without the HEPA dust bag in place.
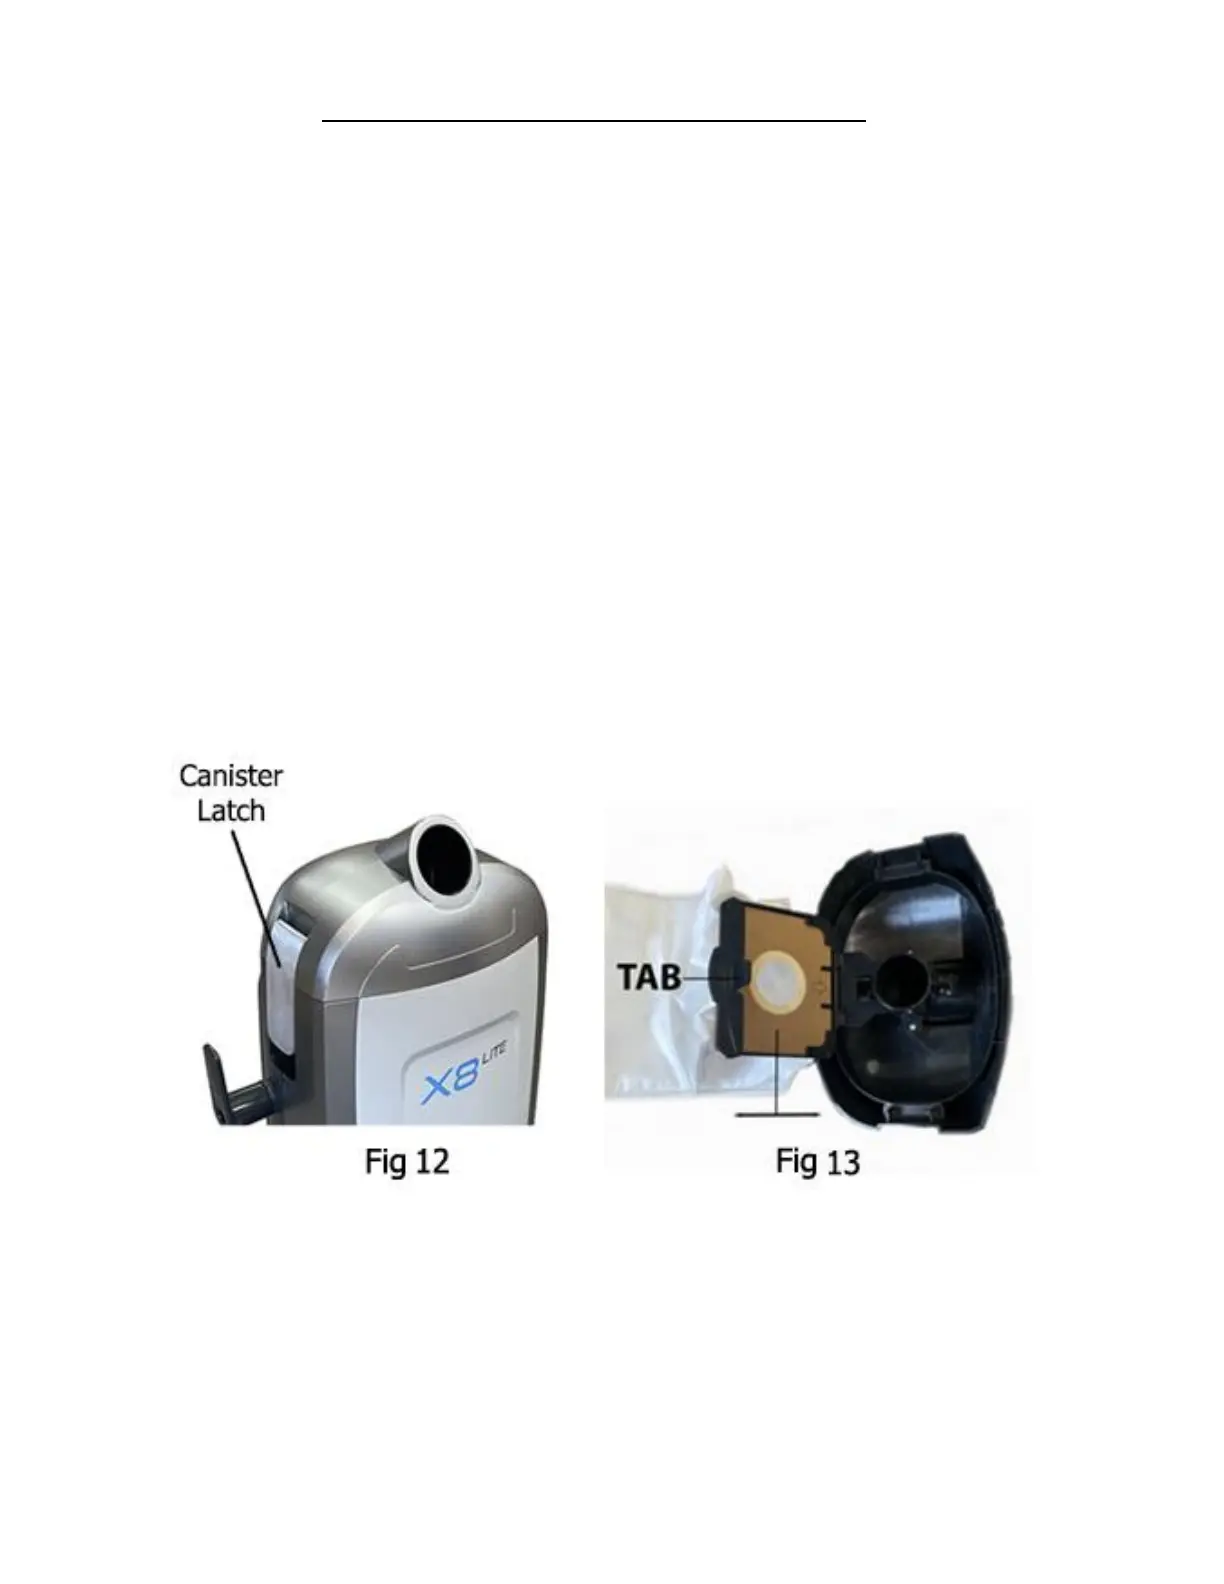
1. To remove the HEPA dust bag, press on the canister latches on each side of the unit and
then lift the canister lid off. The dust bag will come out when the lid is removed (Fig 12)
2. Pull the tab on the HEPA dust bag holder out slightly and lift upwards. (Fig 13)
3. Holding the HEPA dust bag top in your hand, slide it out from the slots in the bag holder.
Hold carefully to avoid having dust fall out of the HEPA dust bag.
4. Replace the HEPA dust bag with a new bag by inserting the cardboard bag top into the bag
holder and sliding it in. Do not reuse the same vacuum bag.
5. The cardboard face of the new bag should rest securely in the dust bag cover guides. Flip
the bag holder over and press the tab until it clicks, locking the bag into place.
6. Cleaning the cloth bag is recommended at this time. Once cleaned, place the clean cloth
dust bag into the vacuum.
7. Insert the HEPA bag back into the vacuum and replace the canister lid locking it into place
by latching the lid clips back down.
NOTE: Never overfill the HEPA Dust bag – replace when bag is full and clean the cloth dust
bag and filter each time the HEPA dust bag is replaced.