98
Understanding Battery Types / Installatio n Installat ion
Installation Continued
1) Make sure to mount the charger in a dry ventilated location with easy access. Remember
to leave plenty of room for battery cables and AC wiring.
2) Six inches of clearance minimum is required on all sides. (Including the front / face) Make
sure to leave room for the drip shield to be mounted as illustrated on page 13.
3) Use the ProTech-i as a template for drilling four 1/8” pilot holes. Stainless Steel self
tapping screws (#10 X 3/4” are recommended) or drill four 3/16” through holes if using 3/16”
through bolts with washers, lock washers and nuts, (in mounting areas that can allow for
thru hole mounting).
Charging Information
Please note: Dimensions are nominal measurements
Stainless steel mounting screws and hardware not included
ProTech-i User Programmable
Battery Type Charge Profile Chart.
Installation
Please Note: This manual is written describing 12 Volt ProTech-i models. For 24 Volt Models
please read the bold note directly below:
Note: For 24 Volt installations, always make sure you have a 24 Volt Common Ground
Protech-i Series Charger, and that your batteries are configured in series as a 24 Volt
battery bank or banks. Each 24 Volt bank will require a 24 Volt positive connection.
Not sure you know what voltage system you have on board your boat? Contact your
local certified ABYC electrical technician.
The ProTech-i battery charger will automatically operate from 95 to 250 VAC, 50/60 Hz
single phase. The charger is designed for the marine environment, with an epoxy painted
aluminum case for effective heat dissipation and corrosion resistance. The charger
should be permanently mounted and wired directly to battery(s) or associated battery
switches per ABYC E-11 standards for AC and DC electrical systems on boats.
Your ProTech-i Series is equipped with a user programmable battery type selector switch that
is factory set for Flooded (Lead-acid). To change your battery type / charge profile, please
refer to the “Selecting a Charging Profile” section of your owner’s manual. (Page 7)
Don’t know what kind of battery(s) you have? Refer to Page 7 of this manual on
“Understanding Battery Types” or contact the manufacturer of your battery(s).
DC Installation
Battery Type
Volts DC
Absorption
Float
12.5
13
13.5
14
14.5
15
Flooded AGM GEL
13.5
13.3
13.8
14.7
14.4
14.1
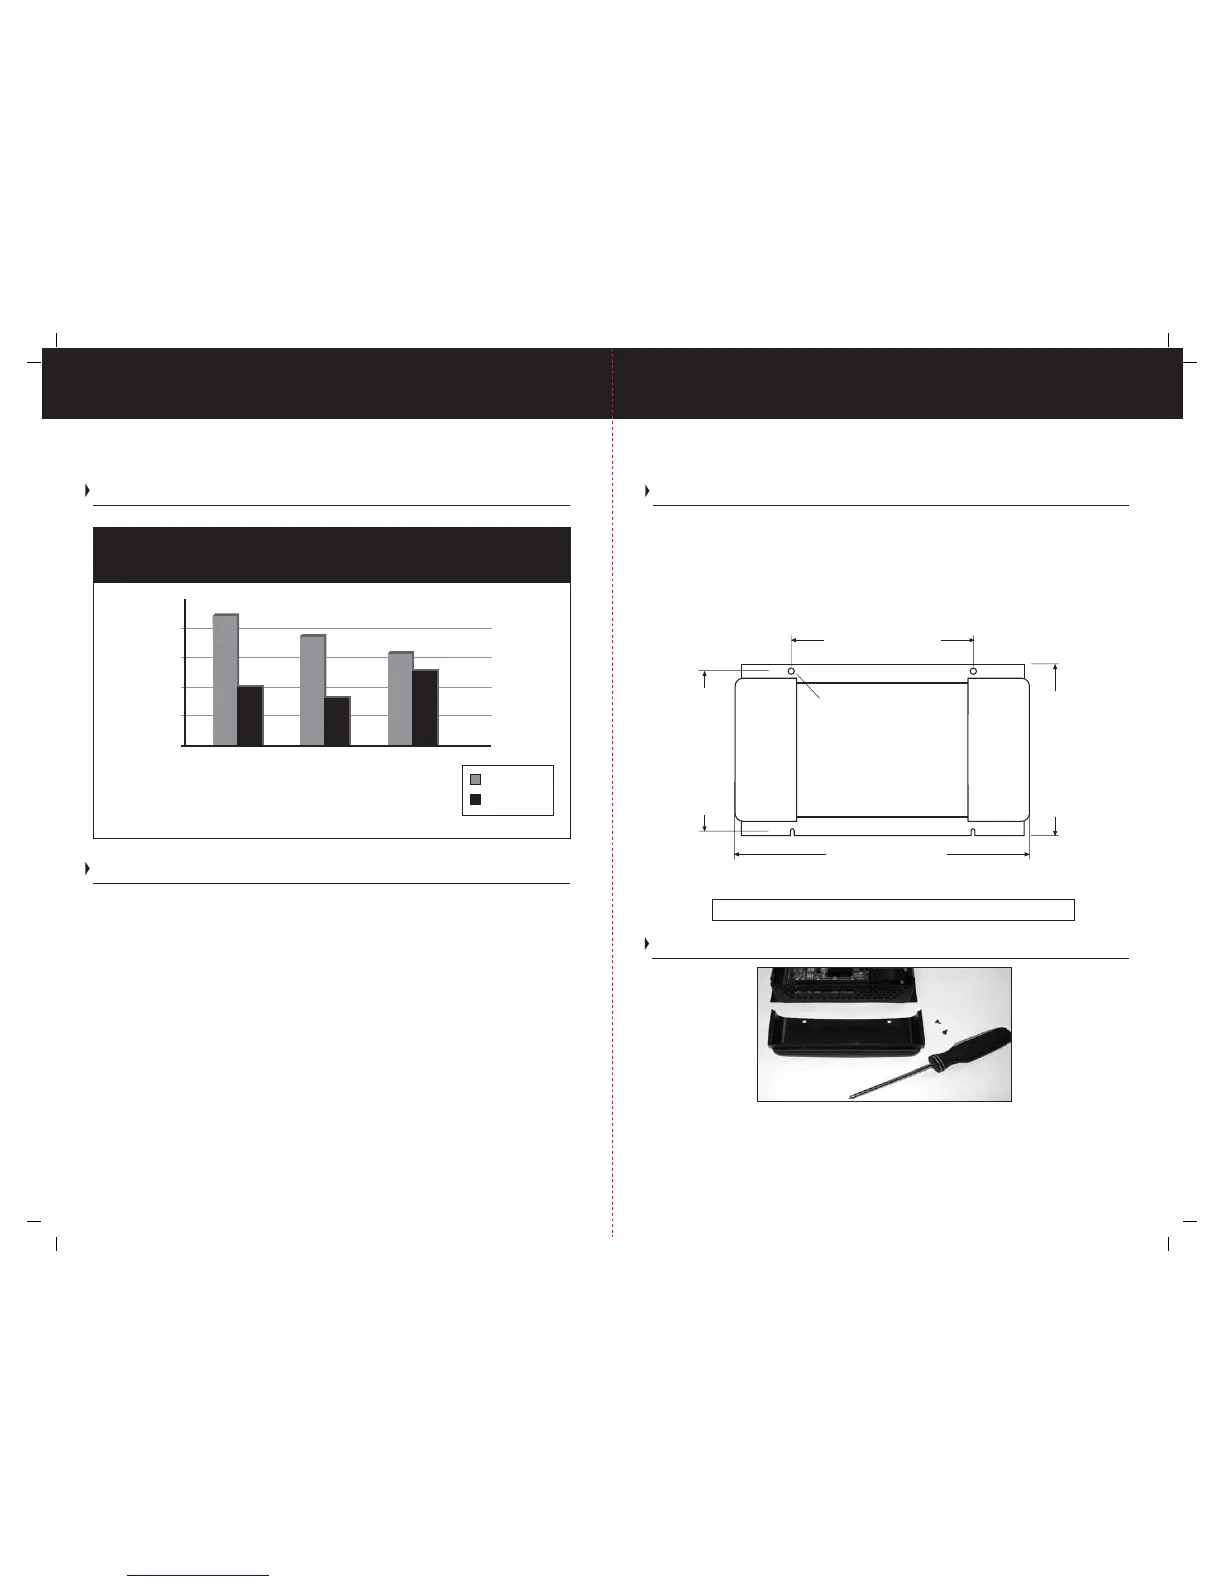
Shown above is the ProTech-i split DC endcap. Please note that this is a two piece end
cap. To remove simply unscrew the two self tapping screws on the top of the DC end
cap and slide top cap off. This will allow access to the low voltage DC terminals for
connections of cables.
1210i, 1215i, 1220i, 1225i: 254mm (10”)
1230iPlus, 1240iPlus, 2420iPlus: 394mm (15-1/2”)
1210i, 1215i, 1220i, 1225i: 152mm (6”)
1230iPlus, 1240iPlus, 2420iPlus: 248mm (9-3/4”)
1210i, 1215i, 1220i, 1225i: 146mm (5-3/4”)
1230iPlus, 1240iPlus, 2420iPlus: 171mm (6-3/4”)
1210i, 1215i, 1220i, 1225i: 157mm (6-3/16”)
1230iPlus, 1240iPlus, 2420iPlus: 182mm (7-3/16”)
ø 5mm (ø3/16”)