5 6
RECOGNIZING THE FRONT AND REAR OF THE ATOM™ X
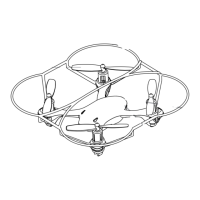
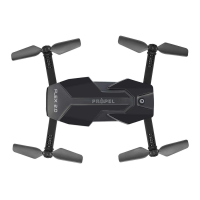
Even though the ATOM™ X has four rotors, there is still a “front” or forward facing direction and "rear" or
backwards facing direction. The front or forward facing direction of the ATOM™ X is the side with two gray
propellers (see diagram E ). The rear or backwards facing of the Quadrocopter is the side with two red
propellers (see diagram E).
NOTE: The front of the Quadrocopter displays WHTIE LED lights and the back of the Quadrocopter displays
RED LED lights.
AUTOMATICALLY TAKE OFF / LAND
Make sure you have properly synced The ATOM™ X.
• Simply press the “start/land” button on the top of controller, your ATOM™ X will automatically take off.
• To stop or land the ATOM™ X just press the “START/LAND” button again and the ATOM™ X will descend and
land automatically.
Tips: You also can move the two control sticks simultaneously down to the inside corners, hold them until you
hear a “beep” and the blades start spinning. Release the control sticks and push up the throttle stick slowly to
take off manually.
In case of emergency: to stop the rotors instantly, simply press the calibrate button on the top of the
cotroller, located in the center.
SPEED SETTING BUTTON
The ATOM™ X has 3 speed settings; 1 (SLOW) , 2 (MEDIUM) and 3(HIGH). The Default setting when you first
turn on your ATOM™ X is mode 1 (SLOW) . To increase the speed simply press the speed setting button (see
remote diagram on page 3), you will hear beeping sound and the speed indicator will display the current
speed setting with letter and Numbers. Number 1 indicates slow speed, 2 indicates medium speed and 3
indicate high speed.
3/4 CHANNEL SELECT
ATOM™ X allows you to control your Quadrocopter in 3 channel mode (beginner) or 4 channel mode (advanced
flying). The ATOM™ X default setting is 4 Channel mode.
To change to 3 Channel mode: PRESS the 3CH button (see remote diagram on pg 3), you will hear 3 short beeps
and the “3 CH” will light up on the controller indicating the ATOM™ X now is set to 3CH mode.
To change back to 4 Channel mode: PRESS the 4CH button (see remote diagram on pg 3), you will hear 4 short
beeps and the “4 CH” will light up on the controller indicating the ATOM™ X is now set to 4CH mode.
UNDERSTANDING THE ALTITUDE LOCK SENSOR
The ATOM™ X has a unique Altitude Lock, air pressure sensor that allows for easier flight control and stability.
A beginners friend, it allows the user to ease into piloting the copter. The sensor locks in the altitude of the
copter while allowing the user to adjust the directional controls without having to hold the throttle.
After starting the copter, fly upwards to a safe height using the left joystick. Once at a safe height, letting go
of the left joystick should lock in the altitude and allow the user to focus on getting used to the directional
controls of the ATOM™ X. If when flying, the copter does drift downward or upward, it will automatically self
correct and go back to the last locked height.
NOTE: The altitude sensor does have some tolerance based on atmospheric conditions and could have a slight
variation in altitude.
NOTE: The use of the Trim buttons are accompanied with a Beep sound. A single long Beep indicates the
product is center trimmed. If there is no beep sound after press the trim buttom, it indicates the maximum
rang of the trim on a particular side.
UNDERSTANDING TRIM ADJUSTMENTS
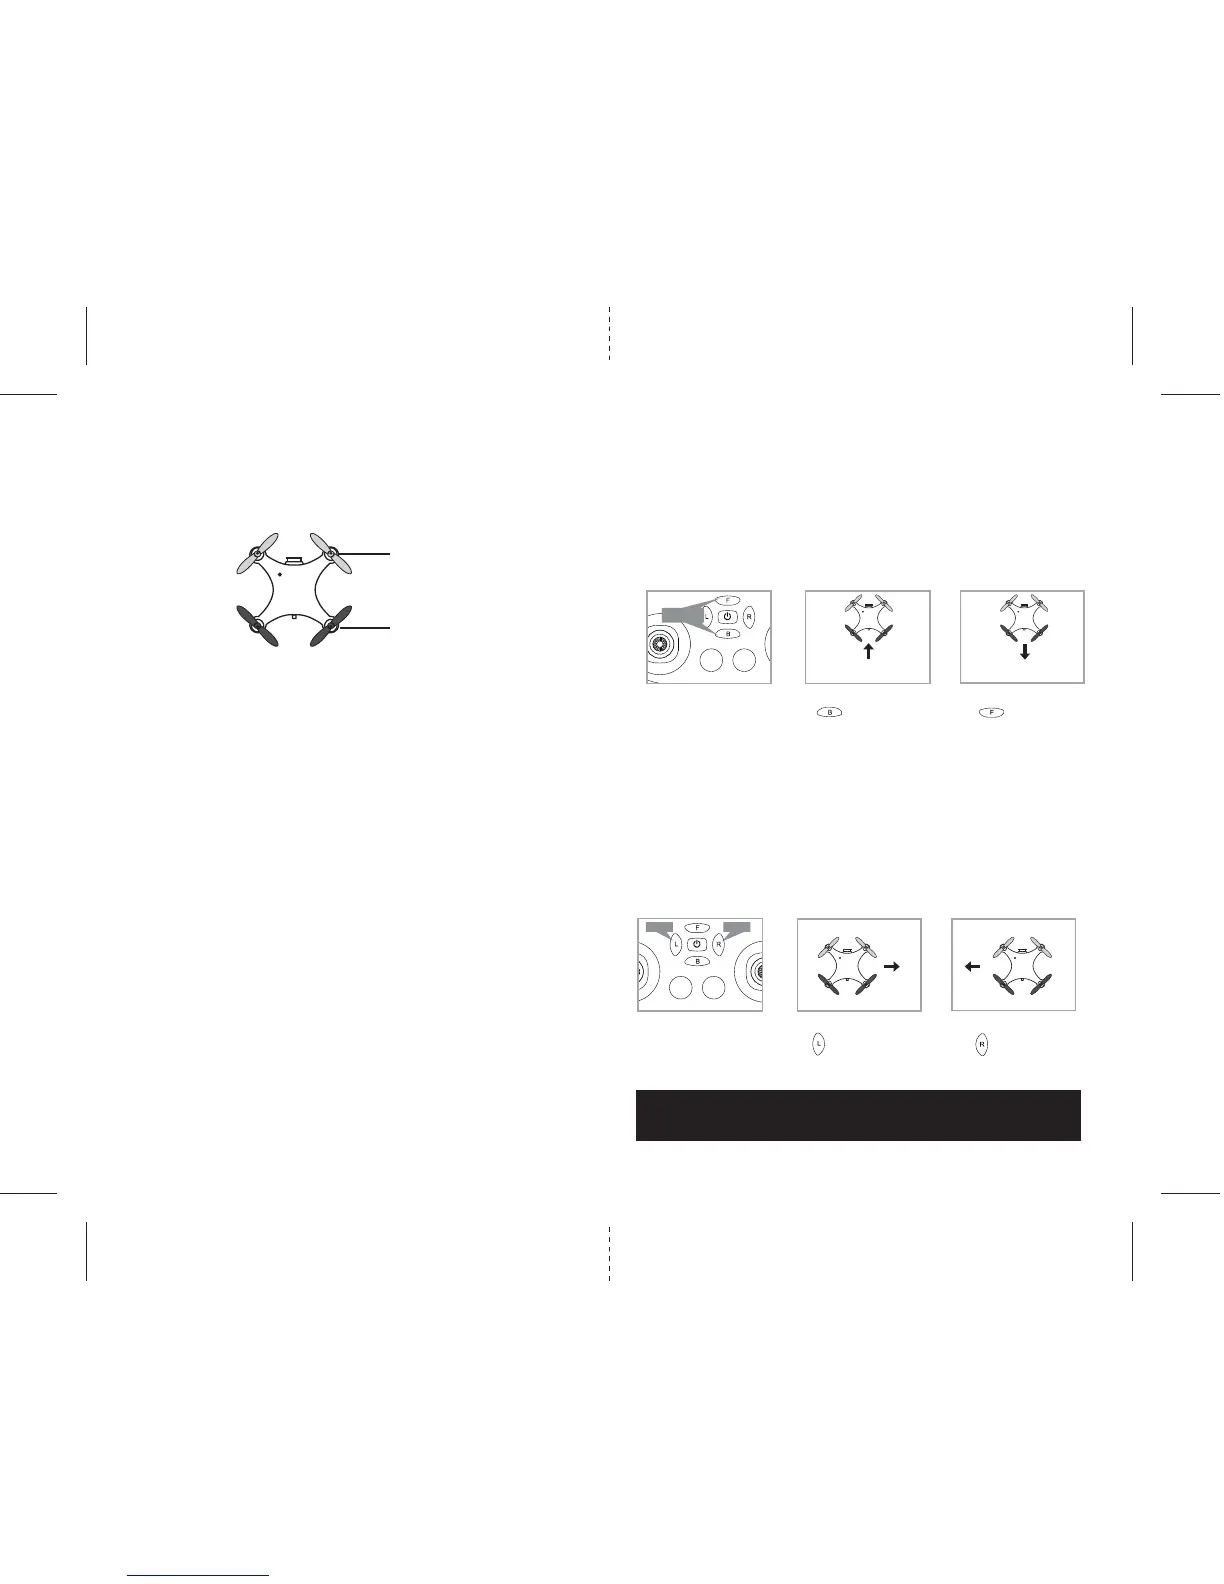
Forward/Backward Trim
�• If your ATOM™ X is moving forwards or backwards automatically, you may need to adjust the
FORWARD/BACKWARD TRIM buttons.
•�If your ATOM™ X flies forward, push and release the B TRIM button repeatedly until the moving stops
and proper flight is maintained.
•�If your ATOM™ X flies backwards, push and release the F TRIM button in the same manner until the
problem is resolved.
• From time to time you may have to adjust the FORWARD/BACKWARD TRIM to ensure the ATOM™ X
will hover in mid-air and respond accurately to your commands.
Banking Left/Right Trim
• If your ATOM™ X is not steadily hovering and is banking to the left or right automatically, you
may need to adjust the BANKING TRIM buttons.
•�If your ATOM™ X banks to the left, push and release the R TRIM button repeatedly until the banking
stops and proper flight is maintained.
•�If your ATOM™ X banks to the right, push and release the L TRIM button in the same manner until the
problem is resolved.
• From time to time you may need to adjust the BANKING TRIM to ensure the ATOM™ X will steadily
hover in mid-air and respond accurately to your commands.
Forward/ Backward
Trim
Forward/Backward
Trim Controls
Push backward
trim button
Push forward
trim button
If flying forward... If flying backward...
4 CH Left/Right Banking
Controls
Push the “L” trim button to
increase left banking
sensitivity
Push “R” trim button to
increase right banking
sensitivity
Bank Bank