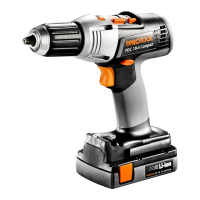
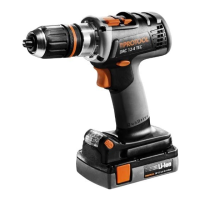
12
PDC 18-4 Compact
GB
7 Settings
7.1 Changing direction of rotation
[1-7]
• Switch to the left = clockwise rotation
• Switch to the right = counterclockwise ro-
tation
7.2 Changing gear
You can change gear using the gear switch
[1-5]
.
7.3 Adjusting the torque[1-6]
Fastening
Select the correct torque setting:
Position 1 = low torque
Position 12 = high torque
An
acoustic signal
sounds when the preset
torque is reached and the machine then
switches off. You must release and press the
ON/OFF switch
[1-8]
again to start the ma-
chine.
Drilling
Mark is aligned with drill symbol = maxi-
mum torque.
7.4 Impact drilling
L
The machine was designed for impact
drilling into tiles, masonry and stone.
Set the selector switch
[1-4]
to the hammer
symbol. Set the adjusting wheel
[1-6]
to the
drill symbol.
7.5 Changing tools
Turn the clamping sleeve
[5-1]
anticlock-
wise to open the jaws. The arrow on the
clamping sleeve indicates the opening direc-
tion. The tool can now be inserted into the
drill chuck.
Turn the clamping sleeve
[5-1]
clockwise to
clamp the tool securely
8 Working with the machine
8.1 On/Off switch [1-8]
Press = ON, release = OFF
L
The speed of the machine depends on
how far the on/off switch is pressed in.
8.2 Bit depot [1-1]
Magnetic, for storing bits and bit holders.
8.3 Belt clip [1-9]
The user can attach the machine to work
clothing for short periods using the belt clip
(right/left).
8.4 Acoustic warning signals
Acoustic warning signals sound and the ma-
chine switches off in the following operating
states:
9 Service and maintenance
Note the following information:
– Keep the ventilation slits on the machine
free and clean to ensure adequate cooling.
– Keep the contacts on the machine, charger
and battery pack clean.
LED green – lit continu-
ously:
charged > 60 %
LED green – flashing
slowly:
charged 30 % – 60
%
LED green – flashing
quickly:
charged 0 % – 30
%
LED yellow – lit continu-
ously:
battery is empty
LED red – lit continu-
ously:
battery temperature
is outside the permitted
range.
LED red – flashing:
indi-
cates a general fault, e.g.
incomplete contact, short
circuit, battery pack faulty,
etc.
WARNING
Risk of injury
X
Always switch off the machine before ad-
justing settings!
CAUTION
Risk of injury
X
Clamp the tool centrally in the drill chuck!
– Preset torque reached.
– "Block protect" - starting torque too
high.
– Machine overloaded
peep