Installation
31
Version 1.0 | 31 |
• Position hoist in vertical position to load. Before moving trolley, make sure path of hook is free from any
obstacle.
• Lower hook near master link to hoist load and make nal adjustments to secure a 90º vertical lift operation
without any lateral deviation. Improper life angle may cause swinging of load.
• Attach hook to load link and make sure there are no people in working area. Check that no loose items can
fall from load.
• Begin by hoisting load two inches and stop. Check brakes are fully operational and load doesn’t lower while
stopped. Also check load is balanced and secured. Load may have changed shape or center of gravity when
suspended.
• To reach a desired position, movements must be smooth and continuous. Repeatedly pressing buttons may
heat up motor and damage equipment.
• Avoid sudden directions changes. These movements may damage equipment, prematurely wear down
brakes and cause accidents.
7. Avoid any obstacle when hoisting or traveling load.
8. Start movement of trolley and check there is no swinging of load and no obstacles in path. Stop movement
and make necessary adjustments if one of these conditions is present.
9. Once desired position is reached, slowly stop trolley. Position load completely vertical to desired spot
where load will be lowered.
10. Gradually lower load until it is secured on resting surface. Avoid hitting surface at high speed. If necessary,
stop movement before reaching surface and gradually lower to land load.
If hoist model has double dual/speed capabilities, always start with slower speed to avoid sud-
den accelerations. Decelerate before completing a stop.
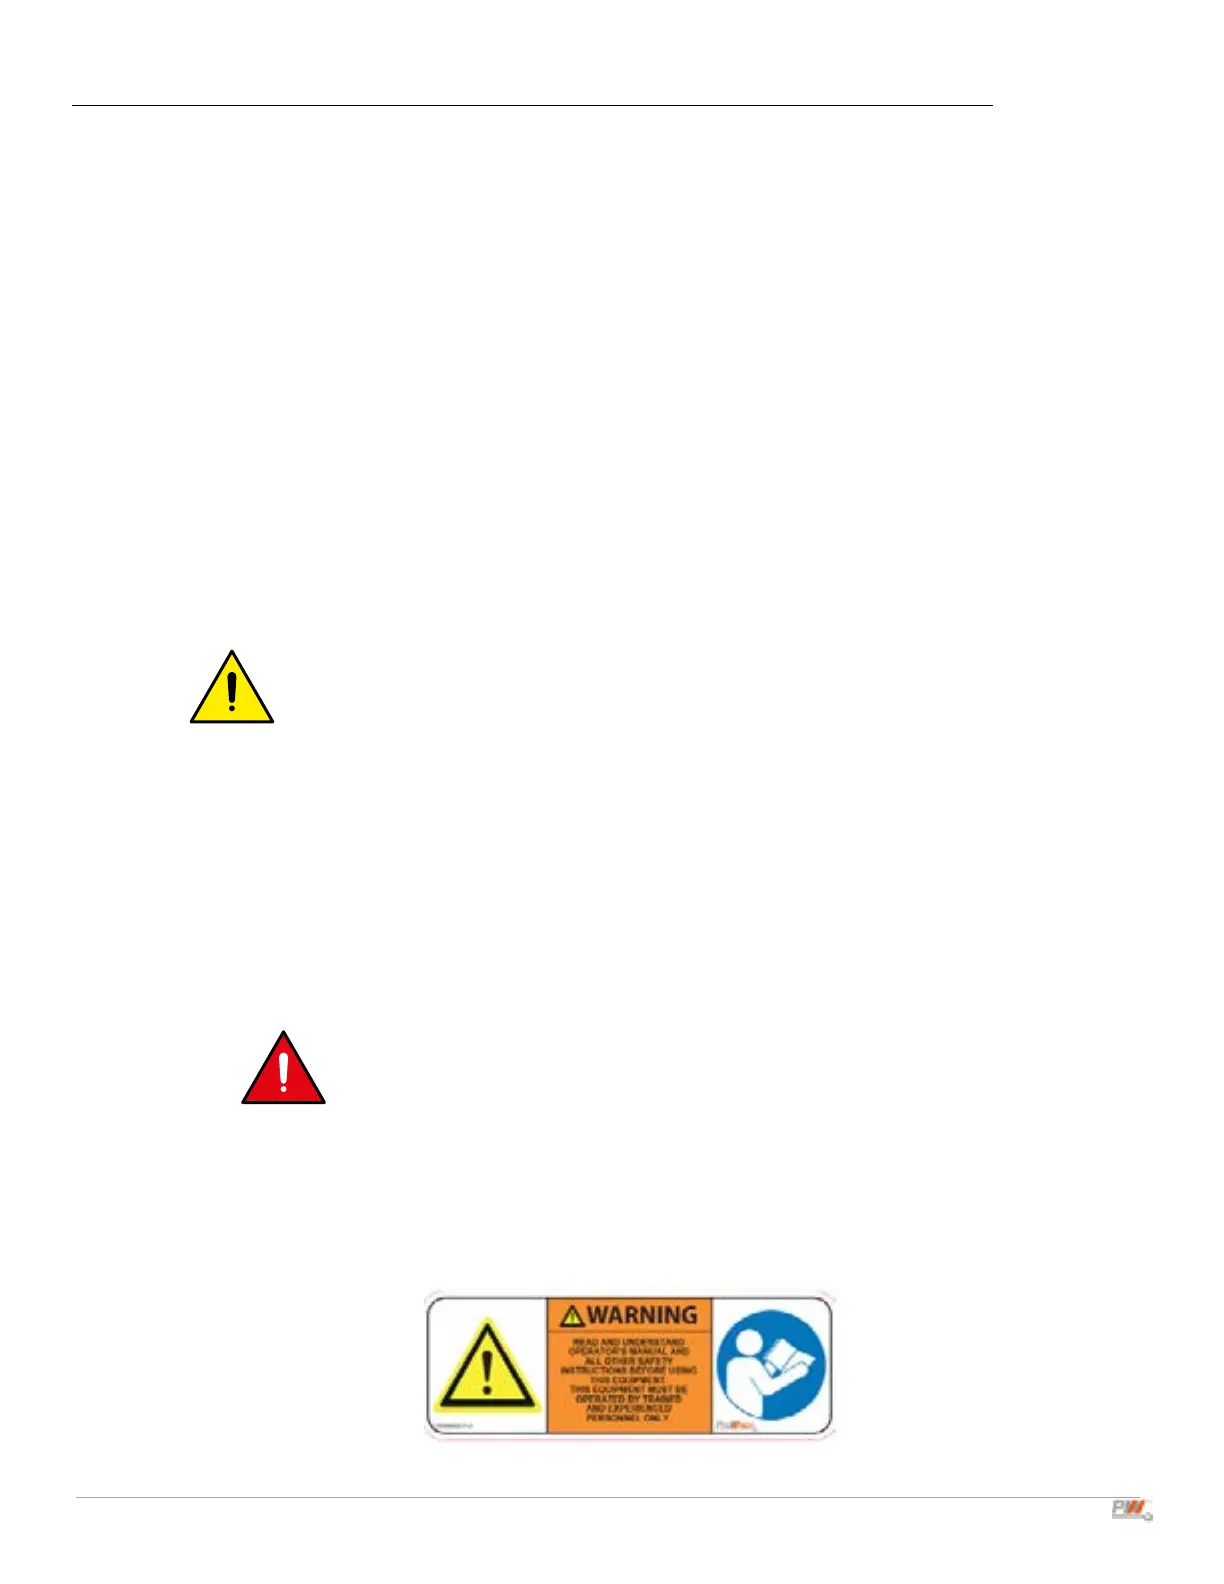
WARNING:
NEVER leave load suspended without attention of the hoist operator!
DANGER:
ELECTRICAL AND VOLTAGE SELECTION
Available voltages 3 phase 220V 60HZ , 380V 50HZ and 440V 60HZ
Before switching voltage!
 Loading...