EasyManuals Logo

Proxim Tsunami Multipoint MP-820-BSU-100 Installation Guide

Proxim Tsunami Multipoint MP-820-BSU-100
80 pages
To Next Page IconTo Next Page
To Previous Page IconTo Previous Page
Page #51 background imageLoading...
Page #51 background image
8000 Series - Hardware Overview and Installation
Tsunami
®
800 and 8000 Series - Hardware Installation Guide 51
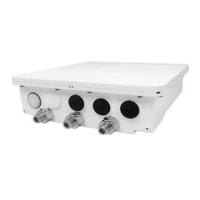
Additional Weatherproofing Steps
To add an additional layer of protection to the connectors against the environment, see
b O \ M R b M M R Y R ^ \ K a
§ O K Y [ O L L ^ ^ ¨ R \ W
`
Y O c
.
For detailed explanation to weatherproof RF connections, refer to Antenna Installation Guide, which is available at
[ Y Y S L ^ R S g ^
.
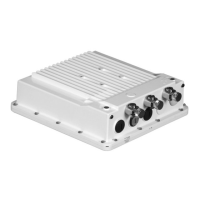
Step 6: Assemble Mounting Hardware
1. Fix the Mounting Plate (A) by using the provided screws and washers (Torque 9 N
.
m/75 in-lbs).
2. Fix the Extension Arm (B) to the fixed Mounting Plate with the provided screw, nut and washers. The Extension Arm
gives the device more possible tilt, letting you adjust for azimuth or elevation over a larger angle.
3. Fix the Mounting Bracket (C) to fixed Extension Arm with the provided screw, nut and washers.
4. Tighten the assembled parts (Torque 15 N
.
m/130 in-lbs).
©
Mounting Plate
Mounting Plate fixed to the device
Extension Arm
Mounting Plate fixed to the device Extension Arm fixed to
Mounting Plate
®
Mounting Bracket
Extension Arm fixed to
Mounting Plate
Mounting Bracket fixed to
Extension Arm

Other manuals for Proxim Tsunami Multipoint MP-820-BSU-100

Questions and Answers:

Question and Answer IconNeed help?

Do you have a question about the Proxim Tsunami Multipoint MP-820-BSU-100 and is the answer not in the manual?

Proxim Tsunami Multipoint MP-820-BSU-100 Specifications

General IconGeneral
BrandProxim
ModelTsunami Multipoint MP-820-BSU-100
CategoryWireless Access Point
LanguageEnglish

Related product manuals