support@prxperformance.com 7
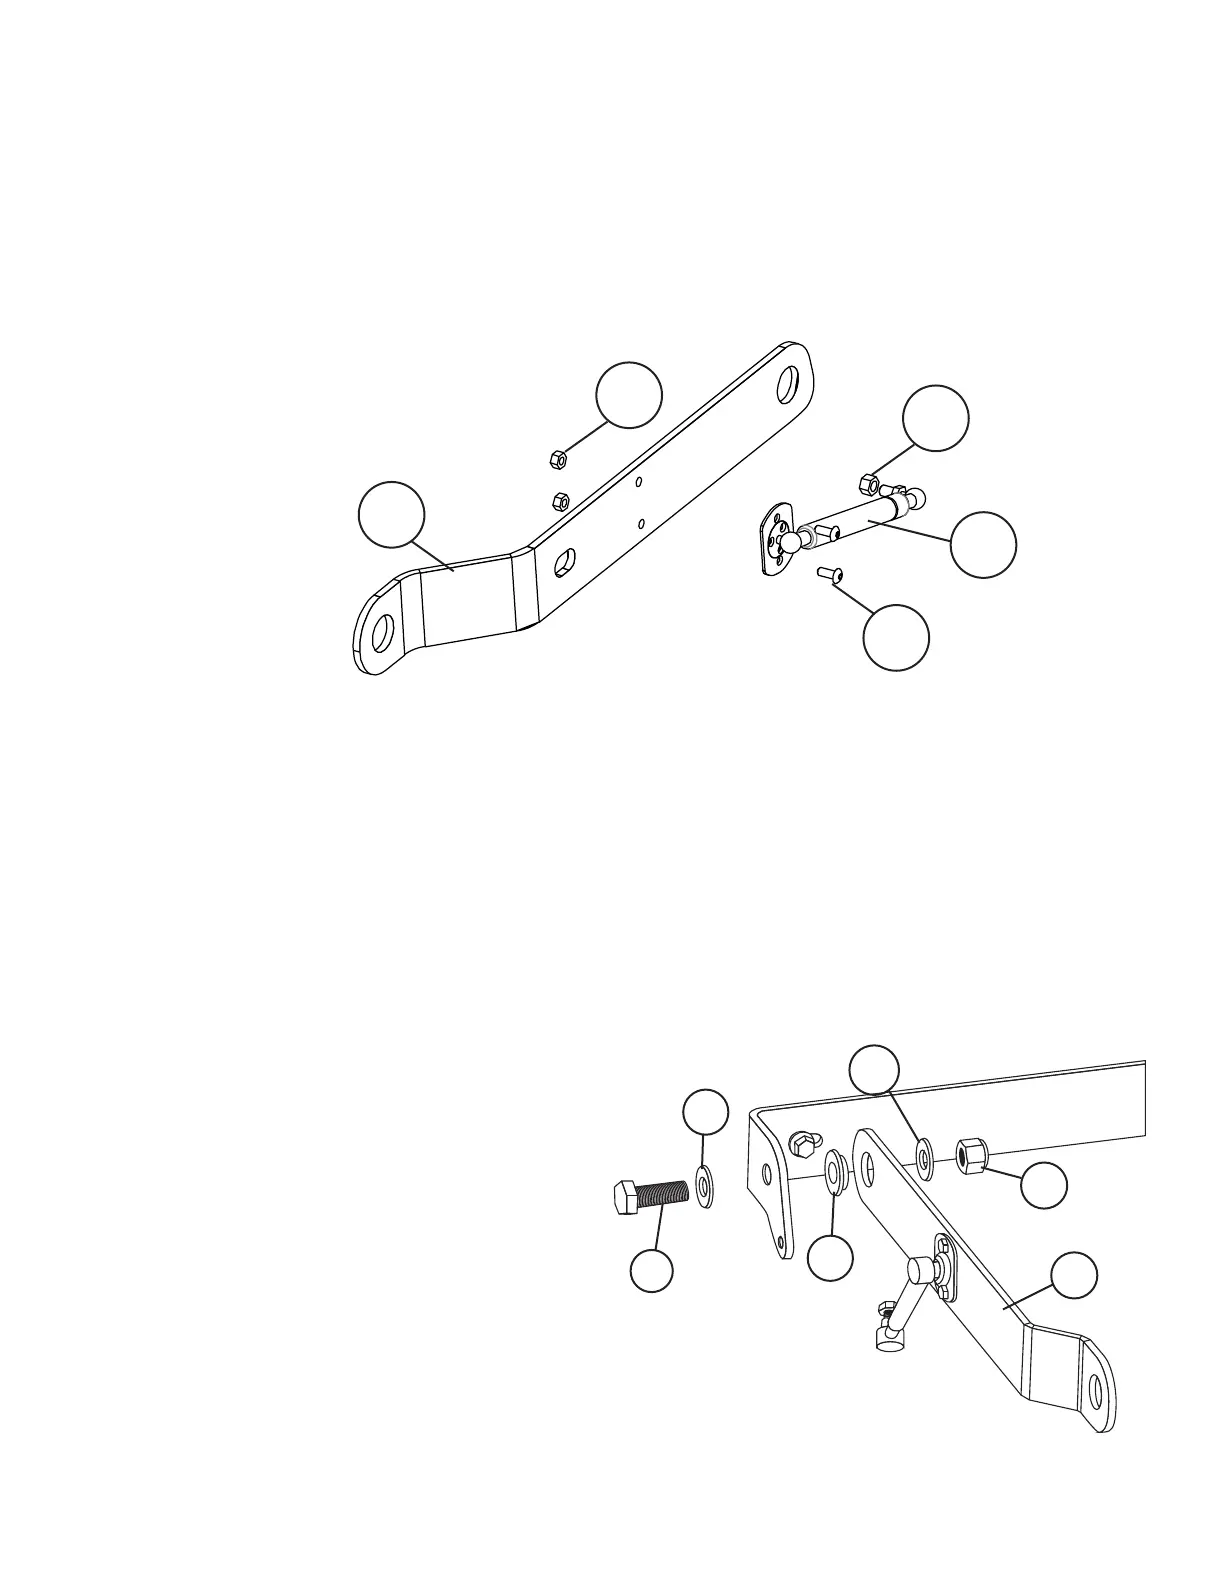
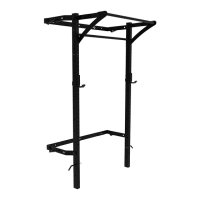
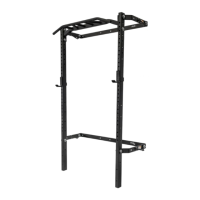
Linkage Arms
Linkage Arm Assembly
1. Attach the Shock (3B) to the Linkage Arm (3A) using M6 x 16 Allen Bolt (3C) and M6 Nylock Nut (3D).
Fully tighten M6 Nylock Nut (3D)
2. Once the shock is attached to the arm, place the M8 Nylock Nut (3E) onto the shock and lightly hand
tighten. This will make installation more convenient later
3. Repeat with other three Linkage Arms and shocks
Linkage Arm Attachment to Wall Brackets
1. Place the small side of the Plastic Spacer (7) in the straight, gas-shock facing, portion of the Linkage
Arm(3A) as pictured below
2. Place the Linkage Arm (3A) with the inserted Plastic Spacer (7), on the inside of the wall bracket “ear”
3. Attach the Linkage Arm (3A) to the wall bracket using a M16 x 35 Hex Head Bolt (8) and M16 Washer
(9) on the outside of the wall bracket “ear” and a M16 Washer (9) and M16 Nylock Nut (10) on the
opposite side
4. Tighten using a 24mm socket and 24mm
wrench
*NOTE: DO NOT over tighten any of the
pivot points. This may result in the rack
feeling “stiff ” moving up and down. It
should be able to move up and down
freely
5. Repeat so all four linkage arms are attached
to the wall brackets
*NOTE: DO NOT attach the shocks to the
wall brackets at this point of assembly
9
9
8
7
10
3A
3E
3C
3B
3D
3A