6
Setting Time and Date
1. PRESS the MENU button.
Display will appear as shown (Figure 1).
2. PRESS the FAN button.
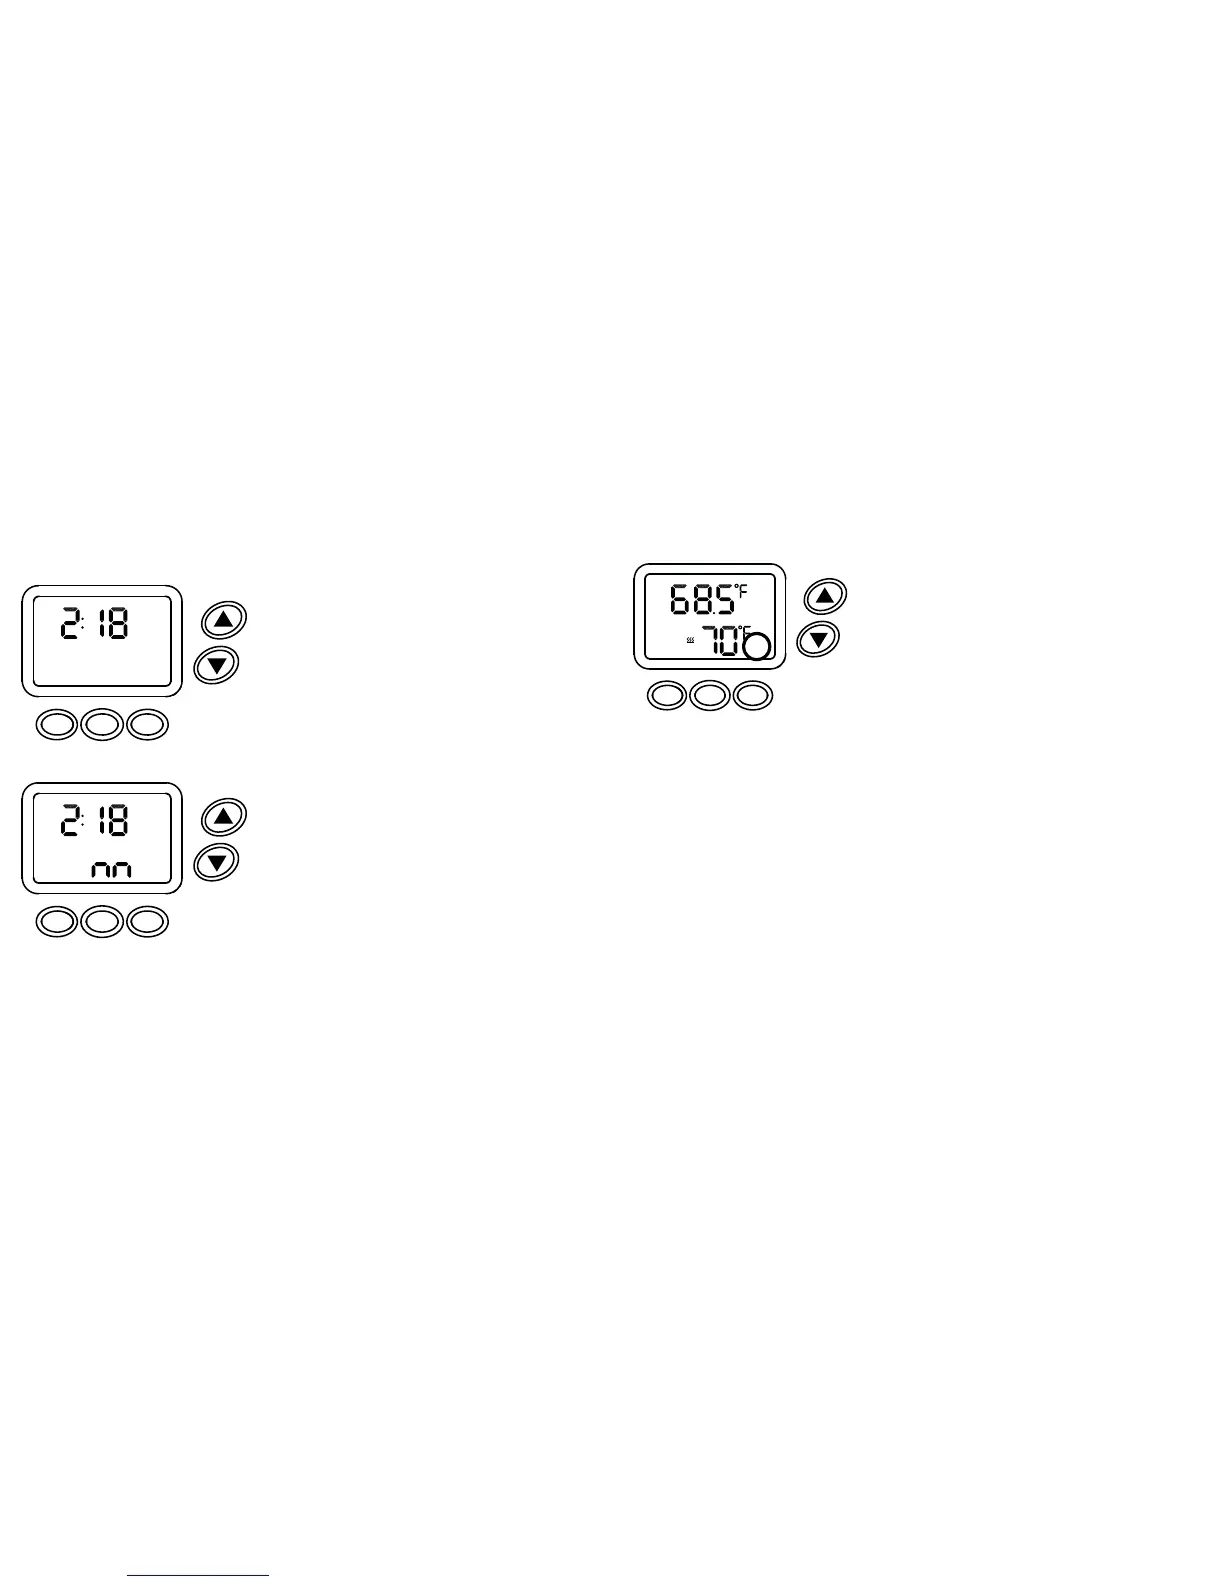
hr will appear and the hour numeral will flash.
3. PRESS the up or down arrow button to set
the current hour.
4. PRESS the FAN button.
m will appear and the minute numerals will flash.
Display will appear as shown (Figure 2).
5. PRESS the up or down arrow button to set
the current minutes.
6. PRESS the FAN button.
Yr and the year will appear.
7. PRESS the up or down arrow button to set
the current year.
8. PRESS the FAN button.
m and the month will appear.
9. PRESS the up or down arrow button to set
the current month.
10. PRESS the FAN button.
dy and the day will appear.
11. PRESS the up or down arrow button to set
the current day.
12. PRESS the menu button to save and exit.
FRI
PM
TIME
DONE NEXT
MENU FAN MODE
Figure 1
FRI
PM
TIME
DONE NEXT
MENU FAN MODE
Figure 2
7
Programming the Events Schedule
Programming the events schedule has 3 different formats:
5-2: Monday thru Friday are the same schedule
Saturday and Sunday are the same schedule
5-1-1: Monday thru Friday are the same schedule
Saturday has a different schedule
Sunday has a different schedule
7 day: All seven days can have a different schedule, default format
The scheduling format is set up by the contractor in the Advanced Settings (PSEt).
When the FAN and MODE buttons are pressed, PSCH will appear on the display
with 7d, 51 or 52 to indicate the selected schedule format. To reset the scheduling
format see page 17.
NOTE: Changing the scheduling format will automatically restore the factory default
schedule. Any programmed settings of the schedule will be lost.
TEMPORARILY OVERRIDING THE CURRENT
SCHEDULED EVENT:
PRESS the up or down arrow button to change
the setpoint. TEMP will appear on the display.
The new setpoint will operate for four hours. At
the end of four hours, the setpoint will return to
the scheduled one.
WED
RETURN
HEAT
TEMP
AUXAUTO
FANSCHED
MENU FAN MODE