6 7
Turn the lever of the battery compartment (15) 90 degrees in “Open”
position and, pulling by the lug of the cover, remove the battery
container.
Install four AA batteries (or rechargeable batteries) observing polarity
shown on the battery container.
Insert the battery container into the battery compartment and turn the
lever 90 degrees clockwise.
Battery charge level is displayed in the status bar ( ).
In case of complete battery discharge, icon is flashing in the status
bar and in the centre of the display.
INSTALLATION OF BATTERIES
6
Operating mode: City, Forest, Identification.
Calibration mode: Manual, Automatic, Semi-automatic.
Automatic power off. Displayed only when the function is activated.
Image inversion mode. Displayed only when “Black Hot” color mode is
selected.
Zoom. Shows the value of the full optical magnification.
Clock setup. Shows running time in a 12h or 24h format.
Power. Shows current battery status or connection on an external
power supply.
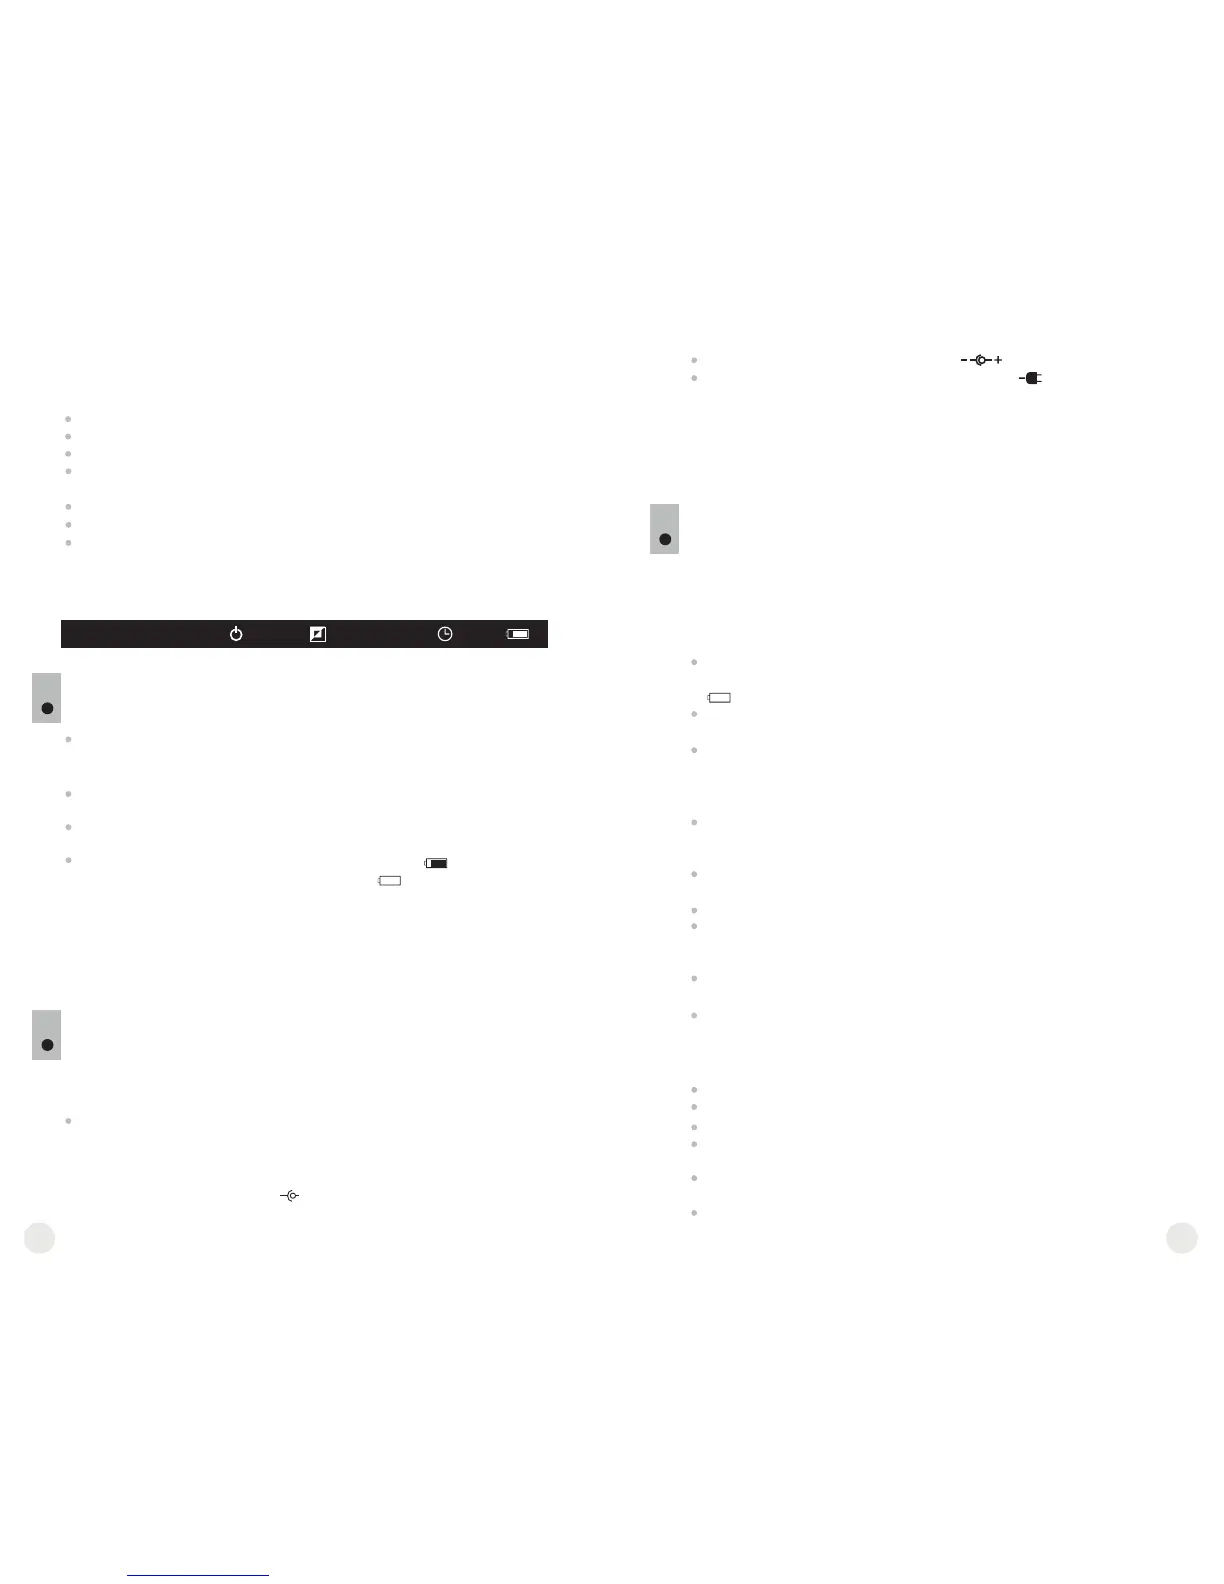
Status bar
The status bar in the lower part of the display shows information as follows:
The functions are shown on the display as follows:
Cal
Mode
Note: to ensure long and reliable operation it is recommended that you
use quality rechargeable batteries with a capacity of at least 2500 mAh.
Please do not use batteries of different types or batteries with various
charge levels.
EXTERNAL POWER SUPPLY
7
The scope can be powered with an external DC power supply (2.1mm
pin) with stabilised voltage ranging from 8.4V to 15V or a 12V vehicle
socket.
х2.5
External power supply (AC/DC) is to be connected to “Power” (13) jack
located on the bottom side of the device.
Please note that the central pin of the power supply that you connect to
the “power” jack of the riflescope, must have marking “+”. The power
supply may have marking - +
The power supply may have marking .
Connection of an external power supply (icon on the status bar)
automatically cuts off power supply from batteries.
External power supply DOES NOT charge the batteries in the
sight!
Attention! We suggest that you use battery packs EPS3I or EPS5
ensuring from 9 to 20 hours of continuous operation.
OPERATION
8
WARNING! Do not point the objective lens of the unit at intensive
sources of light such units emitting laser radiation or the sun. This
may disable unit’s electronic components. The warranty does not
cover damage caused by improper operation.
Switching on and calibration
Press “ON” (6) to switch on the unit. Green LED indicator (16) will
light up. In case of low battery the LED will turn red and battery icon
will start flashing.
Do the calibration of image. Calibration levels background
temperature of the microbolometer and eliminates image flaws.
There are three calibration modes: manual (M), semiautomatic (H)
and automatic (А).
Manual calibration mode
The lens cap should be closed (a diaphragm (11) inside the
objective lens plays the role of the cap). Rotate the wheel (10)
clockwise to open the diaphragm, counterclockwise to close it).
Turn on the unit, press and hold the controller (1) for two seconds to
enter the menu.
Rotate the controller to select option Cal. Press the controller.
Rotate the controller to select mode М. Press the controller to
confirm. To exit the menu, press and hold the controller for two
seconds or wait 10 seconds for automatic exit.
Press the CAL (4) button to calibrate. The image will freeze for 1-2
seconds. Then open the lens cap. Calibration is completed.
In case you see image flaws (such as frozen image, vertical stripes
etc.) re-calibrate the unit.
Semiautomatic calibration mode
Turn on the unit, open the lens cap.
Press and hold the controller (1) for two seconds to enter the menu.
Rotate the controller to select option Cal. Press the controller.
Rotate the controller to select mode H. Press the controller to
confirm.
Press the CAL (4) button to calibrate. The image will freeze for 1-2
seconds.
Calibration is completed.