Please note this battery must be on a separate electrical
circuit and not connected back to ‘Battery 1’ in anyway.
Once all connections are made please double-check the wiring.
Conrmcorrectpolarityateachconnection.Verifythatallfourorsix
(if a second battery is being charged) terminals are tightened and then
replace the fuse(s) back into the holders.
When battery power is applied, and the controller starts up, the battery
LED indicator will indicate as below.
OPERATION
Solar charging status indicator
• GREEN ON = Whenever sunlight is available for battery charging
and a battery is connected
• RED ON = Battery connected but no solar charge available / solar
panel connected and producing power, but no battery connected.
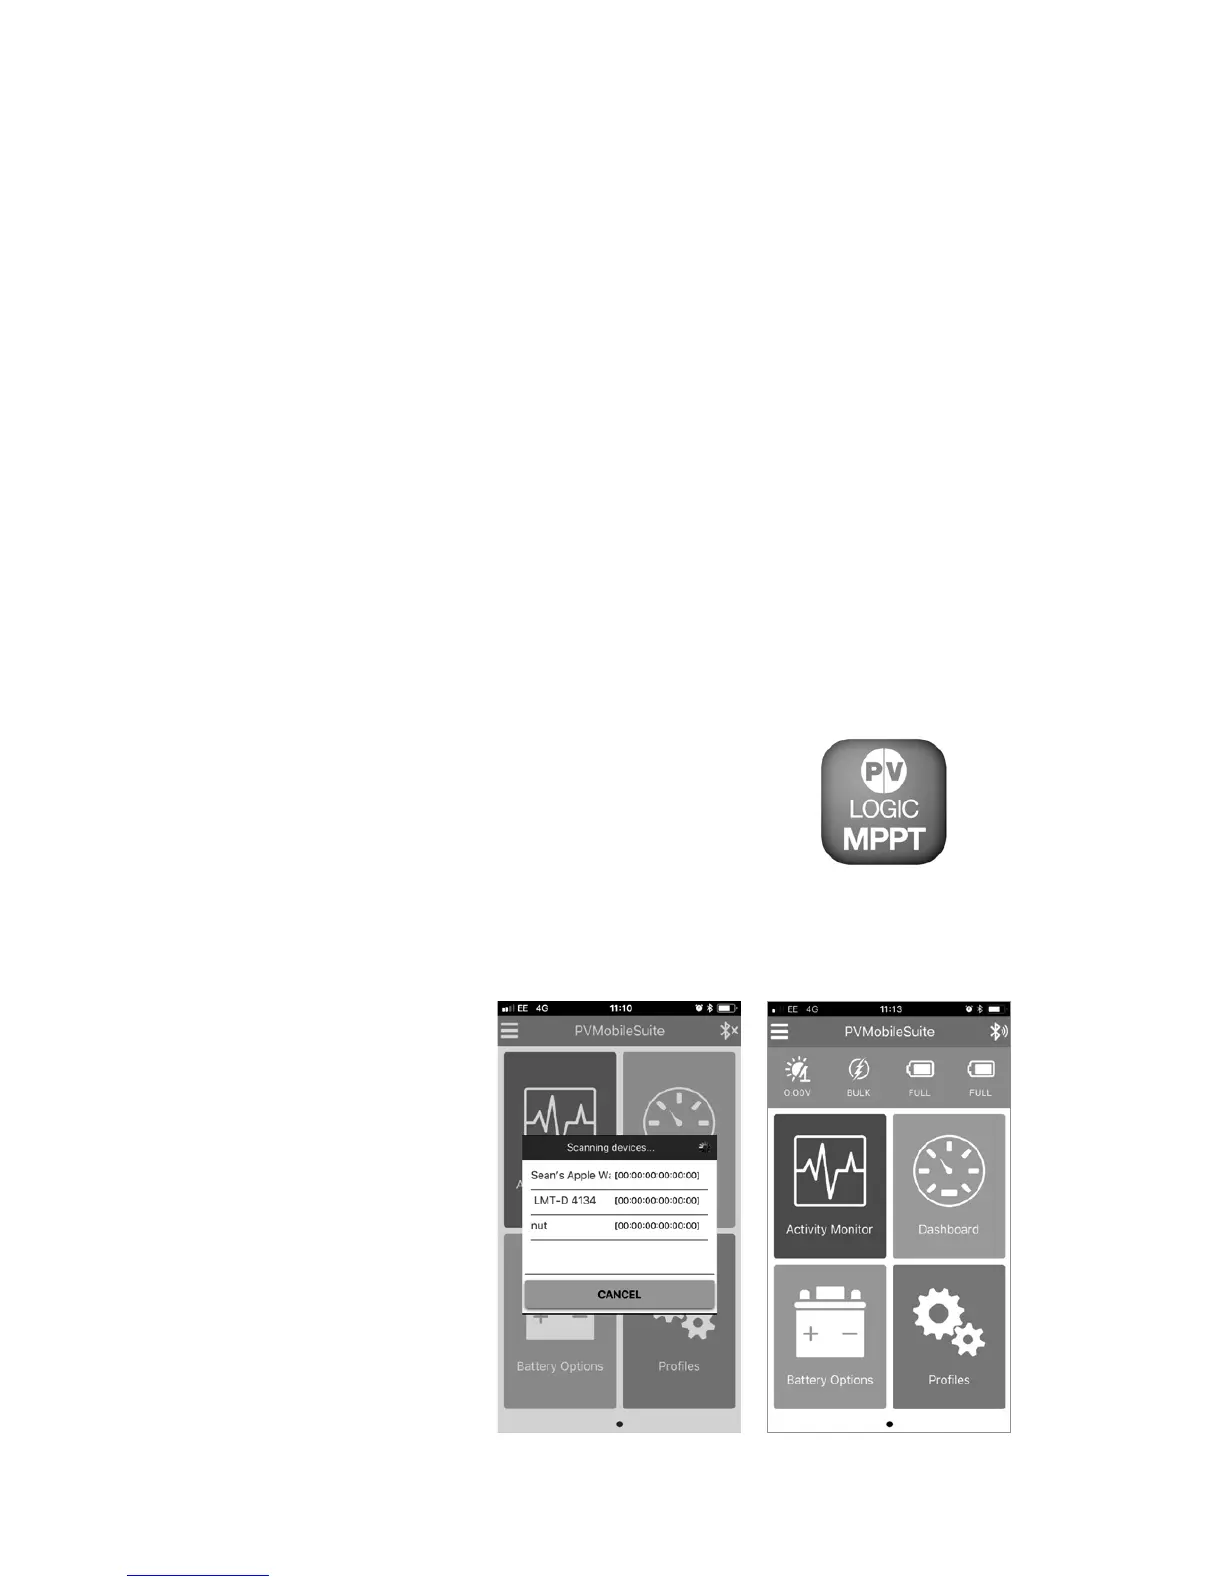
Connecting the MPPT Pro to your Bluetooth enabled device
1. Downloadandinstallthesoftware‘PVMobileSuite’fromapple
store for apple devices or the android store for android devices.
2. Once installed on your device open the App.
3. You will now be asked to select the controller
from a list of Bluetooth devices around you.
Please select ‘MPPT Pro’ (Fig 1).
NOTE: you will need to log in
each time you start up the App.
4. Your App will now connect to the
controller and show you this screen (Fig 2).
MPPT Pro App Icon
Fig 1 Fig 2
5. Clicking on the
Activity monitor
will give you this
screen (Fig 3
overleaf). This
screen gives you
information on
what your solar
system is doing as
well as the charge
in the batteries.
6. Clicking the back
arrow (top left) will
take you back to
the main screen.
Fig 1 Fig 2