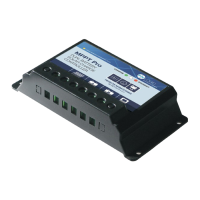
7. Battery Options screen (Fig 4) shows you all the settings currently
selected for your battery type. Please select the correct type from
Sealed – Gel – Flooded and press the ‘send’ button at the bottom.
This will send the settings and information to the controller.
8. To create a custom set of settings (do not do this unless you know all
yourbattery’ssettings)selectthecorrectSystemVoltageandpress
‘done’. Now click on the Custom tab and select the settings you
require. Once completed click the send button. Now go back to the
main screen (top left back arrow) select profiles, then select ‘save
current’ and give it a name. This will now save the custom settings
into the App (Fig 5).
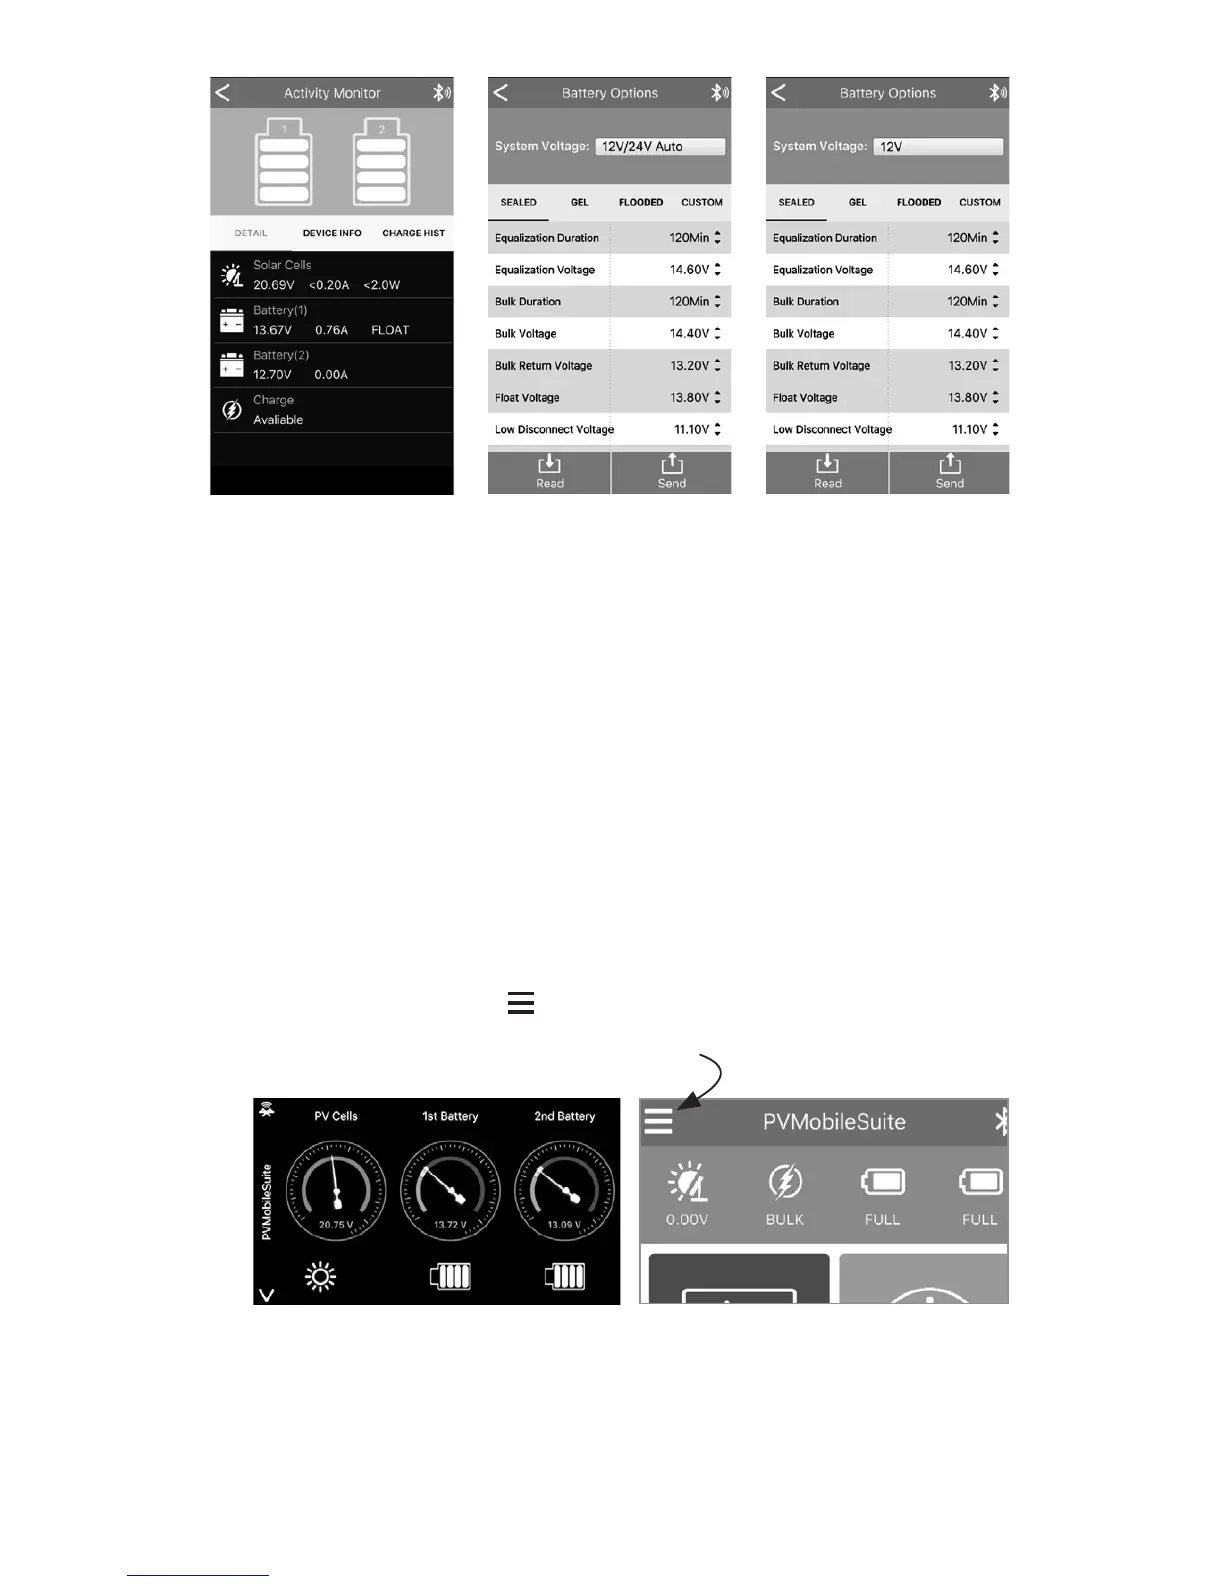
9. Clicking on the Dashboard button will give you this screen (Fig 6).
This screen shows you a simple graphical display of the solar input
and battery status.
10. Clicking on the 3 lines (Fig 7) at the top left hand corner of the
home screen will bring up options. From here you are able to
change the language of the application.
Fig 3 Fig 4 Fig 5
Fig 6 Fig 7
TROUBLESHOOTING
• SolarchargingLEDindicatoroffduringdaytimewhensunshine
fallsonPVmodulesproperly.
• PVarraydisconnected
• CheckthatPVandbatterywireconnectionsarecorrectandtight.