11 – Gear indication (only with Box Expander 4ch)
Start can view and save the gear inserted in two different ways:
- calculating the RPM/speed ratio (for vehicles which don't have a potentiometer on the gear)
- retrieving the analogue exit of the gear potentiometer
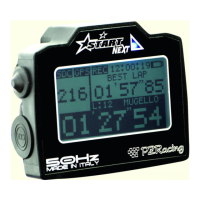
By accessing the "GEAR" menu, the screen you see here to the side will appear.
11.1 - Setting the gear using RPM/SPEED ratio
The first entry you have to set up is visualization of the gear inserted on the display; if you select "NO”, the gear will only be saved; if you select "YES",
the gear will also be viewed on SCREEN 2 and SCREEN 3.
After "Input", select "RPM/SPEED1" if you wish to use the speed of the Box Expander 2, select "RPM/SPEED2" if you wish to use the speed registered by
the Box Expander 3.
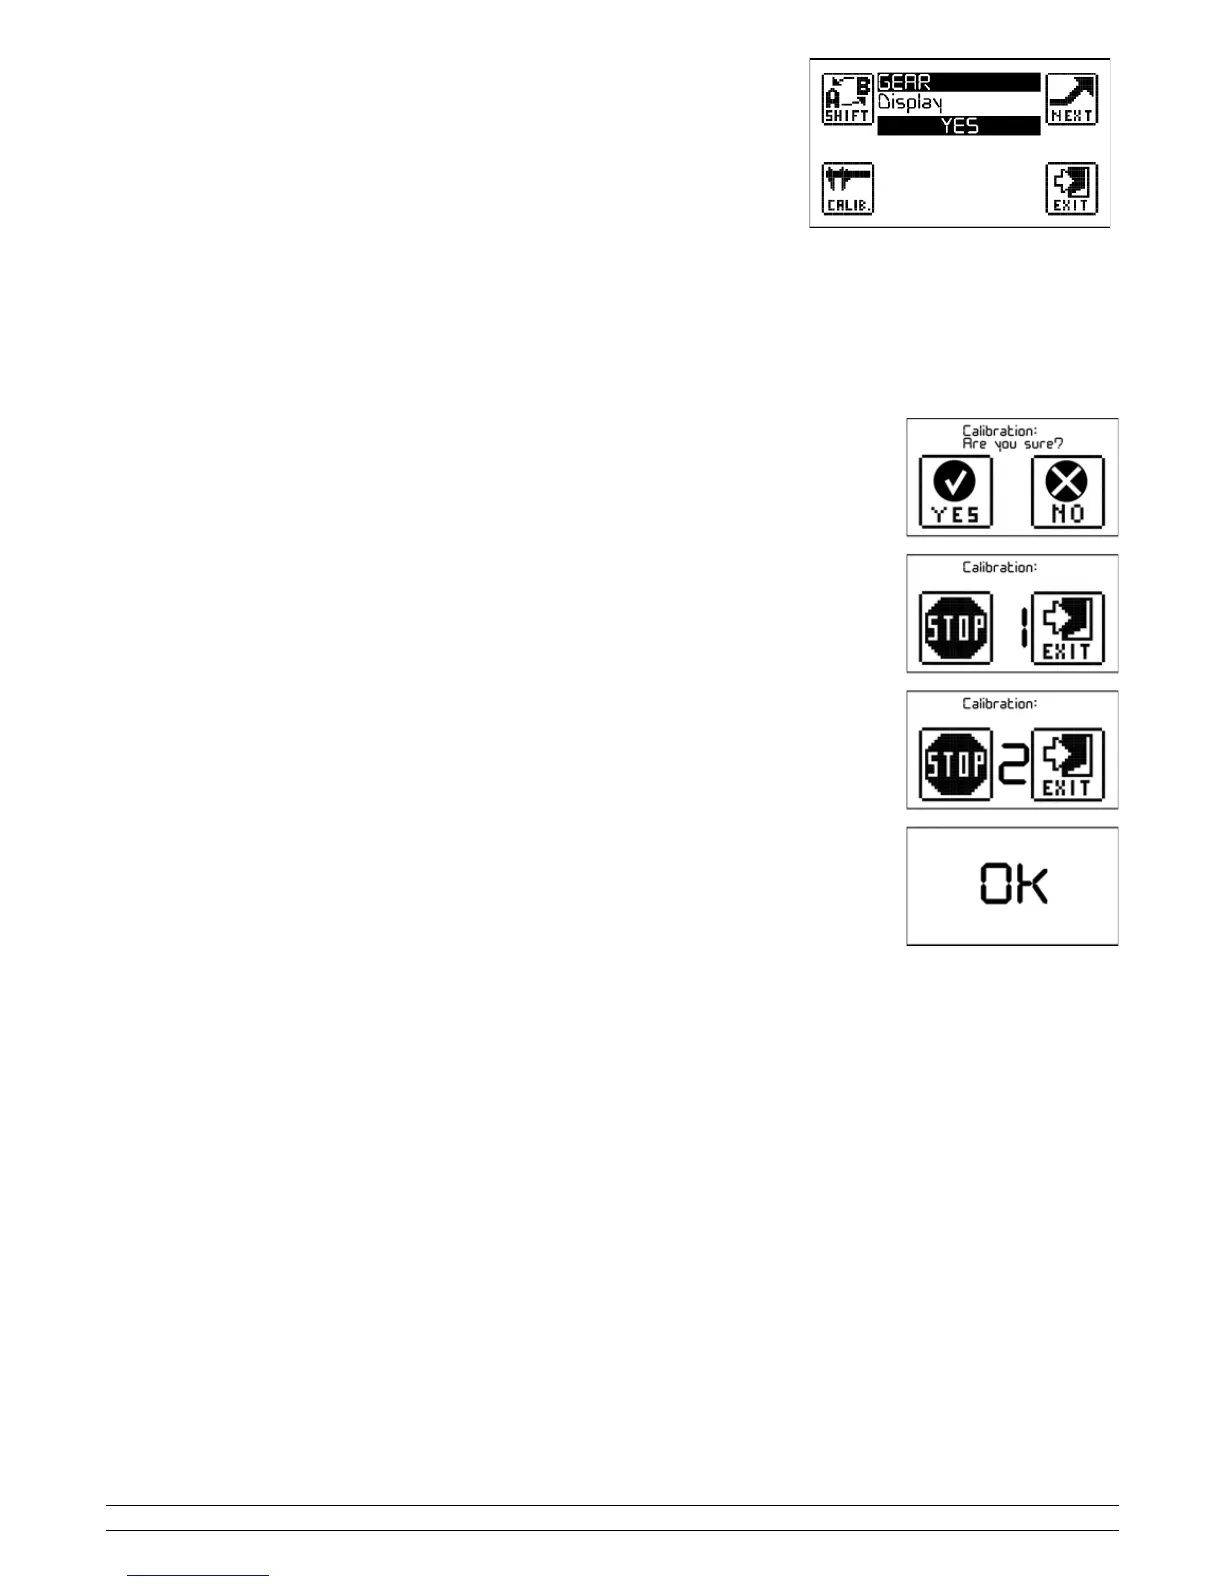
Then press the "CALIB." button to perform calibration of the inserted gear; the screen that appears will be a confirmation screen with the options "YES"
and "NO". Before clicking "YES", we advise you to switch on the vehicle and put into first gear with the clutch pulled.
Perform calibration as follows:
- Click on the "Yes" button.
- Number "1" will appear; put into first gear, release the clutch and continue at constant engine speed (approx. 5000
RPMs).
- After about five seconds, number "2" will appear; put into second gear and continue at constant engine speed
(approx. 5000 RPMs).
- Do this with all the gears of your vehicle.
- When the number that comes after the number of gears appears on the display (ex. if your bike has 6 gears, wait for
number 7), press STOP to terminate calibration.
11.2 - Setting the gear using the analogue input
The first entry you have to set up is visualization of the gear inserted on the display; if you select "NO”, the gear will
only be saved; if you select "YES", the gear will also be viewed on SCREEN 2 and SCREEN 3.
Under "Input", select analogue input to which the gear potentiometer output is connected.
Then press "Calibration" to calibrate the gear; the screen which will appear will be a confirmation screen with the
options YES and NO.
You do not need to start the vehicle to perform the calibration, but you need to access the instruments panel.
- Press "Yes".
- Number "1" will appear, put into first gear.
- After about five seconds, number "2" will appear; put into second gear.
- Do this with all the gears of your vehicle.
- When the number that comes after the number of gears appears on the display (ex. if your bike has 6 gears, wait for
number 7), press STOP to terminate calibration.
12 – Demo mode
Start has a demo mode which allows you to see the time per lap on the main screen and to change the values.
To activate demo mode, you need to create a folder in the SD of the product and call it DEMO (in capital letters); when switching on the device, Start will
recognize the folder and activate the demo mode.
To bring the device back to normal mode, simply eliminate the folder from the product's SD.
13 – Self-diagnosis
Start has a self-diagnosis function that allows you to verify all the features of the product. To perform the diagnosis, access the Menu, press the INFO
icon, then press the TEST icon; once diagnosis has started, the product will verify all the internal components and signal OK in the event of a positive
outcome and ERROR in the event of a negative outcome.
PZRacing Via de Gasperi 5 – 61032 Fano (PU) Italy - Tel: +39 0721 820434 – Email: tech@pzracing.it