3 – Installation
3.1 – Positioning
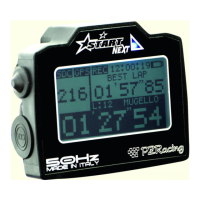
Start's integrated GPS receiver make installation easy. Place the chronometer in a spot where it
has good visibility of the sky and where the pilot can see it well. The GPS receiver is located in
the superior part of the device, this is why it is advisable to install Start vertical with
the receiver facing upwards, see side picture.
In horizontal position the GPS signal suffers strong degradations as the GPS
receiver view only one part of the sky and will also receive an amount of reflected
waves from the ground that disturb the signal quality.
N.B: check that nearby and over the upper side of the product, where the gps receiver is located, there’s no metal, carbon or
electronic items; one of these items could cause the degradation of the satellite signal and the malfunction of the lap timer.
N.B: don’t place the lap timer on the original dashboard of the motorbike because the internal electronic of the dash could cause
the degradation of the satellite signal and the malfunction of the lap timer.
Note for R1 2015/16: don’t place the lap timer nearby the original dashboard of the motorbike because the internal electronic of the
TFT dash causes the degradation of the satellite signal and the malfunction of the lap timer. Place the lap timer in vertical position
over the fork plate.
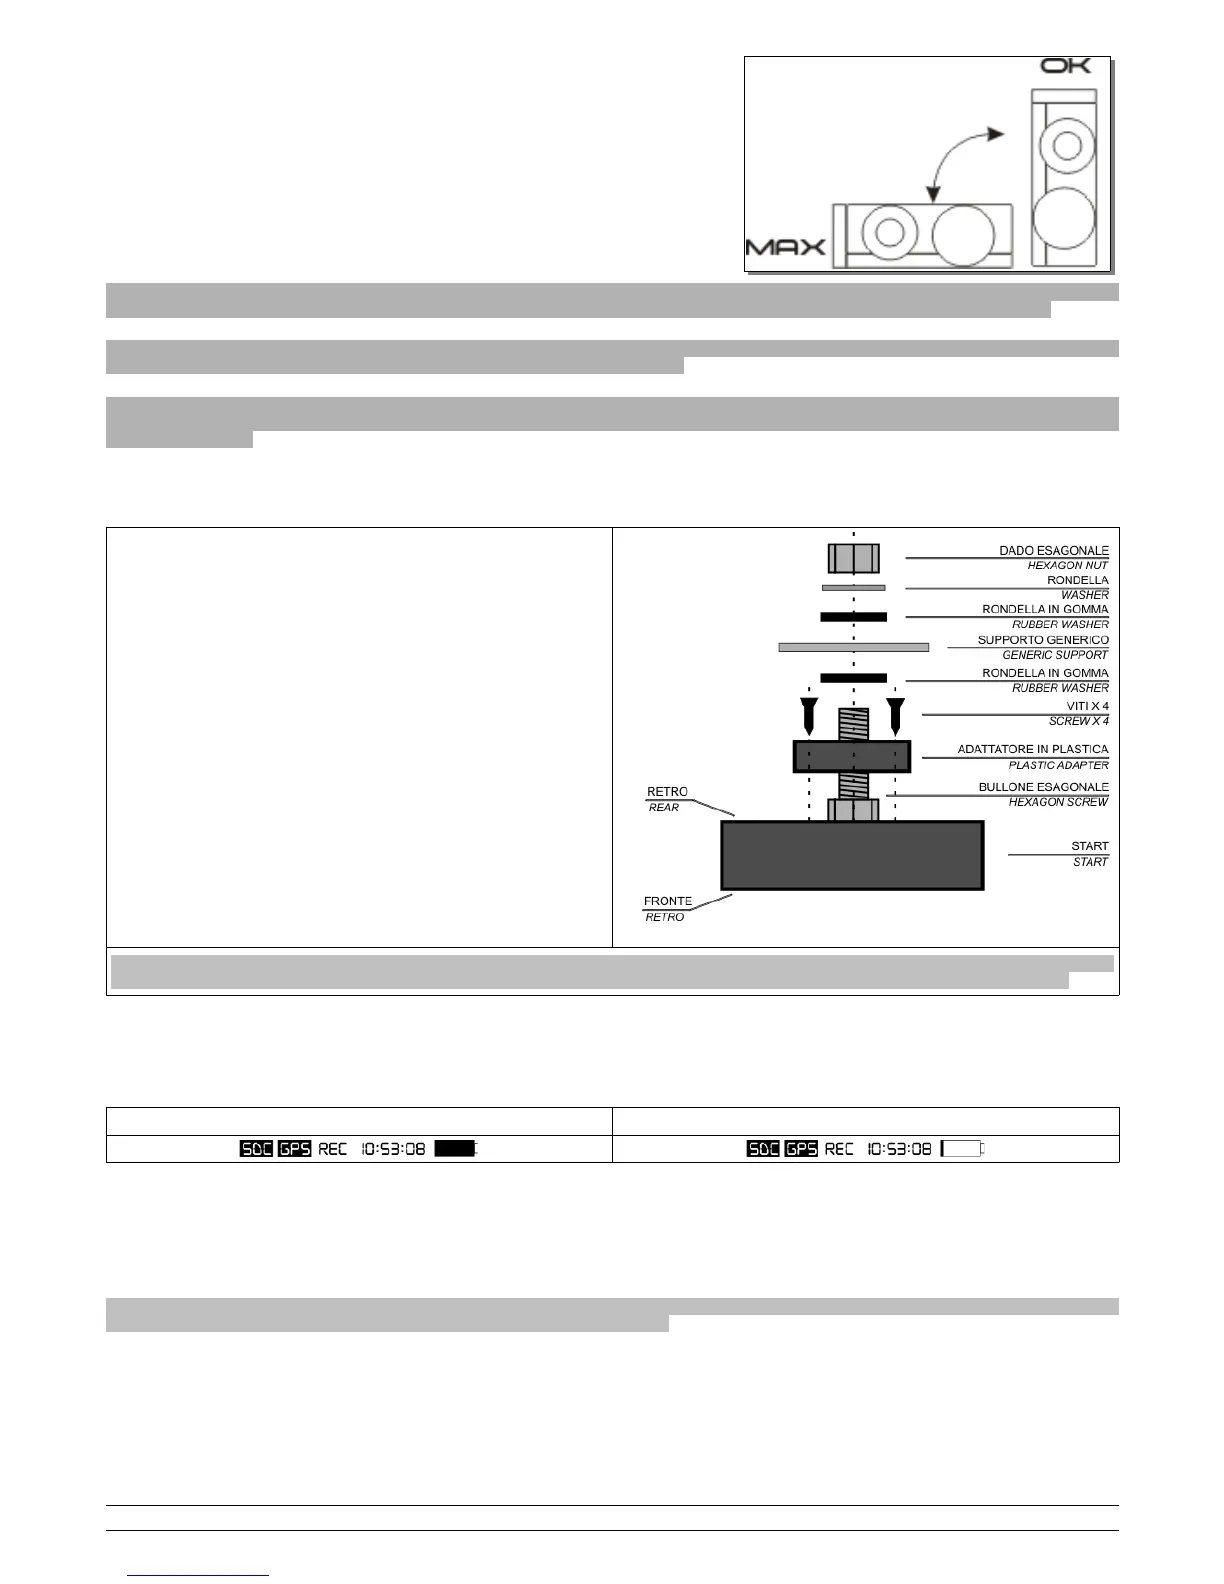
It is possible to fix the device with the plastic Velcro provided or create a bracket following these instructions:
- Prepare a bracket with an 11mm hole (GENERAL SUPPORT)
- Insert the head of the M6 bolt in the designated space on the back of the
shell of the Start device
- Fix the bolt with the plastic adaptor making the seat match the head of
the bolt.
- Secure the 4 screws to fix the plastic adaptor
- Insert an anti-vibration washer in the bolt between the shell and the
bracket
- Insert the bolt into the bracket
- Insert the second anti-vibration washer
- Insert the flat metal washer
- Place the nut provided on top of the metal washer and screw to hold in
place
Please note: absence of anti-vibration washers or incorrect positioning of these could damage the device due to vibrations of the
vehicle. This type of damage is not covered by the guarantee as it is not caused by a product defect but incorrect installation.
3.2 – Power
Start is fitted with a 2800mA lithium battery; you can see the status of the battery on the icon in the top right hand corner of the main screen.
Battery charge Low battery
To charge the battery, attach the USB connector of Start to a power source or USB port on your PC using the USB cable provided; the image of a battery
being charged will appear on the display together with the charging percentage.
Once the battery is fully charged, "Charging complete 100%" will appear on your display; you can now disconnect the USB cable.
You can also charge the product directly on the vehicle by purchasing the optional SS12V100 cable or the SS12CAR cigar lighter cable; when using these
devices, the battery will be charged only when the product is switched on.
Please note: in order to use some of the sensors to apply to the Expansion modules, you need to use the optional SS12V100 cable;
read the technical description of the sensors you wish to install carefully.
PZRacing Via de Gasperi 5 – 61032 Fano (PU) Italy - Tel: +39 0721 820434 – Email: tech@pzracing.it