- 9 -
B
A
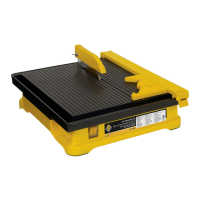
The saw stand includes 2 cross frame supports:
A & B (Fig D1). Laying the frame supports on their sides,
place Frame B inside Frame A (Fig D2).
Fig D1
Fig D2
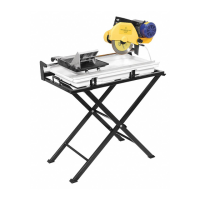
Use four 1/4” x 1
3
⁄
4
” bolts, washers and nuts (Fig D7) to
attach each wheel to base of Frame B (Fig D8)
Fig D3
Fig D4
Use 5/16” x 2” bolts, washers and nuts (Fig D3)
to fasten the frame at the axis. Align holes at axis and place
bolt through hole, from outside in (Fig D4). Place the
washer and nut onto bolt and tighten.
Fig D5
Fig D6
Fig D7
B
A
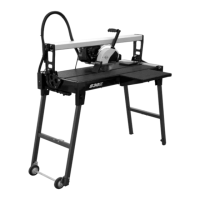
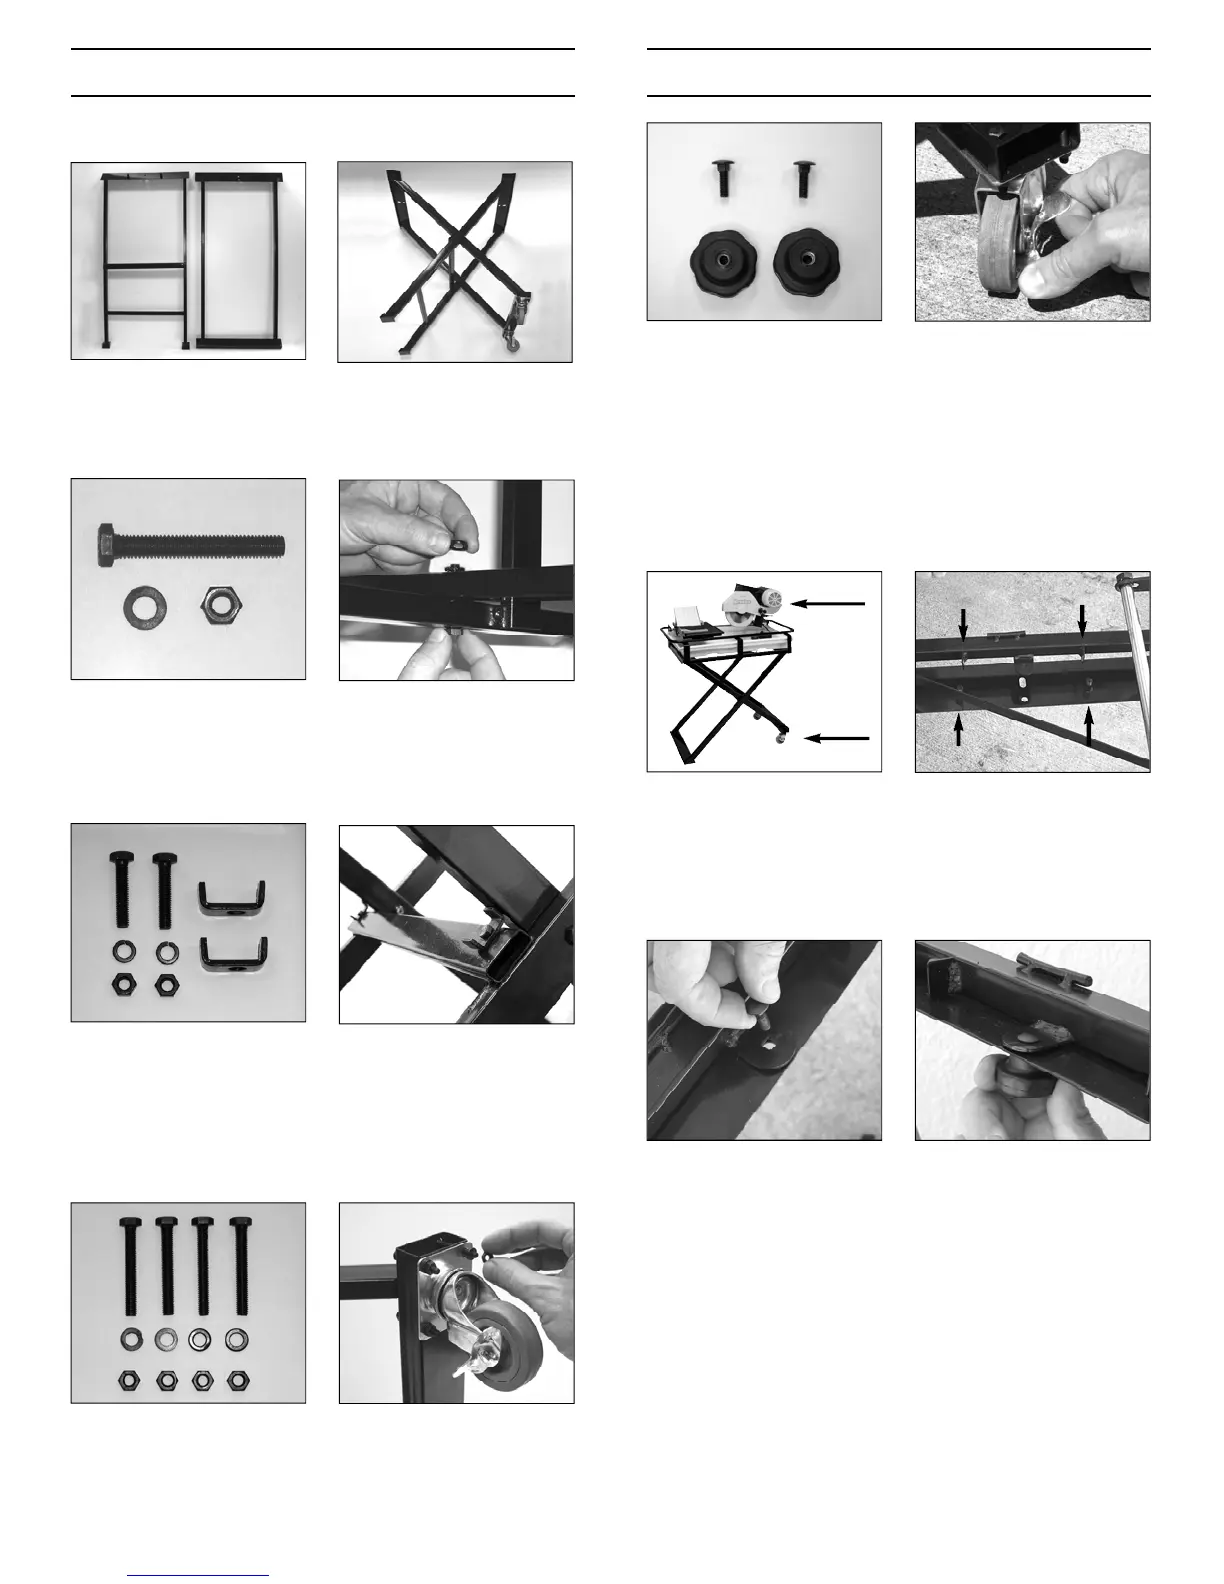
STAND ASSEMBLY
To attach the Saw Frame to the Stand use the a s s e m b l y
h a r d w a r e (Fig. E1). Make sure the wheel brakes are in the
locked position to prevent the Stand from rolling during
assembly (Fig E2). Set the stand on a firm, flat and level
surface. Do not set the stand on soft, uneven ground, or on
debris in the work area. If ground is soft, use a piece of
plywood under the stand to provide a solid and level base.
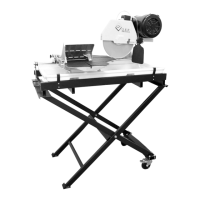
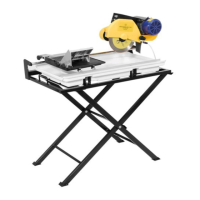
ATTACHING FRAME TO STAND
The Saw will mount directly over the end with the wheels
(Fig E3). Align the frame brackets, on the bottom of the
frame, to the inside of the vertical support pegs on the top
of the stand (Fig E4).
Fig E1
Insert the 1/4” x 3/4” round head bolt into the square hole
of the saw frame and into the stand (Fig E5). Thread the
plastic knob securely onto the bolt, as shown in the
drawing (Fig E6).
Fig E3 Fig E4
Fig E5 Fig E6
Fig E2
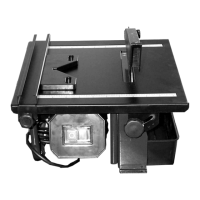
If you are not using the folding stand, set the saw frame
on a solid, flat workbench or table.
Fig D8
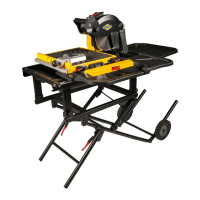
Stand
Support Pegs
Frame
Brackets
Cutter
Head
Wheels
Use two 5/16” x 1
1
⁄2” bolts, lock washers and nuts to install
the "U" support braces (Fig D5). Fasten the "U" braces to
the top of the horizontal beam of the saw stand (Fig D6).
Place bolt through the aligned holes. From the underside,
place lock washer and nut, then tighten.
 Loading...