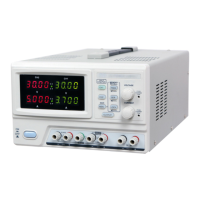
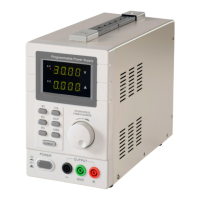
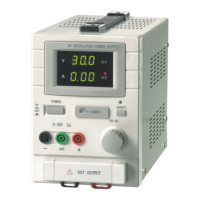
QJ3003GIII QJ3005GIII
7. Operating on C.V. or C.C. mode
Adjust channel 1’s voltage or current, press CH1 button 1
st
, the CH1 button will light up, and CH2 indicator light will be
off.
Adjust channel 2’s voltage or current, press CH2 button 1
st
, the CH2 indicator light will turn on, and CH1 indicator light
will be off.
On constant voltage mode, a voltage can be set anywhere between 0 and 32 volts.
If the output current is over limit, then the power supply will automatically switch to C.C. mode.
On constant current mode, a current can be set anywhere between 0 and 3 amps.
By default, channel 1 will be automatically selected as the output when the power supply is switched on.
While the power supply is not on
“
MEN
”
or
“
LOCK
”
mode, press SER button, the serial connection is enable, the SER
light will turn on, and parallel model is disabled. Connect the load to the power supply by following the indication “SER
OUT” on the output terminals, adjust the voltage adjustment knob and current adjustment knob to their respective
desired levels, now the output voltage “SER OUT” can be adjusted in a range from 0 to 60 volts, and the current is from
0 to 5 amps.
While the power supply is not on “MEN” or “LOCK” mode, press PARA button, the parallel connection is enabled, the
PARA light will turn on, and the serial connection model is disabled. Connect the load to the power supply by following
the indication “PARA OUT” on the output terminals, adjust the voltage adjustment knob and current adjustment knob to
their respective desired levels, now the output voltage “PARA OUT” can be adjusted in a range from 0 to 32 volts, and
the current is from 0 to 10 amps.
8. Set up pre-set voltage and current
Up to 3 pairs of voltage and current values can be preset by using M1-M3 memory buttons.
1. Press Voltage/Current selection button
2. While all“PAPA”,“SER”,“LOCK”,“OUTPUT” are disabled, press the “MEN” button to turn it on, now the
“MEN” button will light up. To turn it off, press the “MEN” button again.
3. Press one of the memory buttons M1-M3 to save the preset voltage and current value, the unit will beep twice to
confirm a successful save.
9. Recall Pre-set Memory
While all“PAPA”,“SER”,“LOCK”,“OUTPUT” are disabled, press and hold one of the memory buttons M1-M3
to recall the preset voltage and current value, release the button after 2 beeps, the recall is a success. Now the screen
will display stored voltage and current value.
Load Connection
1. Connect the positive end of the load to the power supply’s red (+) terminal [14]
2. Connect the negative end of the load to the power supply’s black (-) terminal [12]
3. You may connect the positive terminal “+” or negative terminal “-“ to the green ground terminal with a
conductive wire to realize 0 potential at the ground, or the output will be floating between 0 potential and
ground.
5