4
①
•
First, machine holes on the mounting surface
①.
•
The mounting hole of this product is 8mm in diameter.
•
When machining taps, fasten the bolt through the mounting hole of the bracket.
• When machining holes, insert the bolt through the hole of the product,and tighten the nut from the opposite side of the mounting surface.
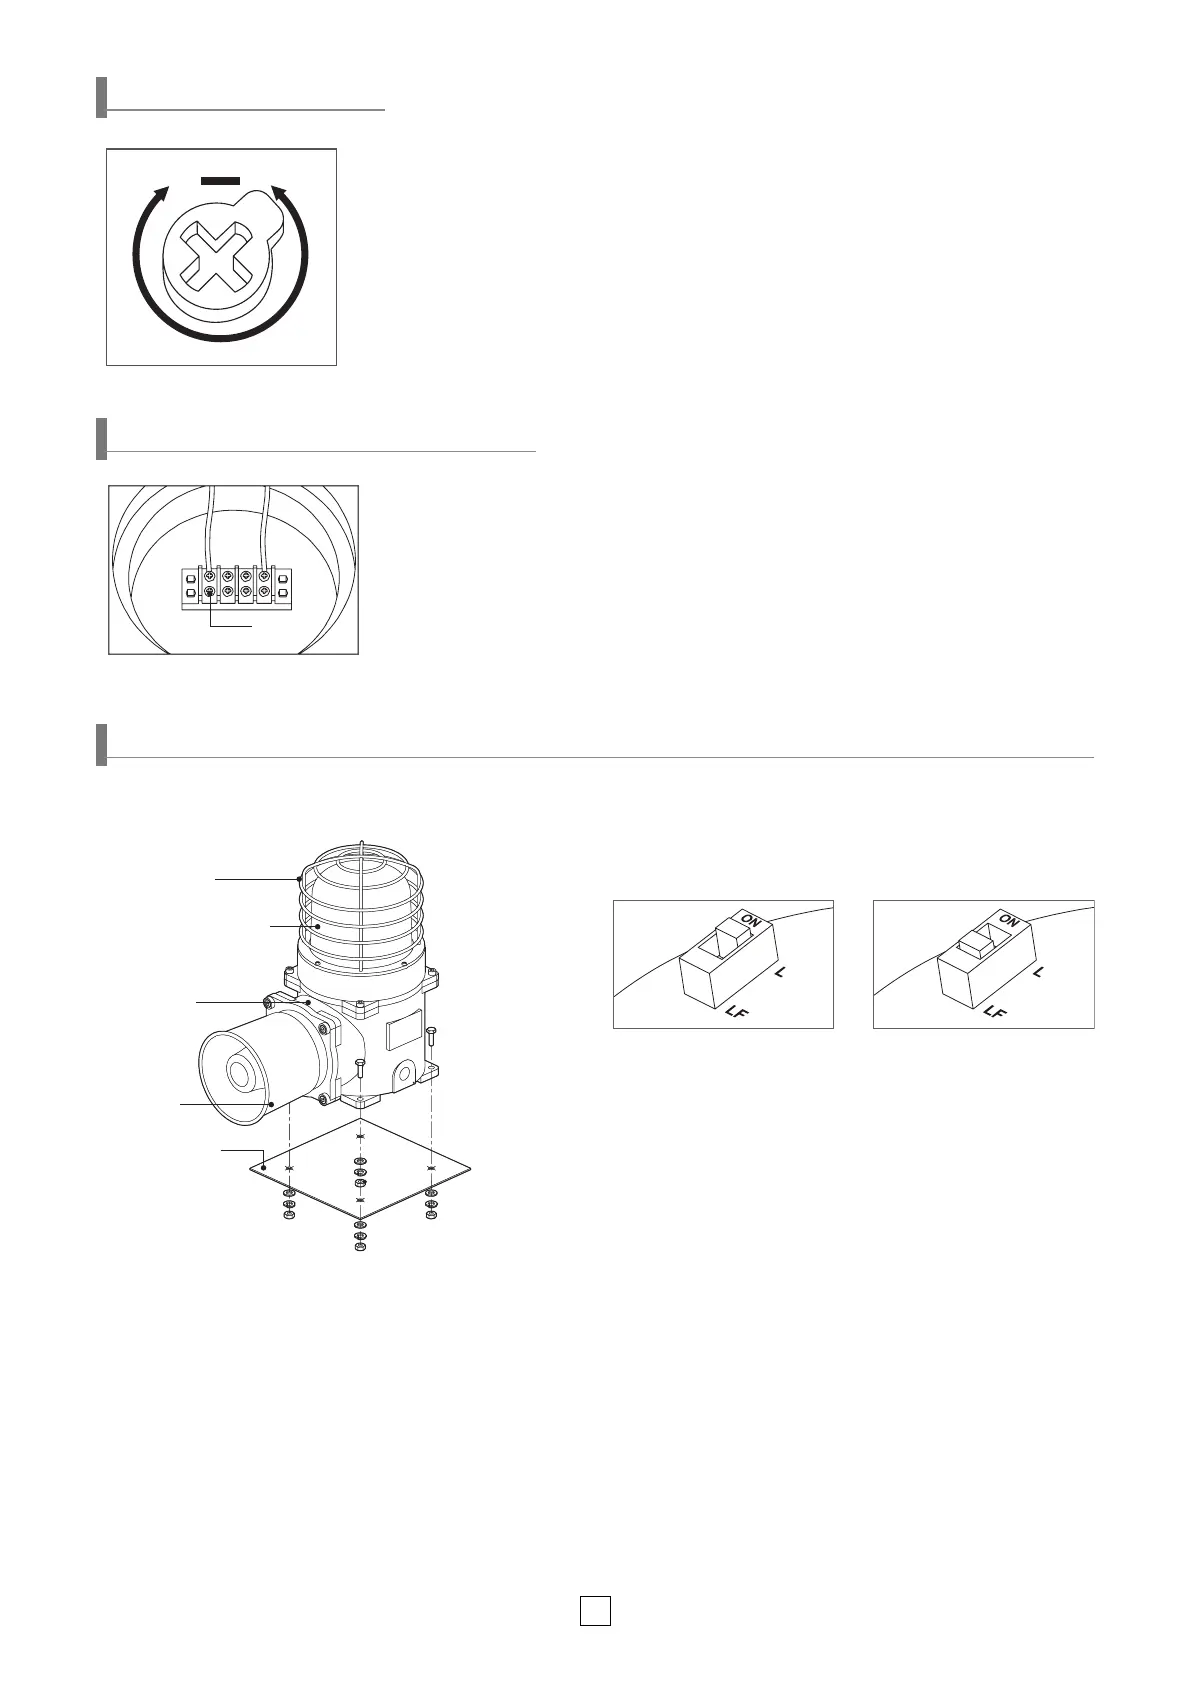
■
Installation
Horn
(STS316L)
Housing(AI)
Protection cage
(STS316L)
Lens (Tempered glass)
Parts Denition/ Installation/ Light Function Selection
▶LF :
Flashing
■
Light Function Selection(SESAL only)
• •
Please refer to the chart below to use light function
selection switch located inside the product.
• Default function is set at steady LED. Select the desired function
for your application during installation.
▶L :
Steady
■
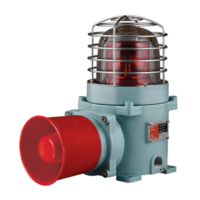
Parts Denition
• The volume output of this product is adjustable.
• Turn the volume dial clockwise to increase the volume, and turn counter clockwise to decrease
the volume.
• There will be no sound when the dial is put at MIN.
Volume Dial
VOL.
MIN.Max.
Volume Adjustment
Terminal Box Wiring Instructions
• Terminal block is located inside of the product. Unscrew the 4 bolts located in the upper
body to get rid of the upper lighting element of the unit.
• Please apply fork (U-type) or ring (O-type) locking spade terminal at naked tip of the wire for
secure connection.
• Please wire the Power line to terminal
①
.
• For AC type products, wire regardless of polarity.
• For DC type products, wire terminal of black line to (-) polarity.
• For standard type, once the unit is Powered on, light and sound are working simultaneously.
※
Applicable cable range
:
AWG16-AWG22
①