5
Grounding Instructions
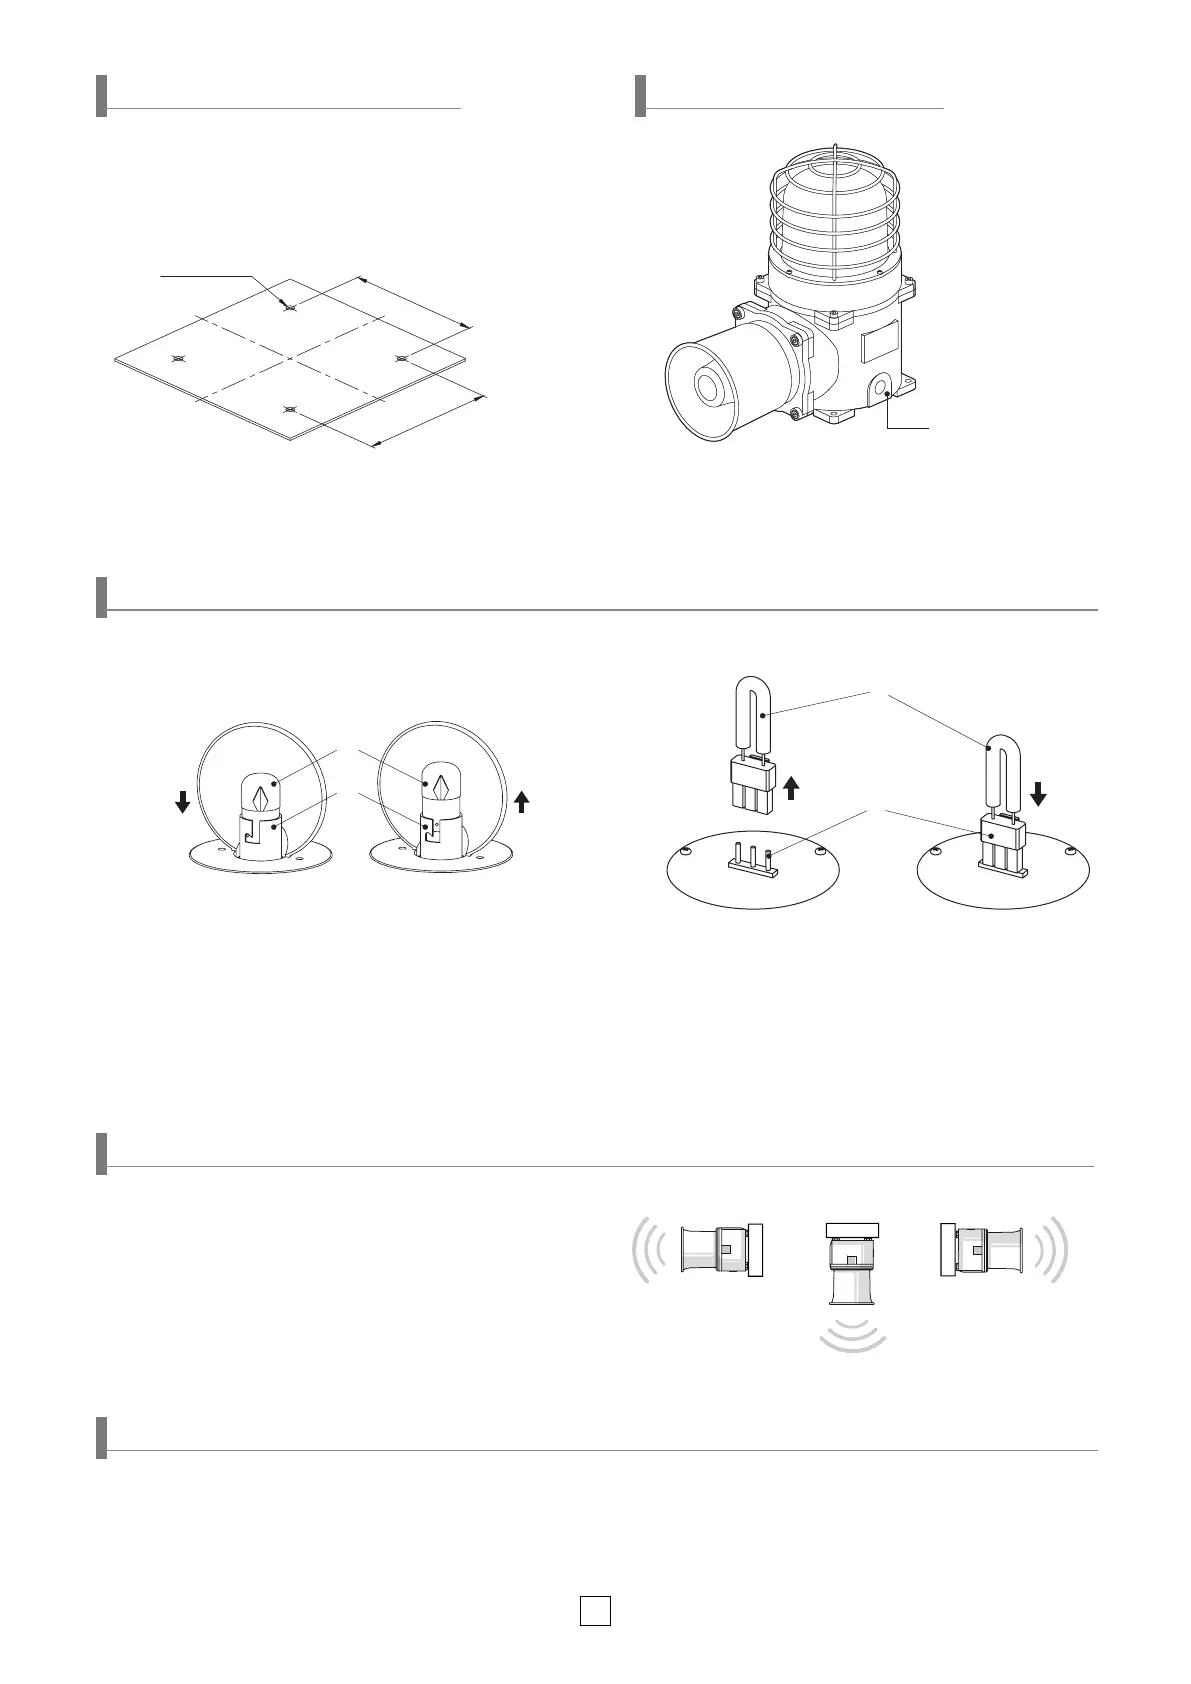
Mounting Hole Specications
4-Ø9 HOLES
134
134
•
Machine holes on the mounting surface referring to
the diagram below.
M4 ground contact part
•
Please use an M4 bolt at the location marked in the diagram
above to ground the product.
•
When connecting the grounding cable, please use a ring terminal.
• P
lease use a grounding cable with a diameter greater than 4mm.
■
Xenon Bulb Replacement Instructions(SESAS only)
Bulb/ Xenon Bulb Replacement Instructions
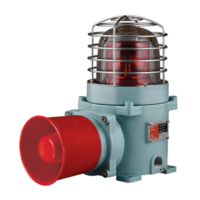
Installation Environment and Protection Rating
• This product is designed to be explosion proof.
• Please make sure to use the product in an environment that meets the specied explosion proof rating and regulations.
• For further information, please visit our website (www.qlight.com).
• Please wait at least 30 minutes after turning o the Power before
replacing the xenon bulb.
• Please pull out the entire xenon bulb structure
①
to disassemble
while pushing the hook down.
• For xenon bulb assembly, please push down the connector
portion of the xenon bulb structure to the connector pin
location
②
until it makes “clark” sound.
①
②
• Please wait at least
1
minute after turning o the Power
before replacing the bulb.
• In order to dissemble the bulb, please push down the bulb(
①
)
lightly and screw it counterclockwise.
• In order to put the bulb in to the unit, please place the bulb(
①
)
in the socket(
②
) and screw it clockwise while lightly pushing
down the bulb.
Assemble bulb
Assemble bulb
Disassemble bulb
Disassemble bulb
■
Bulb Replacement Instructions(SESA only)
①
②
Precautions for installation
• In case of outdoor applications, install the product in the upright
position. Do not install the product horizontal or upside-down
positions where water can potentially penetrate into the product
and impact it’s operation.
Left direction Reverse direction Right direction
WALL
WALL
WALL
[Installation]