Do you have a question about the QualGear pro-av QG-PRO-PM-3IN-B and is the answer not in the manual?
| Category | Projector Accessories |
|---|---|
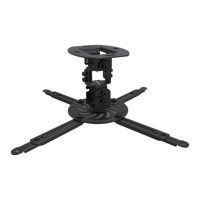
| Color | Black |
| Mounting Pattern | Universal |
| Adjustment | Yes |
| Extension from Ceiling | 3 inches |
| Compatibility | Most projectors |
| Installation | Ceiling |
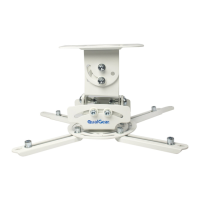
| Type | Projector Mount |
| Material | Steel |
| Tilt | 15 degrees |
Connects the 1.5" NPT threaded pipe end to the ceiling adapter's female thread.
Tighten screws using an Allen key to secure the pipe and adapter position.
Connect multiple pipes for extensions longer than 3 ft using a pipe connector.
Take out the top piece of the cover plate and push the cord through the opening.
Verify all listed parts and hardware are included before starting installation.
Crucial safety and usage warnings regarding installation and product limitations.
Periodically check pipes for security and safety to ensure proper use.