QUANTUM SCALAR I6000 & SAFENET KEYSECURE QUICK START GUIDE 18
7 Paste the certificate request into the Certificate Request field. Select Client as the Certificate
Purpose, specify a Certificate Duration and click Sign Request. The newly-activated certificate
displays on a new page.
8 Click Download to download the certificate to your client. The file will be named signed.crt.
9 Click Back to return to the Local Certificate Authority List, select the CA and click Download to
download a copy of the CA certificate to your client. In this example, the file will be named
KeySecure_CA.crt.
10 Bundle the client certificate in PKCS12 format using the following openssl command:
openssl pkcs12 -export -in signed.crt -inkey qtmkey.pem -out qtmbundle.p12
Enter pass phrase for qtmkey.pem:
Enter Export Password:
Verifying - Enter Export Password:
The client certificate and the Local CA certificate will be imported to the Scalar i6000 library in step 8.
Step 5: Configure the KMIP Server on the KeySecure
To configure the KMIP server settings:
1 Navigate to the Cryptographic Key Server Configuration page (Device
>> Key Server).
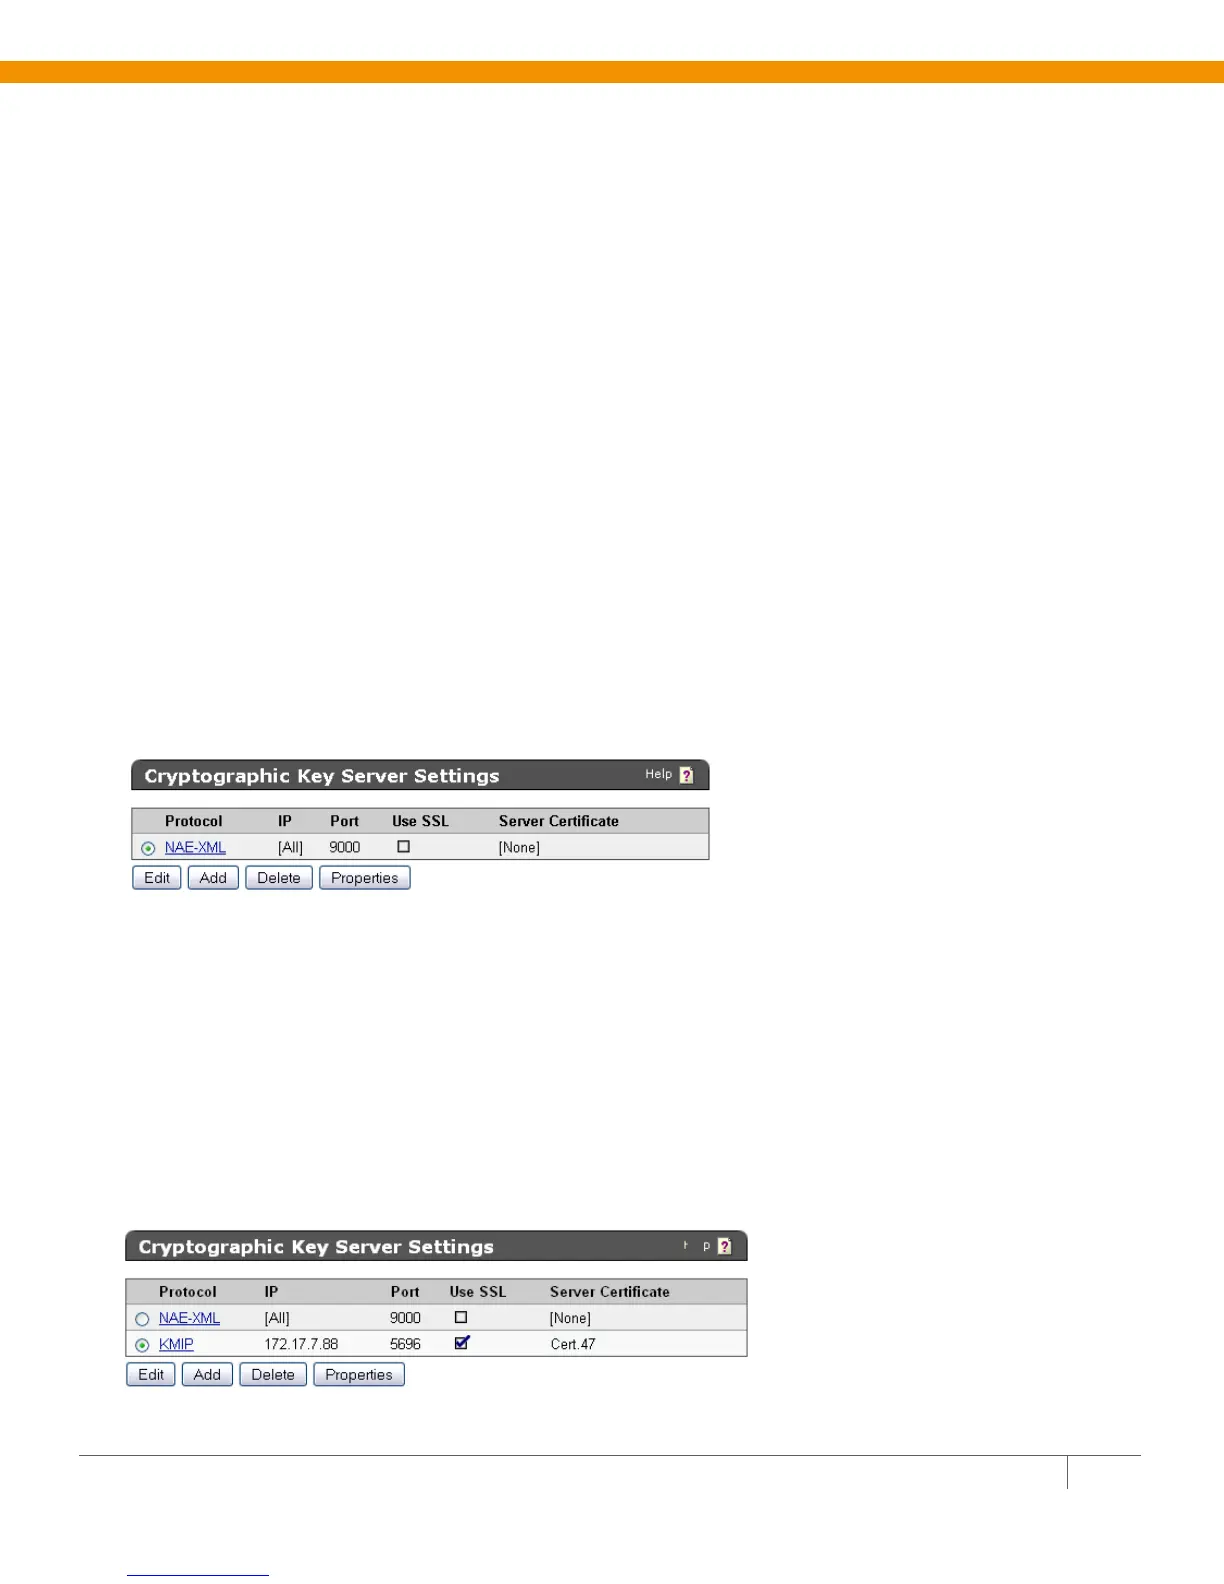
2 Click Add in the Cryptographic Key Server Settings section.
3 Select KMIP for Protocol.
4 Select either [All] or a specific IP address for IP.
5 Select the Port. We recommend 5696.
6 Select Use SSL. SSL is required for KMIP.
7 Select a Server Certificate from the drop-down list. The certificate you just created should be
available for selection.
8 Click Save.

 Loading...


