Do you have a question about the Quick MILL Vetrano 2B and is the answer not in the manual?
Do not plug in the machine. Remove drip tray grate and locate feet. Tip machine gently backwards.
Test water quality and condition if needed. Do not use distilled or reverse osmosis water.
If using reservoir, rinse and seat it. For direct plumbing, ensure switches are 'l' and follow previous page.
Ensure steam knob, hot water knob are closed, and brew lever is down.
Attach the 15A converter cord if applicable. Failure to do so voids warranty and can cause fire.
Ensure power switches are off. Indicator lights should be unlit.
Fill reservoir to max line or follow direct plumbing instructions from page 3.
Plug into outlet, turn on coffee boiler switch, and steam boiler switch if needed. Green lights should illuminate.
Install portafilter, check heating indicator lights. Allow 30 mins for full heat for espresso.
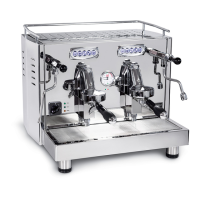
Vetrano 2B Evo has dual manometer for brew and steam boiler pressure.
Top needle (12) shows steam boiler pressure, typically 1-1.5 bar. Pressure drops with wand use.
Lower needle (13) shows brew pressure. Read accurately using backflush disk (9-10 bars).
Low water triggers an alarm and ceases heating circuit. Heating indicator lights turn off.
Primarily for heating cups. Do not remove more than 6oz at a time. Machine must be at temperature.
Use bottom needle (13) for brew pressure. Insert backflush disk in portafilter for accurate reading.
Remove the rubber grommet/plug on the right-hand side to expose the rotary pump's adjustment screw.
Raise brew/cam lever (11) with backflush disk in portafilter. Adjust screw clockwise to reduce, counter-clockwise to increase.
Once desired pressure is set, note potential grinder adjustment may be needed.
Places steam boiler in stand-by after 60 mins of inactivity. Reactivates upon lifting brew/cam lever.
Configure the 60-minute timer for stand-by mode or disable it via PID controller settings.
Configure automatic stand-by mode activation/deactivation based on machine inactivity.
PID display (04) cycles between coffee (T1) and steam (T2) boiler temperatures.
Adjust coffee boiler temperature using PID buttons while T1 is displayed.
Adjust steam boiler temperature using PID buttons while T2 is displayed.
Provides an exploded view of the E61 group, detailing disassembly and reassembly.
Explains the importance of regular backflushing for machine longevity and espresso taste.
Discusses the design and wear of the E61 group head's moving parts over time.
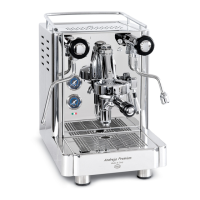
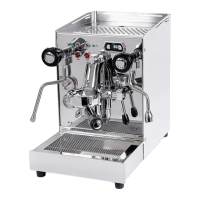
| Type | Espresso Machine |
|---|---|
| Boiler Type | Dual Boiler |
| Boiler Material | Stainless Steel |
| Pump Pressure | 15 bar |
| Water Source | Reservoir |
| Material | Stainless Steel |
| Portafilter Size | 58 mm |