13
EN
HRC - REV005C
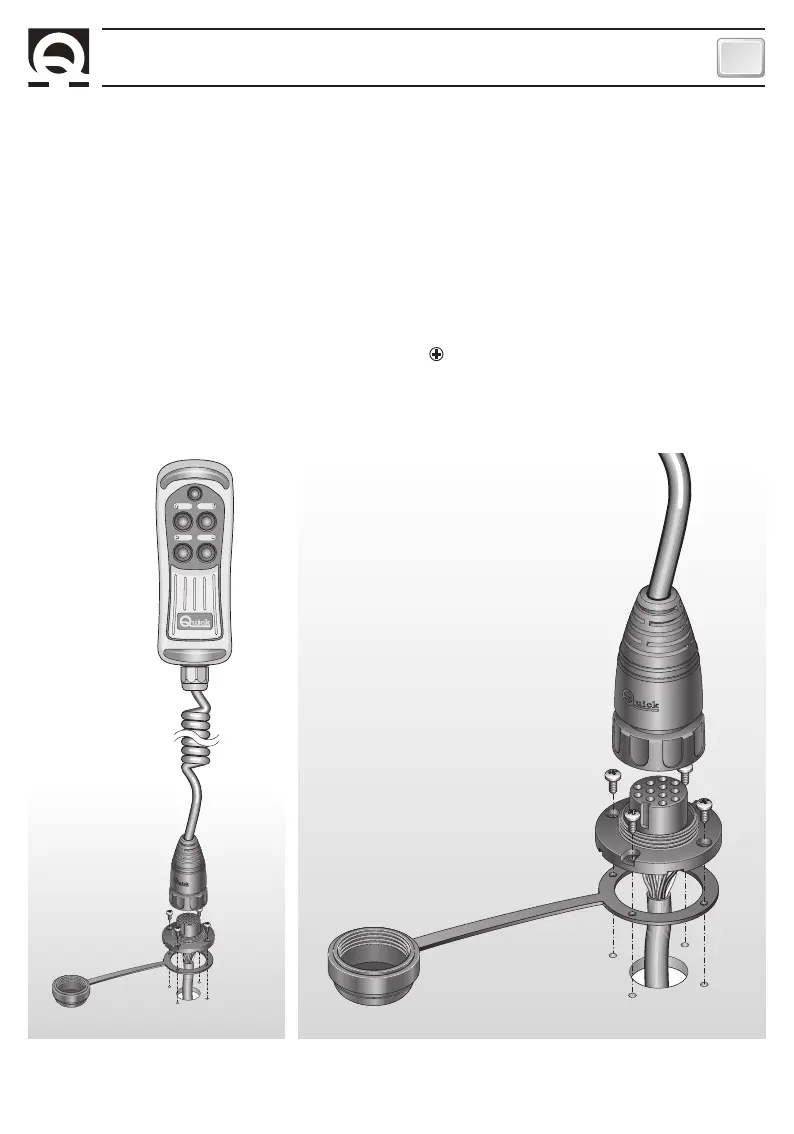
After choosing where to position the instrument, proceed as follows:
• Position the drilling template (provided) on the surface where the socket will be installed.
• Mark the centre of each hole.
• Create the hole for the passage of the socket cable with a milling cutter.
• Remove the template and any splinters around the hole.
• Fit the seal to the socket base.
• Put the cable through the hole created.
• Fix the socket in position with the 4 screws provided.
• Before making the electrical connections ensure that the electrical supply is not connected.
• For the connection of the electrical wires refer to the wire colouring as in fig. 1.
• Insert a 200mA fast-acting fuse on the line of the torch supply (if present).
• Before switching on the power to the control, check that all the electrical connections are correct.
INSTALLATION
UP DOWN
LEFT RIGHT