parallel
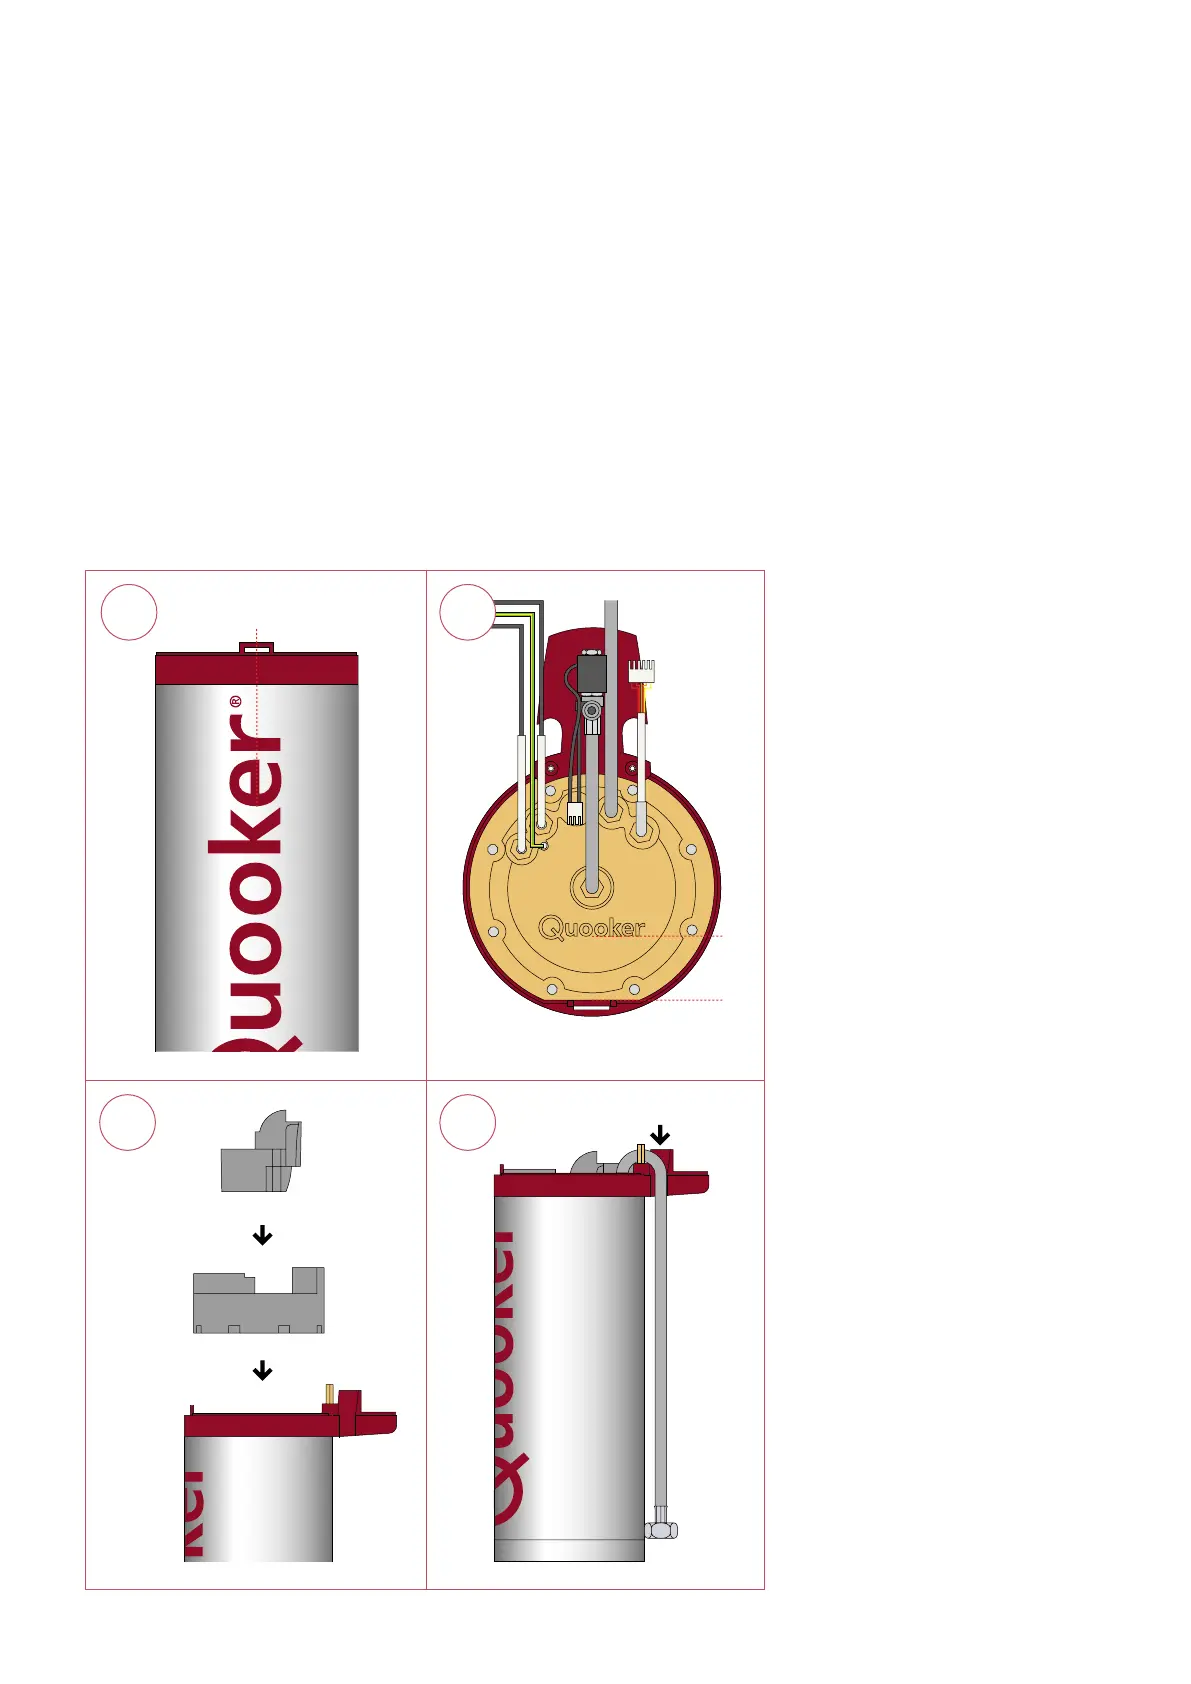
16 Toputthetankbacktogethercorrectly,rstplacethetankinfrontofyouwiththeredQuooker
logo facing you. Accurately line up the notch of the red plastic rim with the logo on the outside
of the tank.
17 Replace the internals and line up the Quooker logo on the internals with the notch of the red
ring.
- Place the eight nuts and tighten them in a diagonal sequence.
18 Now turn the tank a quarter turn clockwise. Replace the insulation. Start with the outer piece.
19 Place the two long hoses between the extended part of the red rim and the brass (distance)
nut and push it downward.
17
1918
16
 Loading...