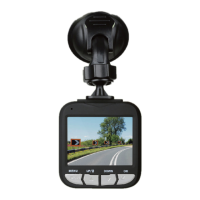
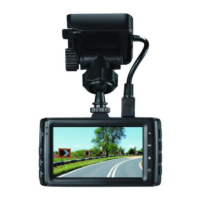
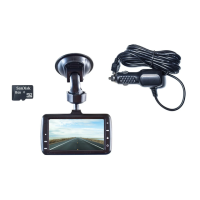
Installing the Dash Cam
1. Push the mount into the slot on the top of the Dash Cam, make sure the mount
is
securely locked in place.
2. Position the suction-cap on the windshield, and then press down the clamp on the
suction pad to secure it to the windshield. Make sure the suction pad is
securely locked in place.
3.
Loosen the knob to swivel the Dash Cam vertically. Lock the knob, to confirm
that the Dash Cam is securely locked in place.
4.
Rotate the Dash Cam 360° to secure the desired view if required.
Connecting to Power
Use only the supplied car charger for powering the Dash Cam.
1.
Connect one end of the car charger to the USB port on the Dash Cam.
2.
Plug the other end of the car charger to the in car power socke of your vehicle.
Once the vehicle engine is started, the Dash Cam automatically turns on. It will
also turn off when the engine is turned off. (Note: Some vehicles have an in car
power supply that remains on, even if the engine is turned off. If this is the case,
you will need to manually turn the Dash Cam on and off, using the power button,
when you enter and leave the vehicle)
www.proofcam.com
04
Note: Any excess cable can normally be tucked into the ceiling of the vehicle. We
have a video to advise on how best to fit the RAC 210 which is available at
www.proofcam.com and visit “Dash Cam Resources”. You can also search
“How to fit an RAC 210” on YouTube.