Do you have a question about the RaceChip Pro 2 and is the answer not in the manual?
Guidance on locating the motor block and the specific 3-pin Common-Rail sensor.
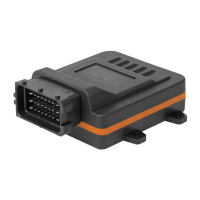
Procedure for safely disconnecting the sensor's plug and connecting the new cable harness.
Connecting the vehicle's original sensor plug to the corresponding socket on the RaceChip harness.
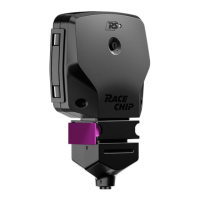
Adjusting rotary controls for performance increase based on invoice settings like B-1, F-E, etc.
Alternative adjustments for performance increase based on invoice settings like 9-B or B-C.
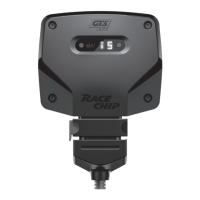
Using rotary switch S1 to increase or decrease power incrementally by 1.5% per position.
| Power Increase | Up to 30% |
|---|---|
| Torque Increase | Up to 30% |
| Installation | Plug-and-play |
| Adjustable Settings | Yes |
| Hardware | High-quality components |
| Warranty | 2 years |
| Type | Performance Chip Tuning |
| Number of Maps/Adjustment Levels | 7 |