12
Recording
For the best recording quality, place the recorder about 1 foot
from the sound source. Because the microphone is so sensi-
tive, it will also pick up a voice or group of voices (such as an
audience) from several feet away.
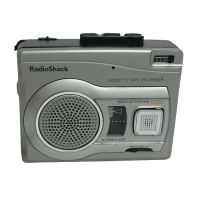
1. Gently pull open the cassette compartment door.
2. Use your finger or a pencil to turn the cassette’s hub and
take up any tape slack, and advance the cassette past the
leader at the beginning of the tape.
3. Load a cassette into the door’s guides with the cassette’s
open end out and the side you want to record on facing the
compartment’s window. Then close the door.
4. Set
VOX/TONE
to
ON
.
5. Set
VOLUME/VOX SENS
to the desired setting (
0–10
) to con-
trol how loud a sound is required to trigger the activation
sensor.
At
10
, a soft sound activates the recorder. At settings closer
to
0
, it takes a louder sound to start recording. Experiment
to find the best setting for
VOLUME/VOX SENS
in your
recording environment.
Note:
Use an earphone when you want to monitor a
recording in progress (see “Connecting an Earphone” on
Page 7).
6. Press
RECORD
.
RECORD
and
PLAY
lock down. Recording
starts when the microphone receives a loud enough signal
(voice or other sound). It pauses when the signal stops.
 Loading...