16
Rain Bird Golf Rotors Operation and Maintenance Manual
Aspersores de golf Rain Bird Manual de operación y mantenimiento
Rain Bird Golf Rotors Operation and Maintenance Manual
Aspersores de golf Rain Bird Manual de operación y mantenimiento
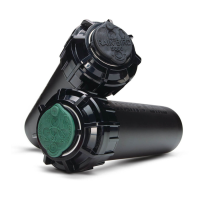
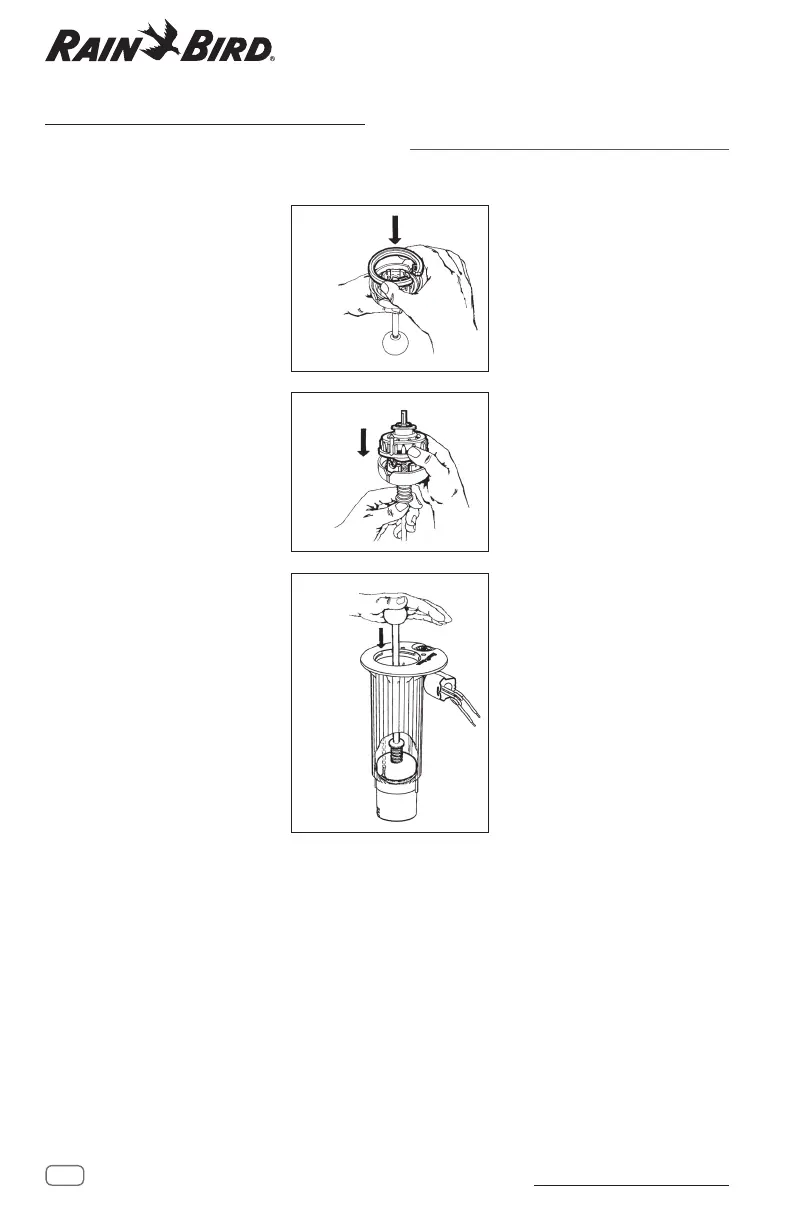
INSTALLING THE VALVE ASSEMBLY
Required Tool: Valve insertion tool.
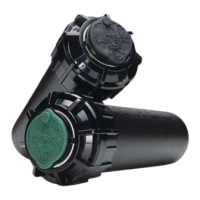
To install the valve assembly, insert the
two snap rings into the valve insertion
tool, with the slotted tabs on the snap
rings 180 degrees apart. P/N for valve
insertion tool for 552/702/752 rotors
is B41710 and for 900/950 rotors is
B41730.
Insert the valve into the valve insertion
tool. Align the pilot ow port on the
valve with the large rounded notch of
the valve tool.
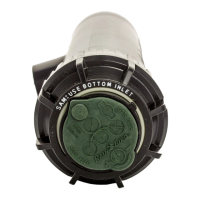
NOTE: Conrm TSRS is installed in the
case.
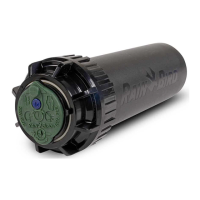
Insert the valve tool into the rotor case,
aligning the two ribs on the inside of
the case with the notches on the side
of the tool. Ensure that the pilot ow
port on the valve is on same side as
the selector stem on the case. Push the
handle down until the head of the tool
reaches the bottom of the case. Then
push down rmly on the tool to seat
the valve and check to make sure that
both snap rings are securely in place.
Reinstall the internal assembly and
upper snap ring. Turn on the water and
test the valve by operating the sprinkler
manually, as shown on pág. 9.
INSTALACIÓN DEL MECANISMO
DELA VÁLVULA
Herramienta necesaria: Herramienta
de inserción de la válvula.
Para instalar el mecanismo de la
válvula, inserte los dos anillos de
retención en la herramienta de
inserción de válvulas con las lengüetas
de los anillos separadas 180 grados.
El Nº de pieza para herramienta de
inserción de la válvula para aspersores
552/702/752 es B41710 y para
aspersores 900/950 es B41730.
Inserte la válvula en la herramienta
de inserción de válvulas. Alinee la
lumbrera de la válvula con la muesca
redondeada de la herramienta de
inserción de válvulas.
NOTA: Conrme la instalación de TSRS
en la carcasa.
Introduzca la herramienta de inserción
en la carcasa del aspersor, alineando
los dos rebordes del interior de esta
última con las ranuras de los laterales
de la herramienta. Asegúrese de
que la lumbrera de la válvula está
en el mismo lado que vástago del
selector en la carcasa. Empuje la
palanca rmemente hacia abajo
hasta que la cabeza de la herramienta
alcance la parte inferior de la carcasa.
Luego presione rmemente la
herramienta para asentar la válvula y
compruebe que ambos anillos están
bienasentados.
Vuelva a instalar el mecanismo interno
y el anillo de retención superior. Abra
el agua y pruebe la válvula haciendo
funcionar el aspersor manualmente,
según se muestra en pág. 9.
 Loading...