3
Rain Bird Golf Rotors Operation and Maintenance Manual
Aspersores de golf Rain Bird Manual de operación y mantenimiento
Rain Bird Golf Rotors Operation and Maintenance Manual
Aspersores de golf Rain Bird Manual de operación y mantenimiento
IMPORTANT INSTALLATION &
MAINTENANCE TIPS
• To avoid debris problems, ush the system
before installing the ROTOR on the swing joints.
If debris gets in the line, ush the line.
• For ACME thread rotors, you must use an ACME
thread swing joint assembly. DO NOT use
plumbers tape or pipe dope. Do not tighten
completely against swing joint tting. (Turn the
rotor back counter-clockwise one-quarter (¼) of a
turn from tightened position.)
• Rain Bird does not recommend using metal
ttings with Rain Bird Rotors. If metal ttings
must be used, hand tighten only.
• Rain Bird Rotors may be installed at ground level
in all soil types.
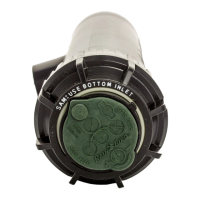
• For SAM/hydraulic rotors used in hydraulic
congurations; before you connect the hydraulic
tubing, make sure you bleed the air from the tube
of the hydraulic control module.
• On electric and IC models, be careful to prevent
any debris from entering the Pressure Regulating
System when working on the valve or replacing
the selector stem.
• For part-circle applications, locate the
xed left edge by rotating the nozzle turret
counterclockwise.
CONSEJOS IMPORTANTES DE
INSTALACIÓN Y MANTENIMIENTO
• Para evitar problemas de impurezas, limpie el
sistema antes de instalar el ASPERSOR en los
codos articulados. Si se introduce suciedad en la
línea, límpiela.
• Para aspersores con rosca ACME, deberá usar un
conjunto de codo articulado con rosca ACME.
NO utilice cinta de teón o sellador de tuberías.
No apriete el aspersor tope con el acople del
codo articulado. (Gire el aspersor ¼ de vuelta en
sentido antihorario desde la posición apretada).
• Rain Bird recomienda no usar acoples metálicos con
los aspersores Rain Bird. Si tuviera que utilizar este
tipo de acoples, apriételos a mano únicamente.
• Los aspersores Rain Bird pueden instalarse al nivel
del suelo en todo tipo de terreno.
• Para aspersores SAM/hidráulicos en
conguraciones hidráulicas, asegúrese de purgar
el aire del tubo del módulo de control hidráulico
antes de conectar la tubería hidráulica.
• En los modelos eléctricos e IC, tenga cuidado de
que no entre ninguna impureza en el sistema de
regulación de presión cuando esté trabajando en
la válvula o reemplazando el vástago del selector.
• Para las aplicaciones de círculo parcial, ubique
el tope izquierdo jo moviendo la torreta de la
tobera en sentido antihorario.
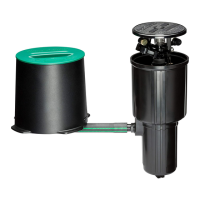
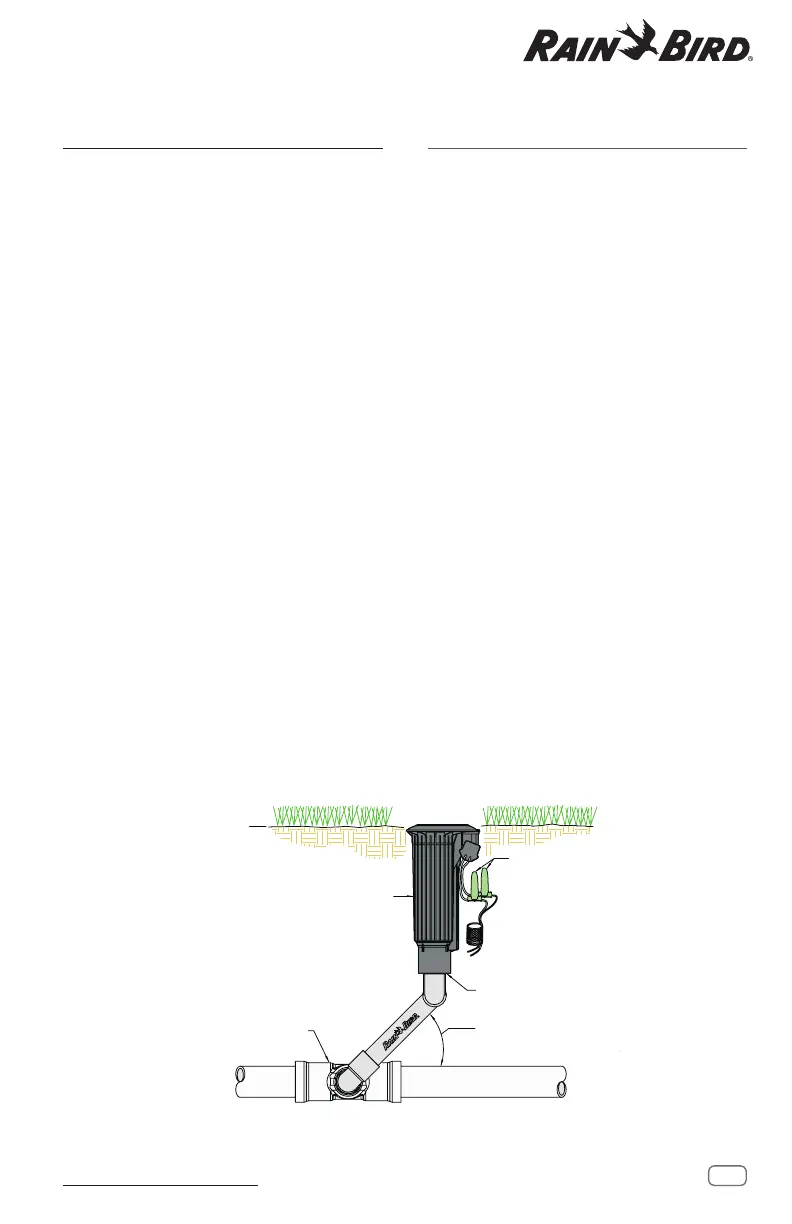
R
FITTING AS REQUIRED
(ACOPLE SEGÚN SEA
NECESARIO)
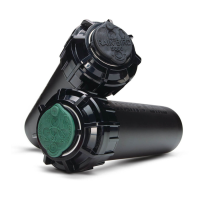
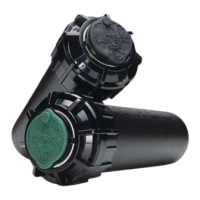
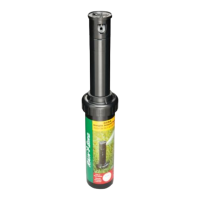
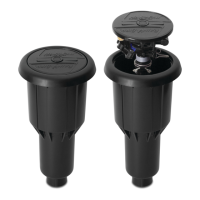
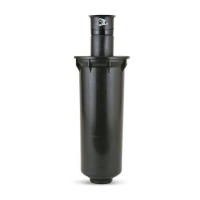
RAIN BIRD 552/702/752 ROTOR
(ASPERSOR RAIN BIRD 552/702/752)
CONTROLLER WIRE
EXPANSION COIL
(BOBINA DE EXPANSIÓN DE CABLE
DEL PROGRAMADOR)
RAIN BIRD CONNECTORS
(CONECTORES RAIN BIRD)
THREADED INLET SIZE: 1 1/4" - ACME
IMPACT ABSORPTION.
(CODO ARTICULADO UNITIZADO RAIN BIRD
AJUSTAR ÁNGULO DEL BRAZO DE COLOCACIÓN DE
CODO ARTICULADO ENTRE 30º Y 45º PARA PERMITIR
UNA ADECUADA ABSORCIÓN DE IMPACTOS).
BETWEEN 30° TO 45° TO ALLOW ADEQUATE
ADJUST ANGLE OF SWING JOINT LAY ARM
RAIN BIRD UNITIZED SWING JOINT
DO NOT USE TEFLON TAPE WITH ACME THREADS.
DO NOT USE PIPE DOPE.
(TAMAÑO DE ENTRADA DE ROSCA: 1 1/4" - ACME
NO UTILICE CINTA DE TEFLÓN CON ROSCAS ACME.
NO UTILICE SELLADOR DE TUBERÍAS).
 Loading...