7
Installing the Manifold
If you are installing a new valve manifold, keep in mind that the location should be
easily accessible for maintenance. Locate the manifold where you are not likely to be
sprayed by the sprinklers when turning the system on manually. On larger systems,
separate manifolds may be required for the front and back yards. It is a good idea to
keep a plan showing where all in-ground valves and pipes have been installed.
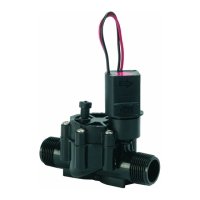
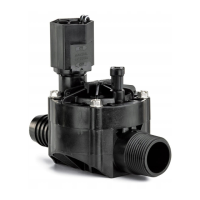
Be sure to flush the line coming up to the manifold, before installing the valves. Test
and flush each line before sprinklers are attached. Most valves have a flush mode
which allows a little extra water through the valve to clean it out.
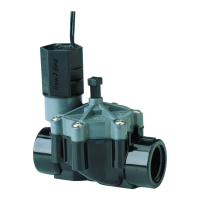
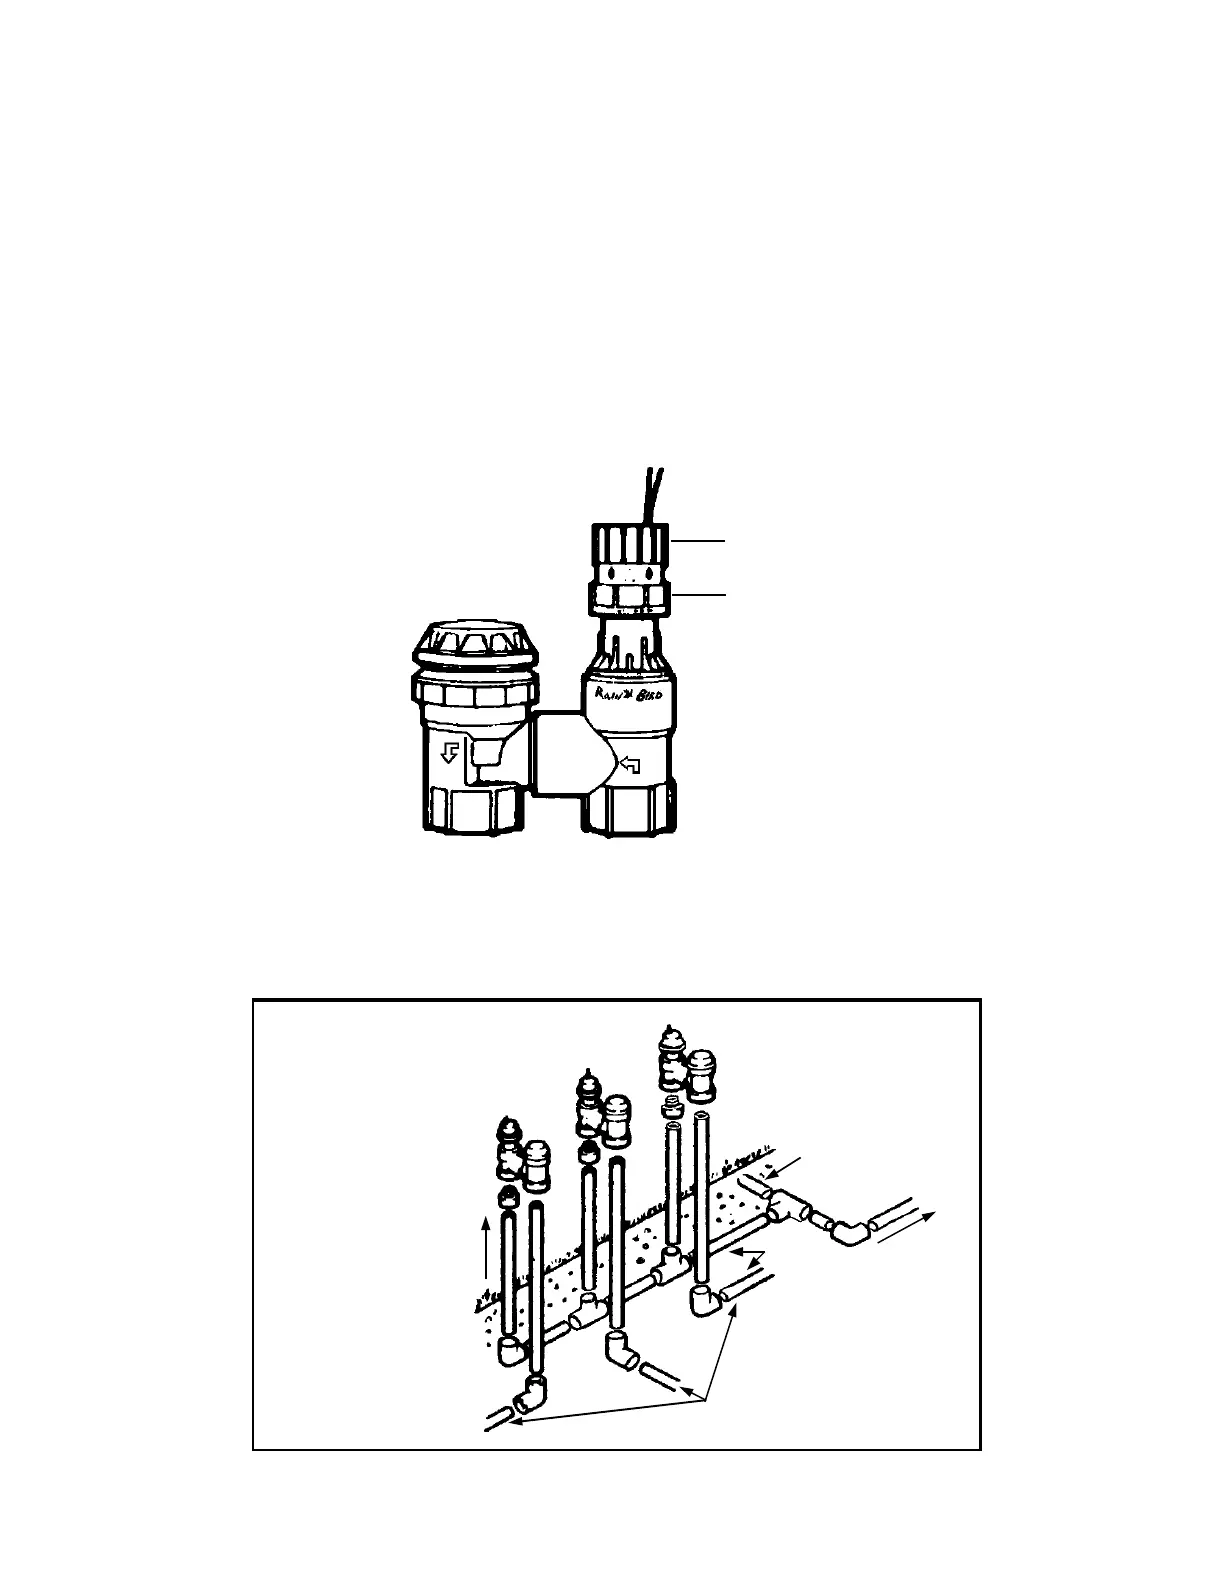
Turn black SOLENOID counterclockwise (do not turn gray ring) until a small amount of water discharges
between SOLENOID and FLOW CONTROL ring.
To Flush:
Turn Solenoid (Manual on/Off)
Hold Flow Control
Typical installation
using PVC pipe and
fittings
Install valves
at least 6”
above
the highest
sprinkler
To Sprinklers
PVC Pipe
Connecting pipe
from water source
To backyard
control valves
Connecting pipe and fittings to be
the same size as the largest con-
trol valve in the group
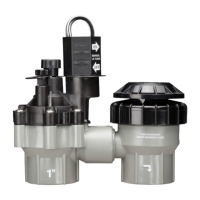
Anti-Siphon Valves Grouped Above Ground
 Loading...