Do you have a question about the Rangemaster Classic 90 Dual Fuel FSD and is the answer not in the manual?
Ensure gas and electricity are correctly supplied and the appliance is powered on for operation.
Initial start-up odour is normal and should dissipate with use.
Guide to setting automatic cooking start and stop times for oven operation.
Overview of special features available on the clock control interface.
Instructions on how to lock the control panel to prevent accidental changes.
Details on using the timer function for automatic oven operation.
Instructions on how to adjust the cooker to ensure it is level.
Guide on how to attach the cooker door handles securely.
Optional steps for installing the splash back accessory.
Guidance on fitting a stability bracket for gas supply safety.
Requirements and procedures for connecting the cooker to the electrical supply.
Steps to verify the oven fan and heating functions are operational.
Advice on completing user details and handover.
Steps to safely remove the cooker's control panel for servicing.
Procedure to remove hotplate trays for access during servicing.
Instructions for safely removing the side panels of the cooker.
Steps to remove the ignition or oven light switch for replacement.
Detailed procedures for removing and replacing various cooker components.
Steps for replacing oven door panels, latches, seals, and magnetic latches.
Procedures for replacing the oven fan and heating elements.
Guide to replacing the main oven's light bulb.
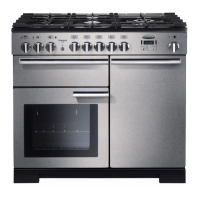
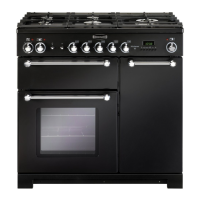
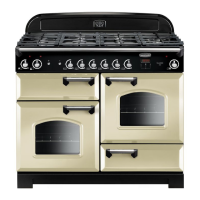
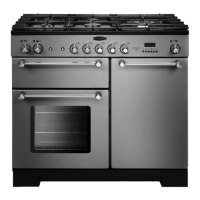
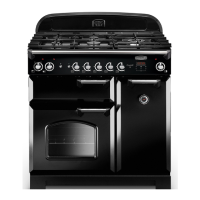
| Width | 90 cm |
|---|---|
| Width (mm) | 900 mm |
| Hob Type | Gas |
| Number of Ovens | 2 |
| Number of Burners | 5 |
| Grill | Yes |
| FSD | Yes |
| Type | Dual Fuel |
| Model | Classic 90 |
| Oven Type | Fan Oven |
| Grill Type | Electric |
| Dimensions (H x W x D) | 900 x 900 x 600 mm |
| Color Options | Black, Cream |