EasyManuals Logo

Rational UltraVent User Manual

Rational UltraVent
32 pages
To Next Page IconTo Next Page
To Previous Page IconTo Previous Page
Page #12 background imageLoading...
Page #12 background image
UV-USA SCC_WE, CM_P V04, 02/2013
12
The following description is only valid for 6x2/1GN
units
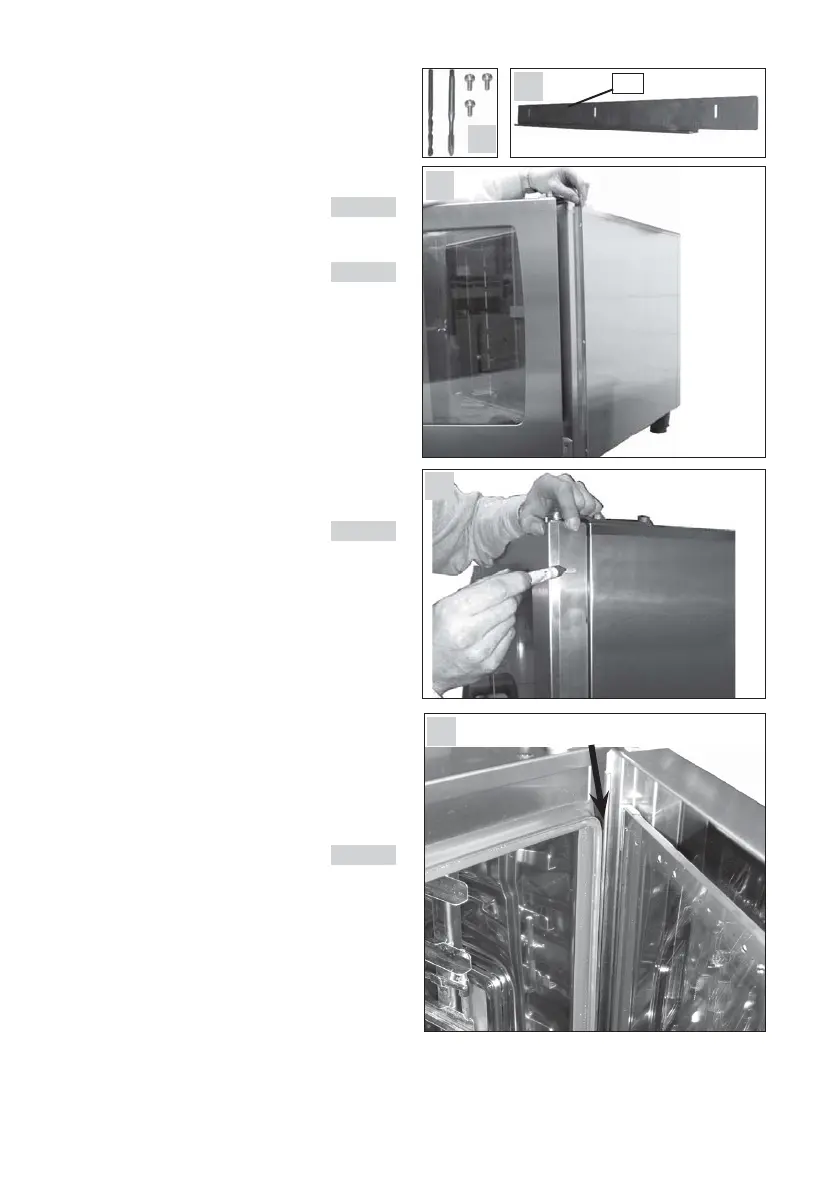
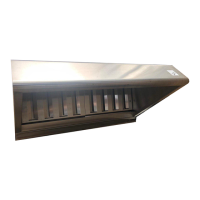
5. Installation of door deflector
(Pic. 24 item 15):
a) The necessary tools and screws are in a little
plastic bag that is taped to the deflector
pic. 23
b) The deflector must be installed to the right
outer edge of the door. pic. 25
c) Use the deflector as a template and mark the
three positions where the holes of the screws
must be drilled (use the supplied bit) pic. 26
The top edge of the deflector and of the door
must be even
d) For tapping us the supplied tap die
e) Fit the deflector with the screws to the door
g) Align the deflector in horizontal direction
When opening the door the deflector shall
close the gap between the door gasket and the
door. pic. 27
Gap closed by deflector
23
24
25
26
27
15

Questions and Answers:

Question and Answer IconNeed help?

Do you have a question about the Rational UltraVent and is the answer not in the manual?

Rational UltraVent Specifications

General IconGeneral
MaterialStainless Steel
CompatibilityiCombi Pro / iCombi Classic
CategoryVentilation Hood
Airflow CapacityVaries depending on iCombi Pro/Classic model
Noise LevelVaries depending on iCombi Pro/Classic model
Power ConsumptionVaries depending on iCombi Pro/Classic model
VoltageVaries depending on iCombi Pro/Classic model
DimensionsVaries depending on iCombi Pro/Classic model
WeightVaries depending on iCombi Pro/Classic model
TypeCondensation hood with condensation technology

Related product manuals