UV-USA SCC_WE, CM_P V04, 02/2013
9
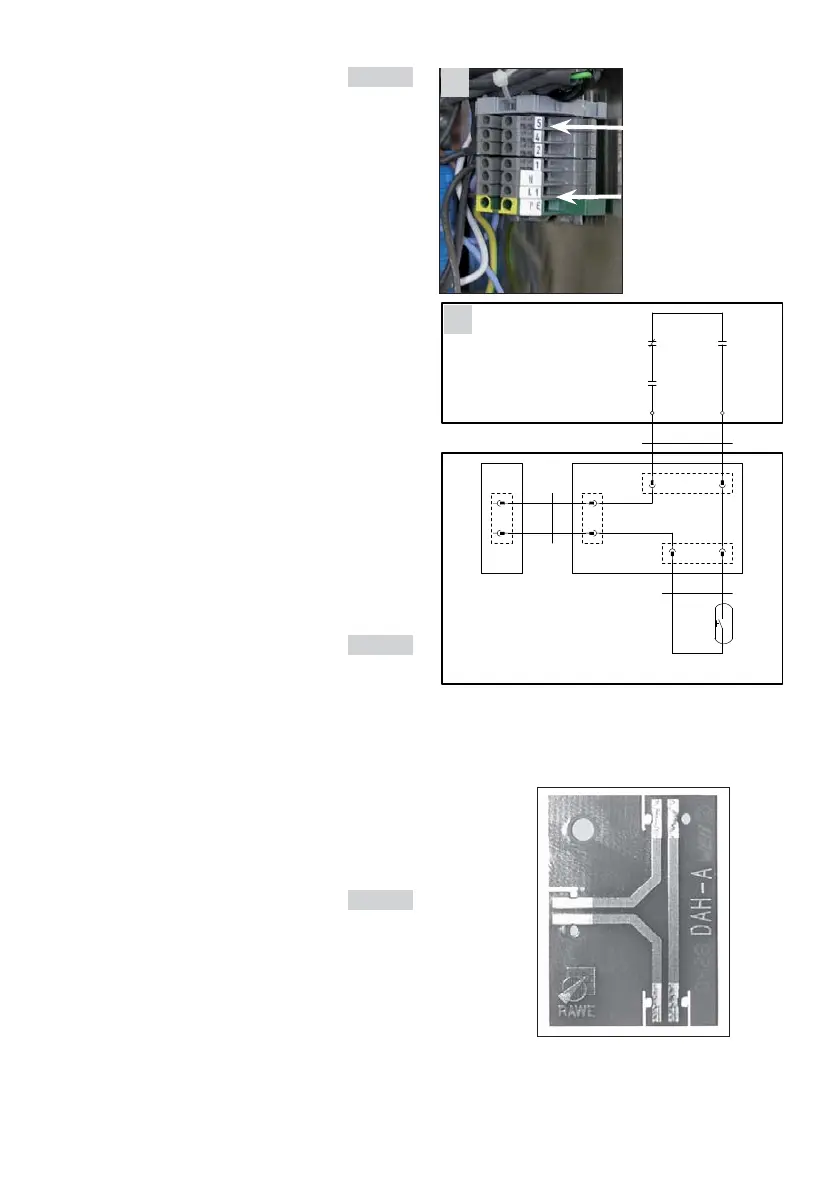
2.3 Power supply of the hood pic. 13
- The Ultravent must electrically be connected in
accordance with the local regulations.
Before removing the plug or reconnecting to the
power supply, ensure that the operating switch is
in the "off” position.
- The Ultravent is delivered without power cord.
The terminals for power connection can be found
in the power box at the rear side of the Ultravent.
The color code of the terminals are:
PE = earth yellow/green (ground)
L = phase grey
N = neutral blue
- Also on the rear side of the hood there is an
earth connection stud. Fit the hood with a
suitable cable to the earth bonding (ground)
system
2.4 The combination of Rational Combi and
Ultravent is electrically interlocked. The
Combi shall only operate under the follow-
ing conditions:
a) The UV must be electrically switched "ON”
b) All filters (charcoal filter and fat filter) must
be correctly installed. This is controlled by
additional reed switches.
c) Charcoal filters must be clean
To connect this circuit proceed as follows:
pic 14
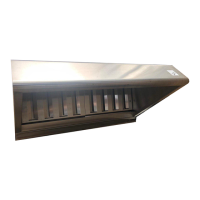
1. There is an extra interface pcb (A8) delivered
with the Ultravent kit. Fix it to the electrical
mounting plate of the combi at a suitable posi-
tion.
2. In the kit also cable W24 (pic 1 item 9) is sup-
plied. Connect this cable to X23.1 of the interface
pcb (A8).
3. Run this cable W24 out of the electric compart-
ment through the cable gland back up to the
power box of the Ultravent. Connect brown wire
to terminal 4 and black wire to terminal 5 of the
power box. pic 13
4. Remove 2 pole connector X27 (door contact
switch)
from cpu pcb (SCC_WE units) or X27
operator pcb (CM_P units)
5. Connect the door contact switch to terminal
X27.2 of the interface board A8.
6.
Also in the kit there is the cable W 23 (pic. 1 item 8).
Connect this cable to X27.1 of the interface pcb
(A8) and the other end to X27 of the operator
pcb (CM_P units) respectively to X27 of the cpu
pcb (SCC_WE units).
13
X27.2
1
2
X23.1
1
2
X27.1
1
2
X27
11
22
A1
I/O-PCB (SCC)
CPU-PCB (SCC_WE)
4
5
W23
Rel3
Error relay
Rel2
Filter relay
Ultravent
Combi steamer
W24
S3
Door contact switch
W25
A8
Interface pcb
Operator-PCB (CM, CM_P)
Rel1
“On” relay
terminal 4 and 5 to
X23.1of A8
14
X23.1
X27.2
X27.1
A8
Mains input
PE = earth yellow/green
L = phase grey
N = neutral blue