EasyManuals Logo
Home>Raypak>Swimming Pool Heater>P-R185B To P-R405B, C-R185B To P-R405B, P-R185BL To P-R405BL, C-R185BL To C-R405BL, RP2100

Raypak P-R185B To P-R405B, C-R185B To P-R405B, P-R185BL To P-R405BL, C-R185BL To C-R405BL, RP2100 User Manual

Raypak P-R185B To P-R405B, C-R185B To P-R405B, P-R185BL To P-R405BL, C-R185BL To C-R405BL, RP2100
52 pages
To Next Page IconTo Next Page
To Previous Page IconTo Previous Page
Page #9 background imageLoading...
Page #9 background image
WINTERIZING THE POOL & SPA HEATER
Heaters installed outdoors in freezing climate areas are
subject to be shut down for the winter. Observe the
following step-by-step procedure for winterizing the
heater:
1. Turn off gas valve, manual gas valve, and electrical
supply to the heater.
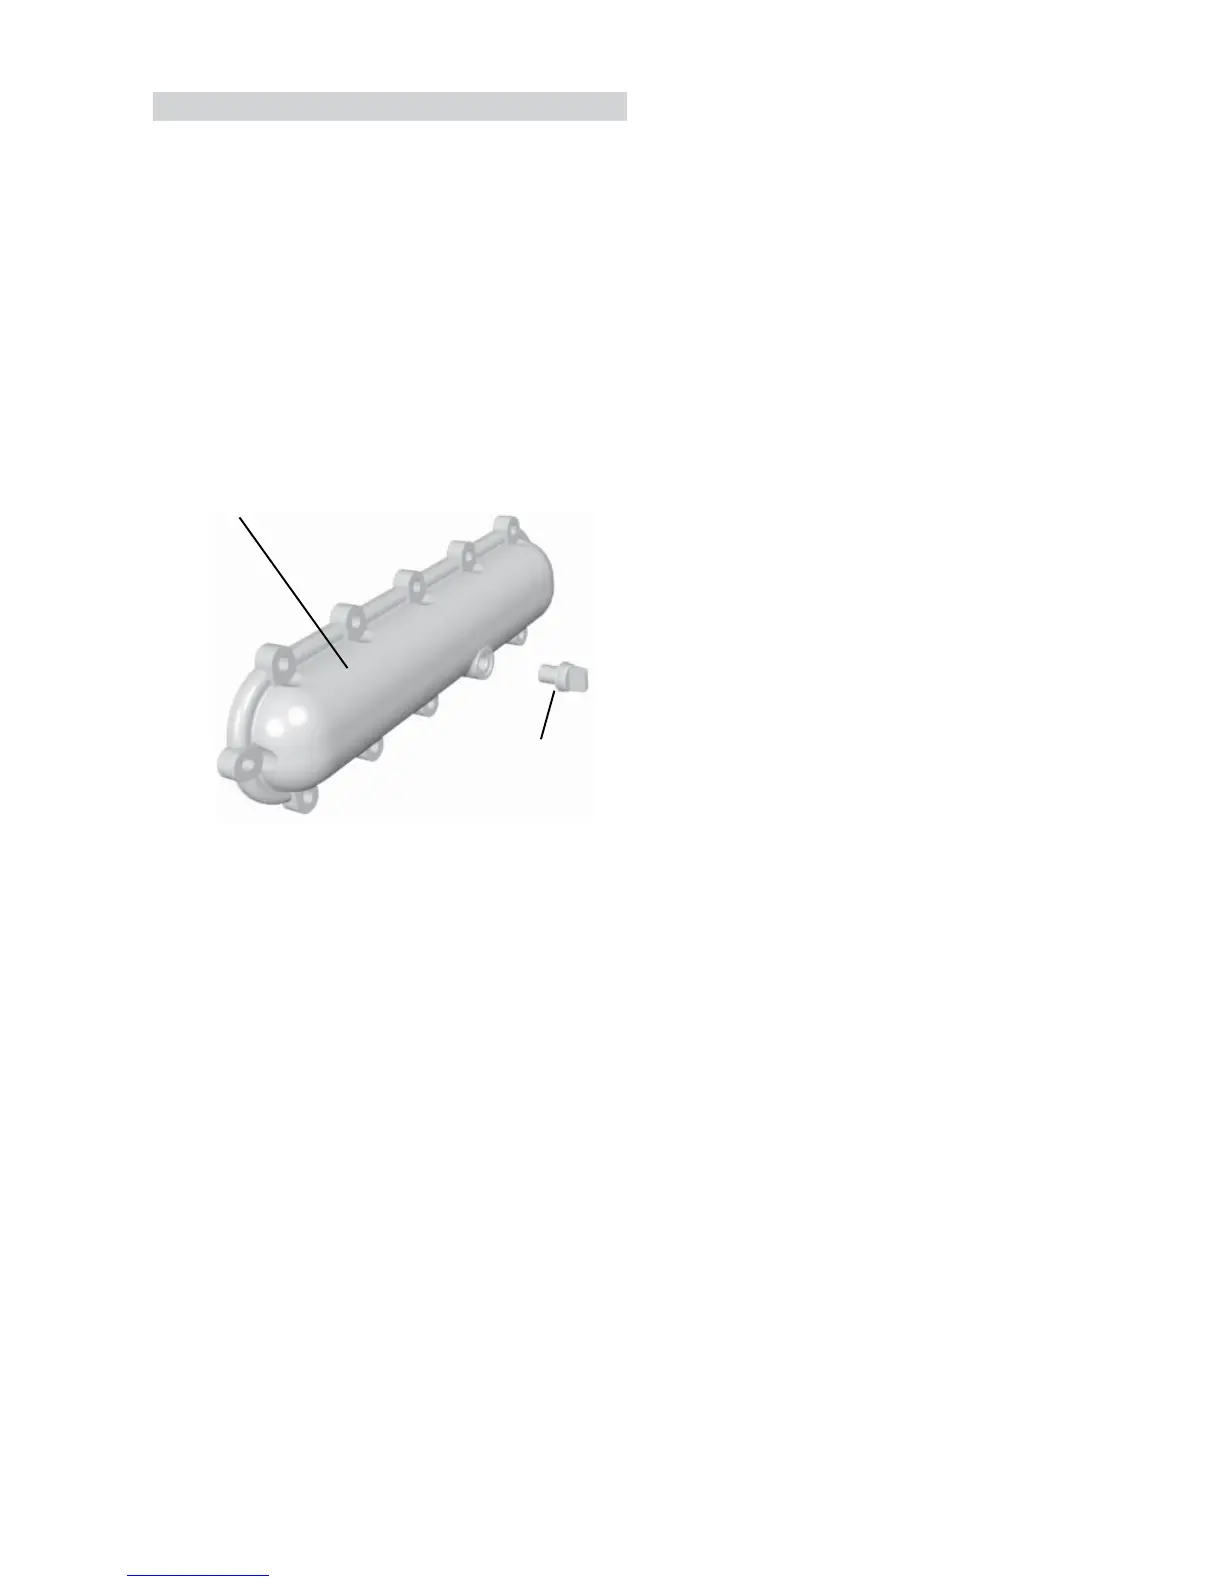
2. Open drain plug located on the inlet/outlet header,
(under water pipes). Remove the heat exchanger
inspection panel on the side opposite water piping to
gain access to the drain plug on the return header.
Open drain plug on return header.
9
Return Header
Drain Plug
Disconnect compression fittings from the pressure
switch and return header that connects to the 1/4" copper
tube and allow the tube to drain. For ASME Heaters only.

Questions and Answers:

Question and Answer IconNeed help?

Do you have a question about the Raypak P-R185B To P-R405B, C-R185B To P-R405B, P-R185BL To P-R405BL, C-R185BL To C-R405BL, RP2100 and is the answer not in the manual?

Raypak P-R185B To P-R405B, C-R185B To P-R405B, P-R185BL To P-R405BL, C-R185BL To C-R405BL, RP2100 Specifications

General IconGeneral
BrandRaypak
ModelP-R185B To P-R405B, C-R185B To P-R405B, P-R185BL To P-R405BL, C-R185BL To C-R405BL, RP2100
CategorySwimming Pool Heater
LanguageEnglish

Related product manuals