12
01
Installation and Connection
Platform
The installation environment shall meet the requirements
of the manual, otherwise it may lead to low printing
success rate and print quality problems.
The computer which was used to prepare the printing task
with ShapeWare and the corresponding printer must be
placed within the same LAN in order to achieve the wireless
delivery of the printing task. Whether the LAN is connected to
the external network does not affect network transmission.
The platform which is used to place the device shall
be more than 50cm in width, more than 65cm in depth,
and there shall be more than 80cm space above. The
load-bearing capacity shall be more than 40kg. The
back of the device should be kept at a distance of
more than 20cm from the wall to make sure that the
cover could be fully opened. The table should be at
and stable, and avoid direct sunlight to the printer.
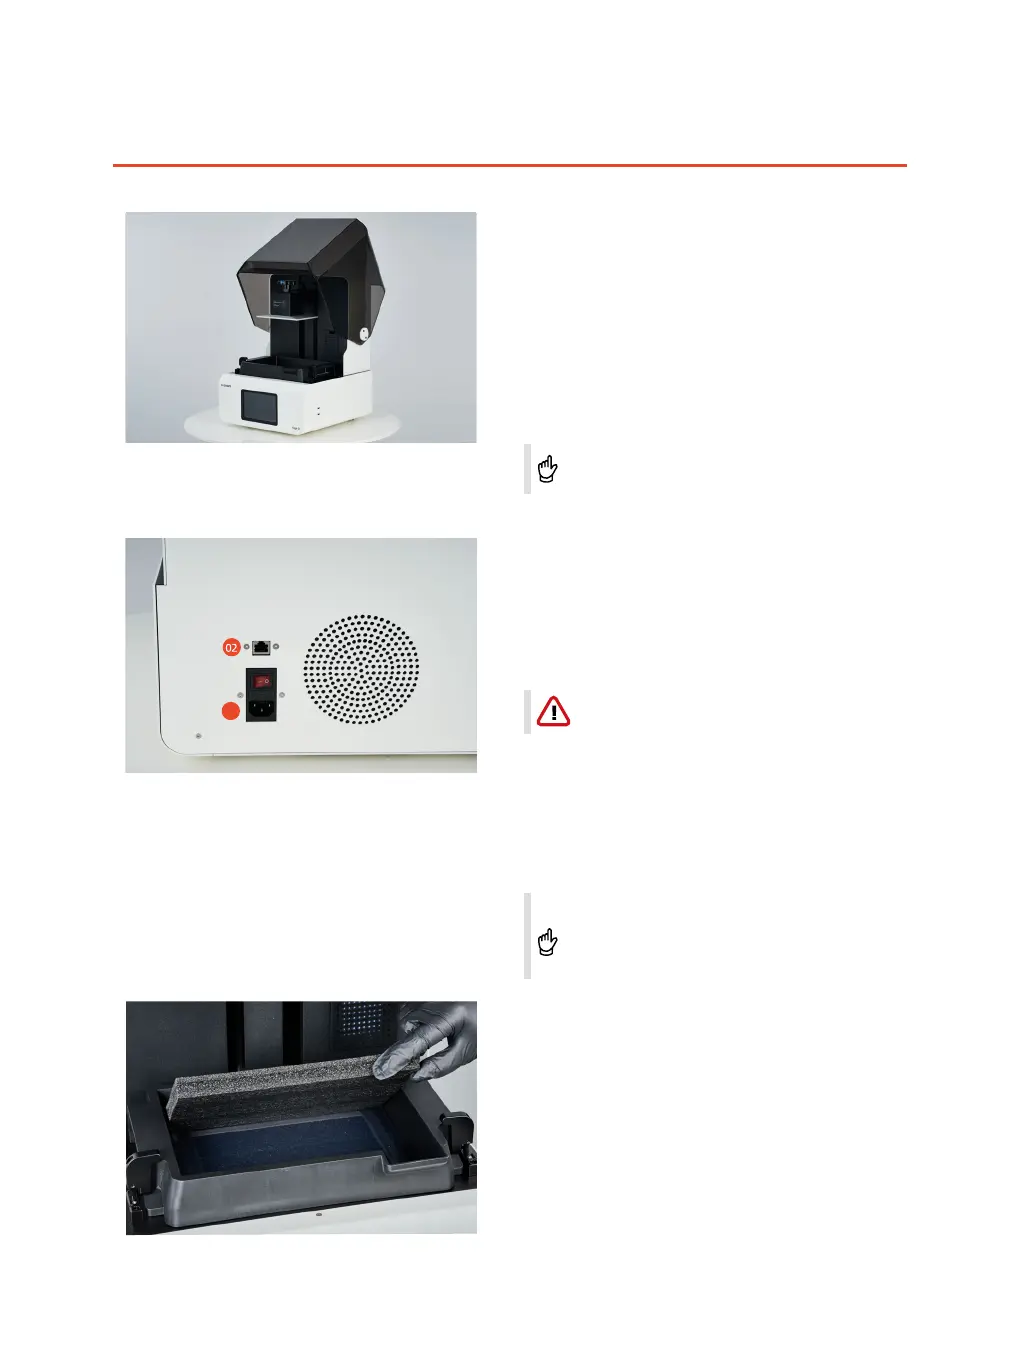
Connection of cables
(1) Connection of the power cord
Make sure that a grounded power outlet was
applied.
The power interface is located on the rear surface of
the printer. Please connect the printer with the power
outlet by using the power cord which was included in
the accessory kit.
(2) Connection of Ethernet cable
You can choose to use an Ethernet cable or Wi-Fi to
connect your 3D printer with the Ethernet. Please connect
one end of the network cable to the Ethernet port located
on the rear surface of the device and the other end to the
Ethernet port on site.
Initialize platform
Click on " TOOLS"-"Z-AXIS OFFSET "-"MOVE TO TOP".
The printing platform will move up to the initial
position of the z-axis. Remove protection foam from
the resin tank.