5
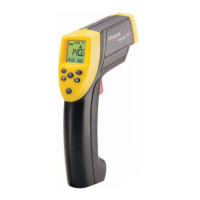
How to Operate the Unit
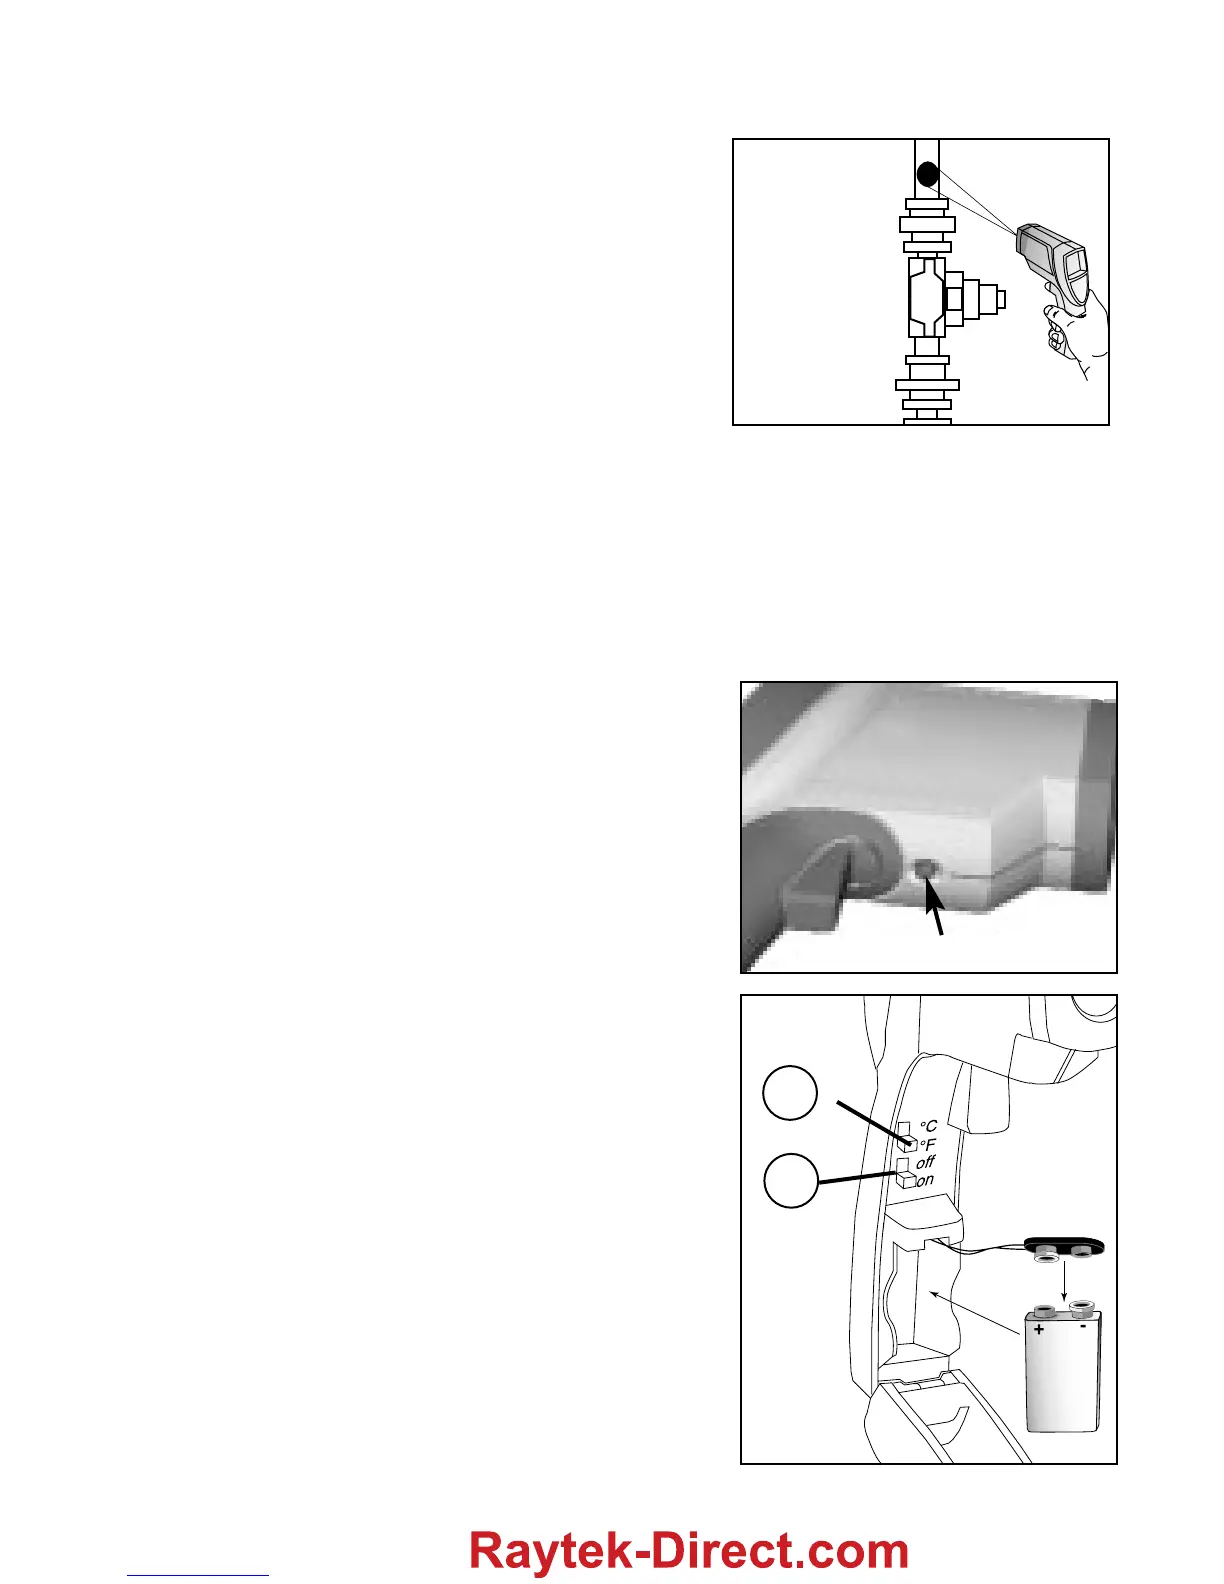
Measurement: Quick Start
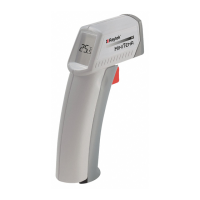
To measure a temperature, point the unit at
an object, and pull the trigger. Be sure to
consider distance-to-spot size ratio and field
of view. When using the laser, use it only for
aiming. For more detailed operating instruc-
tions, see “How to Accurately Measure
Temperature.”
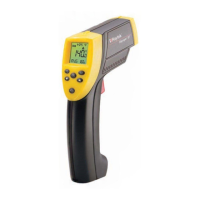
Switching °C and °F; Changing the
Battery; Laser and Backlight On/Off
To open the unit’s handle, push the button
near the trigger on the underside of the unit,
and pull the handle down and forward. To
select °C or °F, slide the top switch (A) up
for Celsius and down for Fahrenheit. To acti-
vate the laser and backlight, slide the lower
switch (B) down. The laser and backlight
will turn on when the trigger is pulled. The
laser will turn off when the trigger is
released. The backlight will remain on for 7
seconds after the trigger is released.
To change the 9V battery, attach the battery
to the battery snaps with the positive side
toward the rear of the battery compartment.
A
B
Button
English
 Loading...