HEADLINE
Need Help? Visit our website for replacement parts, product support, a list of authorized service centers in the US and customer service contact information
at www.razor.com. Please have the product I.D. code (located on the white label of your product) available for better assistance. Additional Customer
Service contact information is listed at the back of this manual.
66
REPAIR AND MAINTENANCE
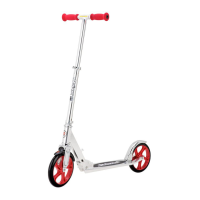
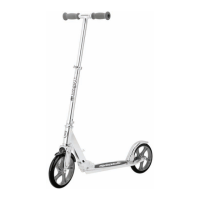
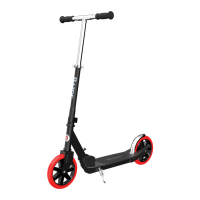
Wheels and Bearings
Under normal circumstances and conditions, Razor wheels and wheel bearings are maintenance free. Nonetheless, it
is the responsibility of the owner or guardian to periodically inspect the wheels for wear and tear, the axle for proper
tightness, and bearings for side-to-side play, and loose parts. When a wheel or wheel bearing develops play, this is
an indication of excess wear and replacement is necessary. Replace immediately with only genuine Razor wheels.
Worn wheels/bearings are considered normal wear-and-tear and are not covered by the Razor Warranty. Wheels
other than genuine Razor wheels may not be compatible with your Razor product. The use of anything other than
genuine Razor replacement parts may affect your safety and will void your warranty.
Replacement Parts
The most frequently requested replacement parts are available for purchase at some Razor retail partners.
For the complete selection of replacement parts visit www.razor.com.
Repair Centers
For a list of authorized Razor repair centers:
• Check online at www.razor.com.
• Additional Customer Service contact information is listed at the back of this manual.
WARNING:
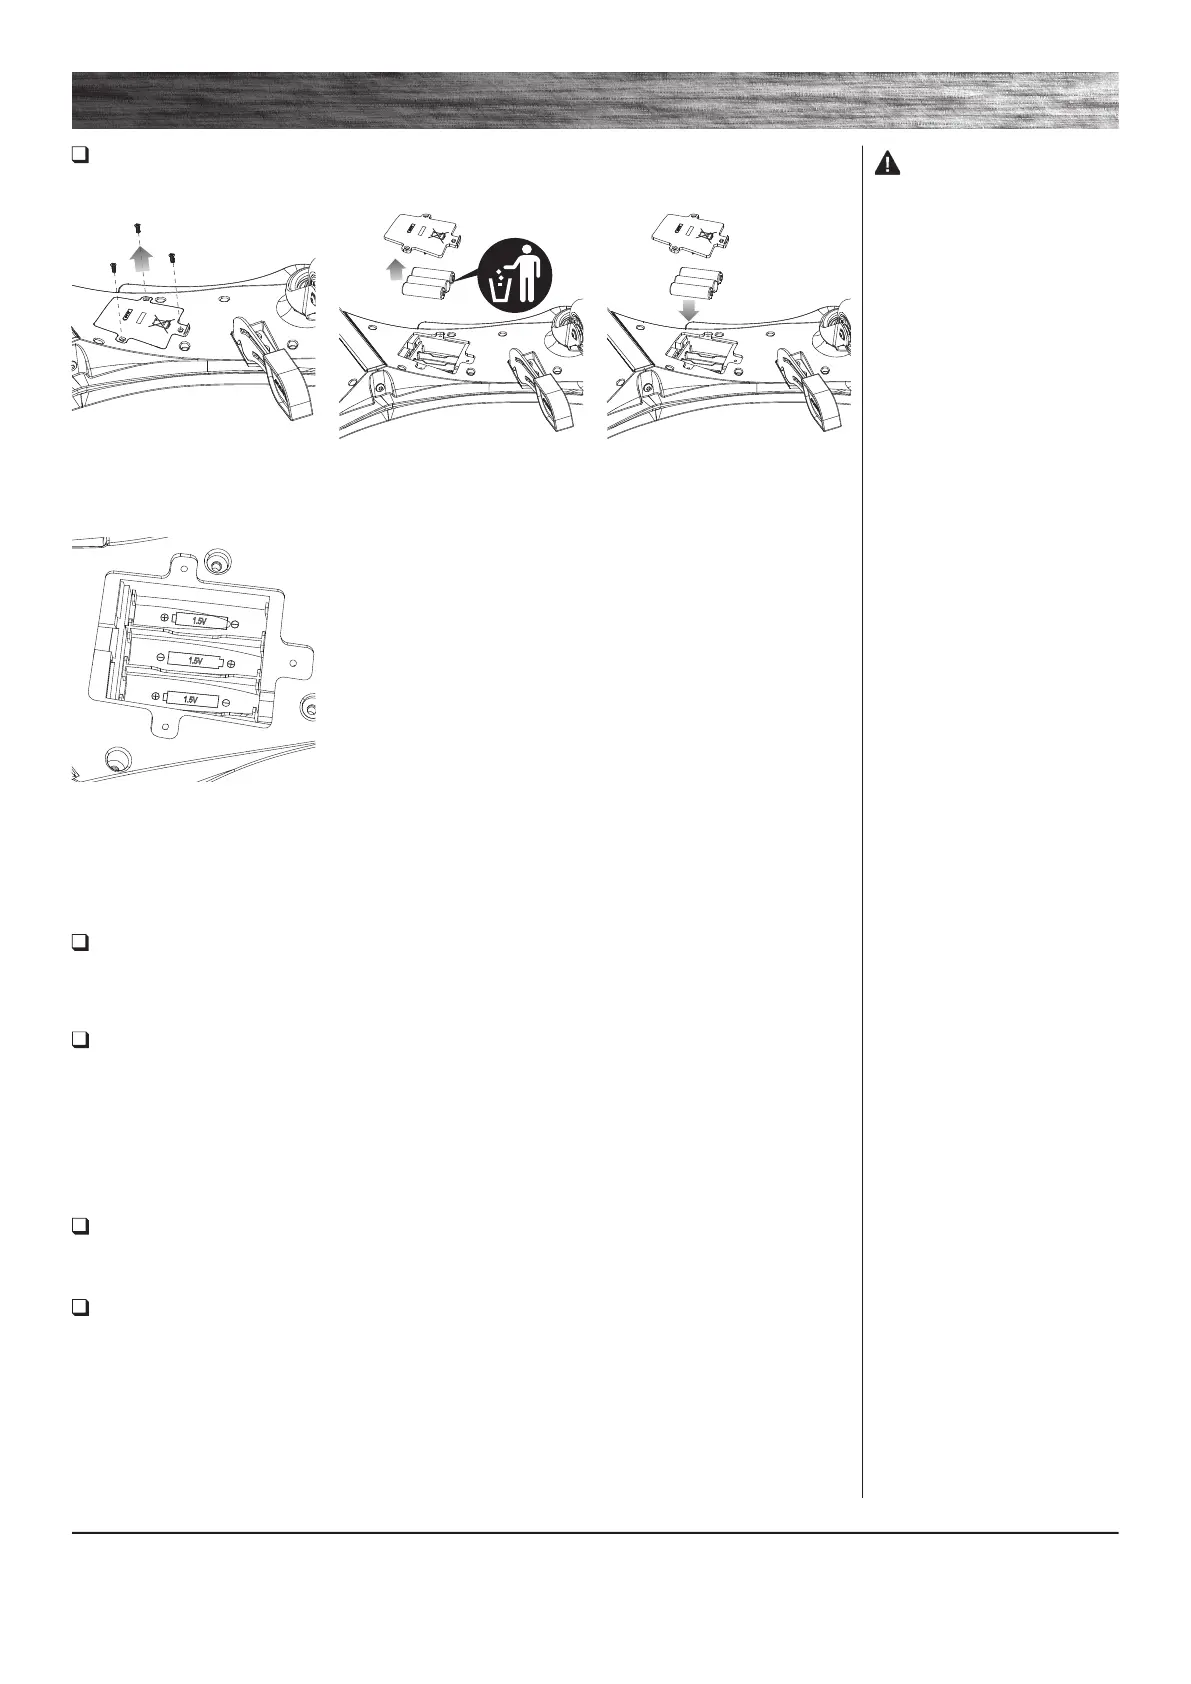
AA batteries included for lights -
adult attention for changing
and disposal.
• Batteries should only be replaced
by an adult.
• Loose batteries could present
a choking hazard and should be
kept away from small children.
• Do not mix old and new batteries.
• Do not mix alkaline, standard
(carbon-zinc) or rechargeable
(ni-cad, ni-mh, etc.) batteries.
• Dispose of batteries properly.
Note: Batteries are not covered
under the Limited Warranty.
1 Using a Phillips screwdriver,
remove the three (3) screws from
the top of battery cover.
Note: When installing the batteries,
please pay attention to the
batteries’ positive and negative side
which must align with the positive
and negative markings in the
battery housing.
3 Insert the new AA batteries and
replace the cover and tighten the
screw using a Phillips screwdriver.
2 Remove the battery cover and
set aside. Remove and discard the
old batteries.
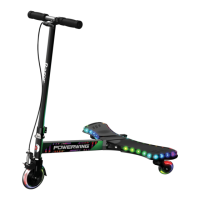
Cleaning Your PowerWing Lightshow
Wipe with a damp cloth to remove dirt and dust. Do not use industrial cleaners or solvents as they may damage the
surfaces. Do not use alcohol, alcohol-based or ammonia-based cleaners as they may damage or dissolve the plastic
components or soften the decals or decal adhesive.
Replacing the Batteries
Required Tool: Phillips Screwdriver (not included)
 Loading...