8
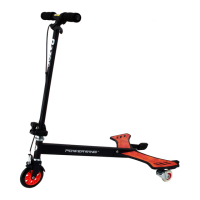
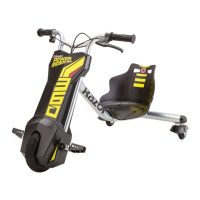
q Starting the PowerRider 360
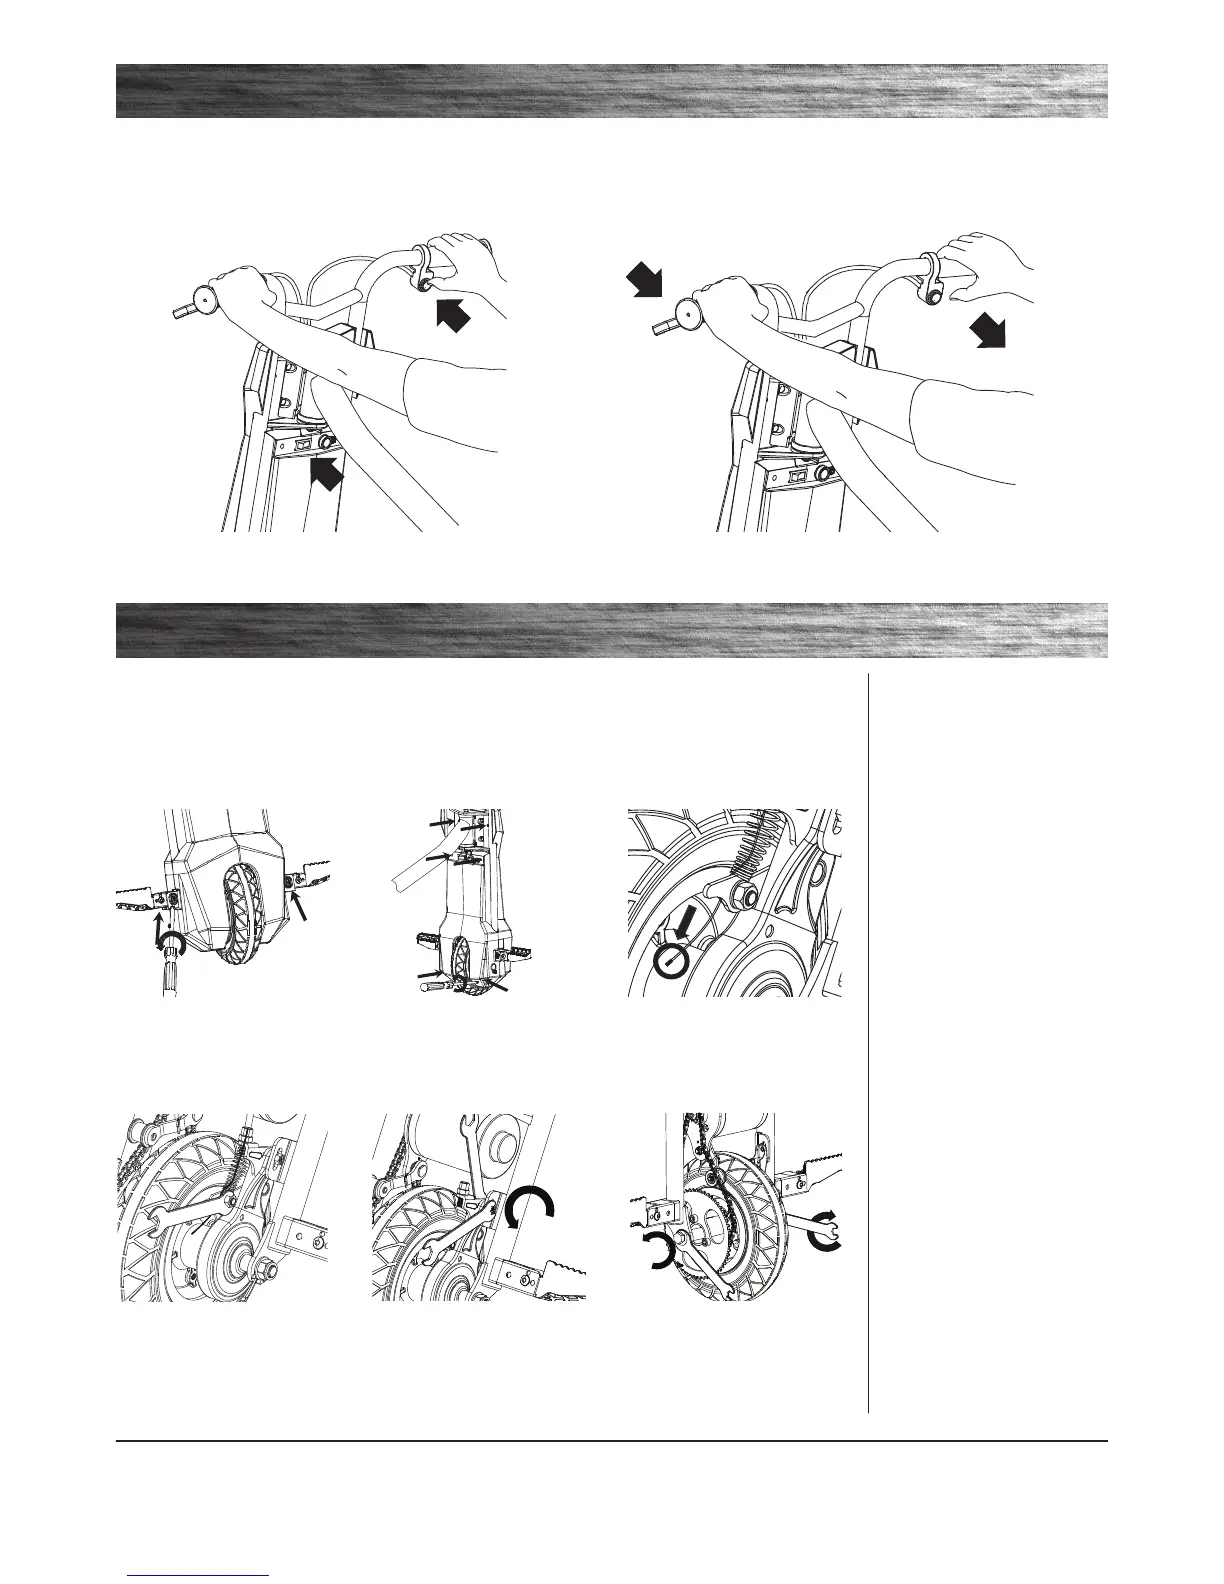
To start the unit, turn the power switch “ON”. Place both hands on the
handlebars and press the push button throttle.
Note: Keep both feet on the foot pegs when unit is in motion.
q Stopping the PowerRider 360
To stop the unit, release the push button throttle and apply the brake until the
unit comes to a complete stop.
USAGE
Throttle
Power
Switch
Brake
Throttle
REPAIR AND MAINTENANCE
q Chain and Front Tire Replacement
Required Tools: Phillips screwdriver, 10 mm wrench, two (2) 8 mm wrenches, 14 mm wrench and 17 mm wrench
1 Using a Phillips screwdriver,
loosen the two (2) screws located
on each side of the motor cover/
chain guard.
6 Using 14 mm and 17 mm
wrenches, loosen the axle locknuts.
Push down and remove the wheel
from the fork. Remove the chain
from the front sprocket.
2 Using a Phillips screwdriver,
loosen the six (6) screws to remove
the motor cover/chain guard.
3 Remove the cable cap at the
end of the cable. (Do not lose.)
4 Using a 10 mm wrench, loosen
the brake cable anchor bolt and
disconnect the cable.
5 Using two (2) 8 mm wrenches,
remove the brake housing anchor
from the fork and brake plate. Keep
the bolt, washer and nuts together.
Turn power switch “OFF” before conducting any maintenance procedures.
Disassembly
 Loading...