95
1 The Razor Expandable Pouch (REP)
1.2 Overview
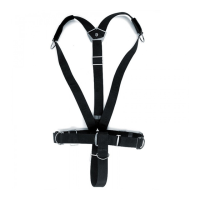
The completely new REP has been specifically designed to be butt mounted which
is the most streamlined and easiest to access location in SM configuration.
Pockets on the waist are difficult to access due to the placement of the SM tanks
and become an entanglement hazard in low areas.
Thigh pockets are also difficult to access due to the placement of the SM tanks and
will also have the tendency to push the bottom of the tanks away from the diver's
body resulting in “A Framing” and a greater risk of the tanks getting ratcheted in
small areas.
The REP should be clipped off to both of the DAPs with the 2 double ender’s
provided and will hang just below the BAT Wing with the Butt B Ring positioned
between the bottom of the wing and the top of the pouch allowing easy unob-
structed access to the B Ring as well.
The pouch will rest on top of a butt mounted primary light if one is being used and
anything clipped off to the Butt B Ring will be lie on top of it.
The way that the REP is attached with a double ender clipped off to each of the
small stainless steel D Rings sewn into the REP and then each double ender clipped
to the DAPs on the Razor Harness provides a very solid secure attachment which
will prevent accidental loss of the pouch.
Although this is a metal to metal connection each double ender can eas-
ily be removed at either the DAP or the Pouch D Rings in the very unlike-
ly event that one side of either double ender should jam closed.
In addition the D Ring can be cut free if required as a last resort.